Mullvad VPN is a paid VPN service designed to surf the internet anonymously. Users don’t need to provide personal information to create an account on Mullvad, which further enhances their privacy online. Subscription payments to VPN services can even be made using various privacy-preserving methods, including cash. Mullvad’s pricing model is quite reasonable. The developers behind this VPN service offer its client app for Windows, macOS, and Linux; therefore, in this article, we look at the commands required to install the Mullvad VPN client on Ubuntu 24.04 LTS Linux.
Key Features of Mullvad VPN:
- Privacy and Anonymity
- No-Logs Policy
- Strong Encryption:
- Multi-platform support, including Windows, macOS, Linux, iOS, and Android
- High-Speed Servers
- Built-in DNS leak protection, IPv6 leak protection, and a kill switch that automatically blocks your internet connection.
- Simple Pricing
- It also provides a browser apart from the Client app.
Note: Users can also follow the steps of this article to install Mullvad VPN app on older or newer Ubuntu versions such as 22.04, 20.04 or 18.04 including other linux such as Debian and Linux Mint can also be used.
1: Update Ubuntu 24.04 Linux
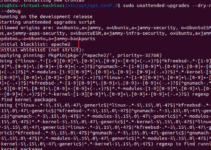
Go to your Ubuntu 24.04 Terminal and execute the system update command to refresh the system repository cache and apply the security patches, if available.
sudo apt update && sudo apt upgrade -y#Method 1: Installation using Debian binary file
In this method, we manually download the Debian binary of the Mullvad VPN instead of adding the repository.
2: Download Mullvad VPN
We can download the Mullvad VPN’s latest Debian binary for Ubuntu Linux from its official website. However, instead of using a browser we can directly use the terminal as well with the help of “wget” tool to get Mullvad Deb package:
sudo apt install wgetwget "https://mullvad.net/download/app/deb/latest" -O mullvad.deb3: Installing Mullvad VPN
After having the Debian binary of Mullvad, use dpkg command to install it on Ubuntu 24.04.
sudo dpkg -i mullvad.debIf you encounter dependency errors, run the given command. It will fix any broken dependencies and complete the Mullvad VPN installation.
sudo apt install -f#Installation using Mullvad Repsoitory:
The Debian binary method will not automatically update the VPN client in the future; instead, users have to install the latest version manually, as shown in this article. Here comes the repository method, which will install Mullvad using APT and update the application whenever new updates are available.
Download the Mullvad signing key:
sudo apt install curlsudo curl -fsSLo /usr/share/keyrings/mullvad-keyring.asc https://repository.mullvad.net/deb/mullvad-keyring.ascAdd the Mullvad APT repository to Ubuntu
echo "deb [signed-by=/usr/share/keyrings/mullvad-keyring.asc arch=$( dpkg --print-architecture )] https://repository.mullvad.net/deb/stable $(lsb_release -cs) main" | sudo tee /etc/apt/sources.list.d/mullvad.listRun system update
sudo apt updateInstall the Mullvad using APT
sudo apt install mullvad-vpn4: Launch the VPN Client App
After completing the installation we can either start the Mullvad VPN client from the Applications menu or by running the following command:
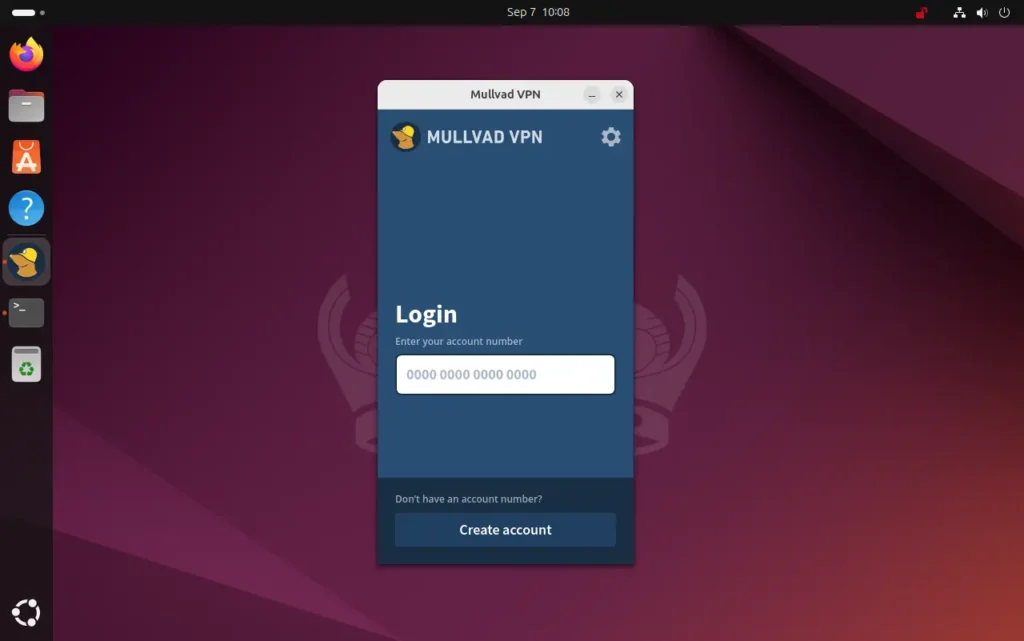
mullvad-vpn5: Log in to your Account
Those who already have Mullvad account can enter the their Account number to login whereas new users need to create a New Account right from the APP or by visiting its official website and the best thing is Mullvad does not require email registration, enhancing your privacy.
6: Connect to a VPN Server
Once you have the Account created and successfully logged in the App, choose the VPN server location from the list and click “Connect.” Mullvad will automatically establish a VPN connection to the selected server.
7: Verify Your Connection
To ensure your VPN connection is active, visit mullvad.net and check your connection status.
8: Start Mullvad VPN on System Startup (Optional)
If you want Mullvad VPN to start automatically when you boot your system:
- Open Mullvad VPN settings.
- Enable the option “launch App on start up. this will start the app automatically on system startup.
9. Uninstalling Mullvad VPN
If you don’t need Mullvad VPN anymore then can remove it completely using the given command:
sudo apt remove mullvad-vpn -yConclusion
So, we have learned two ways to install and use Mullvad VPN on Ubuntu 24.04. At low price Mullvad is a good choice for those who want to surf internet while keep anonymous over the internet. Its user-friendly approach, strict no-logs policy, and robust encryption make it a reliable tool for protecting your online presence.
Other Articles: