Tutorial to learn the steps for installing Jitsi meet on Ubuntu 22.04 LTS Jammy JellyFish Server for setting up your own free and open-source video conferencing service solution.
What is Jitsi Meet?
Jitsi is another competitor for Skype and also offers free telephony and chat features – but is ad-free and an open-source video conferencing tool. And that is what makes it different from other well-known video conferencing programs apart from Skyper such as Zoom, Microsoft Teams, or the WhatsApp video call. Moreover, being an open-source project, its source code is available for everyone and also doesn’t collect user data. Another advantage of Jisti over other video telephony applications is that you do not have to register to use it and that you do not even have to download and install any software. Jitsi can be used directly via the browser. This makes it particularly easy to use.
Using the SIP or XMPP protocol, Jitsi allows you to make free calls (including video), chat, send files or share the screen. Sip also allows you to make normal (chargeable) phone calls. Conversations can be saved directly in the app as an MP3 file. For this purpose, all transmission protocols, the bandwidth used, and encryption (for example via ZRTP) can be viewed via an info button. All functions of Jitsi can be found in the Overview on the developer’s website. If you want to start the video chat without any software, you can access the web app Jitsi Meet to fall back.
Steps to install Jisti Meet on Ubuntu 22.04 LTS Linux
What do you need to install Jisit Meet? To follow this tutorial, you should have a Ubuntu 22.04 server or an earlier version of it with at least 2GB of free RAM, recommended one is 8 GB. Along with it, a non-root sudo user access and a fully qualified domain name.
1. Update Ubuntu 22.04 Server
Let’s run the system update command to fully upgrade our Ubuntu 22.04 server to its latest state. This will also install all the available security updates as well.
sudo apt update && sudo apt upgrade
Also, install wget
sudo apt install wget
2. Set FQDN for Jisti
If you already have a fully qualified domain such as jisti.example.com then set it as a hostname on your Ubuntu 22.04 server using the given commands.
Here we are using the domain name- jisti.how2shout.com, you can use the one you have.
sudo hostnamectl set-hostname jisti.example.com
Now, edit your system’s host file and point the public IP address to FQDN
sudo nano /etc/hosts
Add the following line in that file:
x.x.x.x jisti.example.com
Note: replace x.x.x.x with your public Ip-address and jisti.example.com with the fully qualified domain you have.
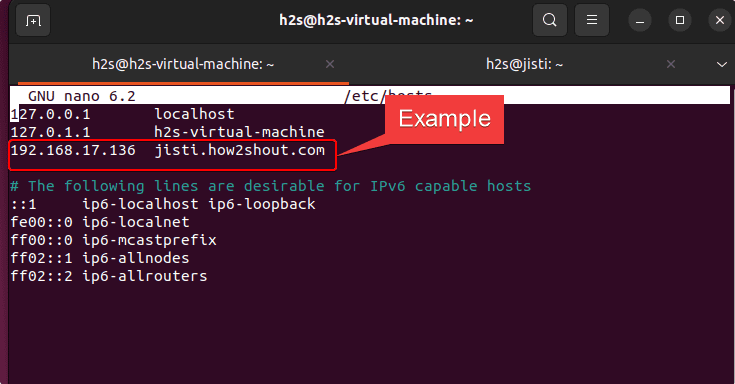
To confirm your FQDN is successfully set, ping the domain name you have configured, for example:
ping jisti.example.com
In reply, you have your server’s public Ip-address.
Reboot your system:
sudo reboot
3. Add the Jisti GPG key and repository
We need to add the Jisti Meet package repository manually on our Ubuntu 22.04 because it is not available through the standard repository of Ubuntu.
curl https://download.jitsi.org/jitsi-key.gpg.key | sudo sh -c 'gpg --dearmor > /usr/share/keyrings/jitsi-keyring.gpg'
echo 'deb [signed-by=/usr/share/keyrings/jitsi-keyring.gpg] https://download.jitsi.org stable/' | sudo tee /etc/apt/sources.list.d/jitsi-stable.list > /dev/null
sudo apt update
4. Install Nginx Web Server
To serve Jisti meet over a web browser, we need a web server – you can go for either Apache or Nginx. Here we are opting for Nginx, the host configuration file required by it for the Jisti will automatically get created while installing Jisti in the next step.
sudo apt install nginx-full
Enable and start its services:
sudo systemctl enable --now nginx.service
5. Jisti Meet on Ubuntu 22.04
Finally, come to the key part of the tutorial where we will install the Jisti meet using our APT package manager on Ubuntu 22.04.
sudo apt install jitsi-meet
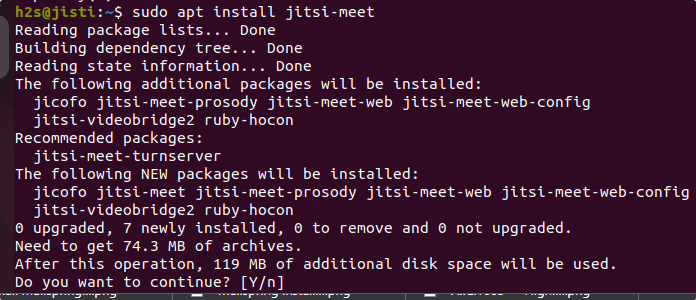
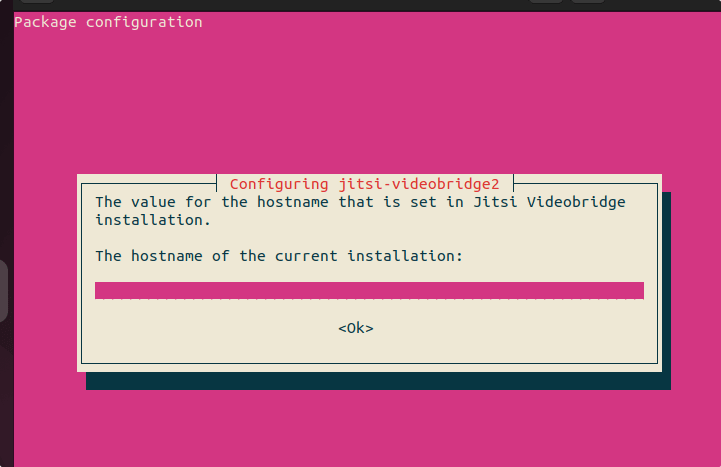
Set hostname
While installing Jisti, the setup will ask you to enter the hostname which you have set, for example, jitsi.example.com.
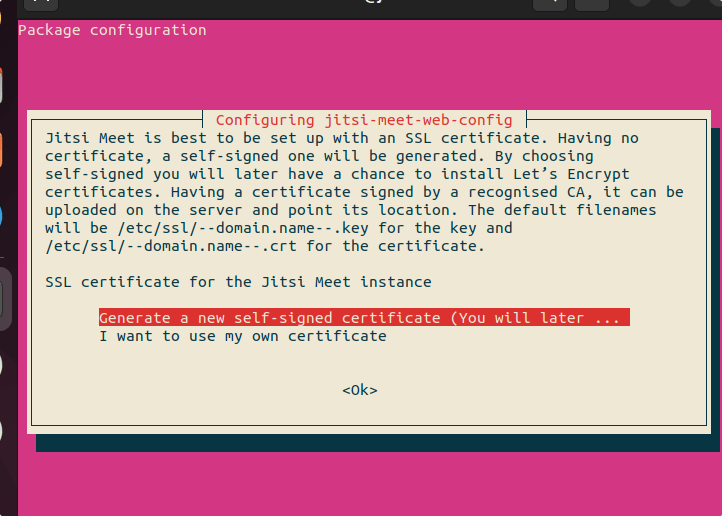
When you get a “Configuring Jitsi-meet-web-config” window, select the “Generate a new Self-signed certificate” option.
To check the Jisti service status use:
sudo systemctl status jitsi-videobridge2
Whereas for restarting it in the future, we can use:
sudo systemctl restart jitsi-videobridge2
6. Allow ports in Firewall
If you are using Ubuntu 22.04 server on some hosting or Cloud service then whitelist or allow the following ports in its firewall.
TCP ports: 80, 443, 22, 3478, 5349
UDP Port: 10000
Whereas those who have an active UFW firewall can use the given command:
sudo ufw allow 80/tcp
sudo ufw allow 443/tcp
sudo ufw allow 10000/udp
sudo ufw allow 22/tcp
sudo ufw allow 3478/udp
sudo ufw allow 5349/tcp
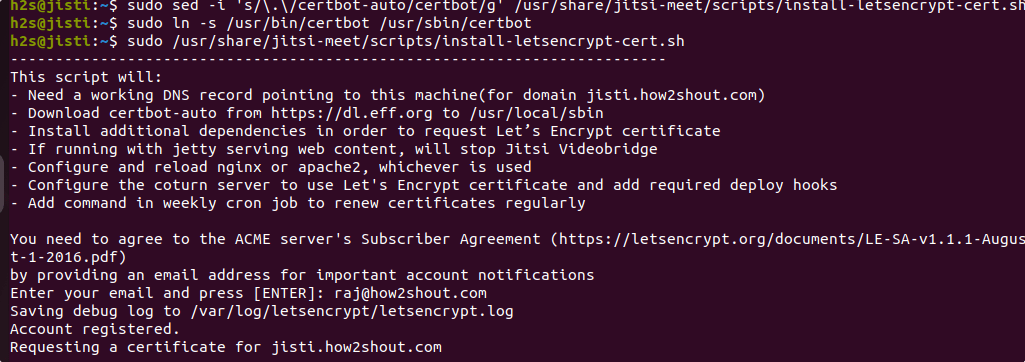
7. Generate a Let’s Encrypt certificate (optional)
If you already have an SSL certificate or using some third-party service such as Cloudflare then you don’t need to generate an SSL certificate you can use yours. However, others can go for the given commands:
sudo apt install certbot
sudo sed -i 's/\.\/certbot-auto/certbot/g' /usr/share/jitsi-meet/scripts/install-letsencrypt-cert.sh
sudo ln -s /usr/bin/certbot /usr/sbin/certbot
sudo /usr/share/jitsi-meet/scripts/install-letsencrypt-cert.sh
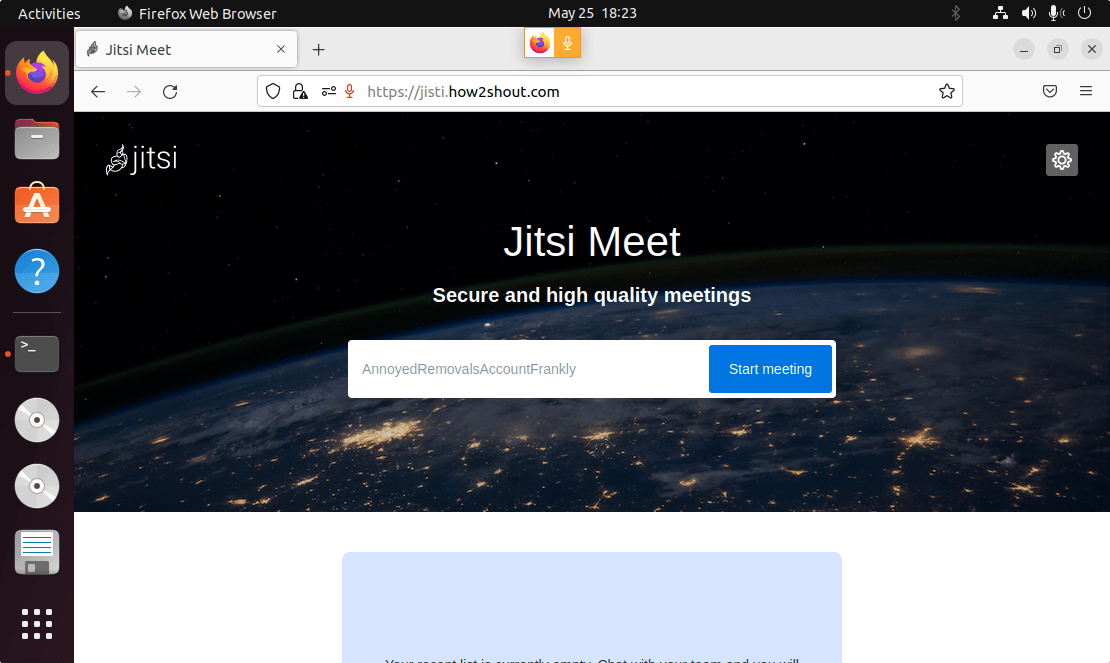
8. Visit Jitsi Meet Web interface
Now, open your system’s browser and point it to the fully qualified domain name you have set for Jitsi as the hostname to access its web interface for starting meetings.
9. Uninstall or Remove
In case you didn’t like this free and open-source video conferencing software then removing it completely from your server is also possible, here is the command to do that.
sudo apt purge jigasi jitsi-meet jitsi-meet-web-config jitsi-meet-prosody jitsi-meet-turnserver jitsi-meet-web jicofo jitsi-videobridge2

Other Articles:
• Enable or disable the firewall on Ubuntu 22.04 LTS Jammy Linux
• How to install UFW Firewall on Ubuntu 22.04 LTS Jammy
• How to Install WordPress on Ubuntu 22.04
• How to check internet speed using command
