Keeping the Ubuntu Linux kernel up-to-date ensures that our new and old system hardware is compatible with the OS and that the latest kernel features enhance overall system performance. The latest security patches and bug fixes are other reasons to switch to the newest kernel.
In this tutorial, we learn the steps to install the latest kernel version on Ubuntu 24.04 Linux and even older versions in case any existing newer version is causing issues using the Ubuntu Mainline Kernel Installer.
Prerequisites:
- Backup your important data just to be cautious
- Stable Internet Connection to download kernel files
- Sudo (administrative) privileges are required to install the new kernel.
Step-by-Step Guide to Install the Latest Kernel on Ubuntu 24.04
Step 1: Update Ubuntu 24.04
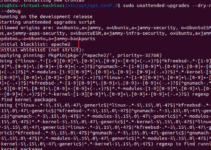
Go to your Ubuntu 24.04 command terminal and execute the system update and upgrade command to install the latest security and other package updates.
sudo apt update && sudo apt upgradeStep 2: What is the Current Kernel Version?
We should know our current Ubuntu kernel version; only then can we decide what newer version we want on our system.
This command will display the current kernel version installed on your system.
uname -rStep 3. Download the Ubuntu mainline kernel Script
There is a script available on GitHub that is the easiest way to install the latest Linux kernel package on Ubuntu. So, to change or install a new Linux kernel on Ubuntu 24.04, we will download the Ubuntu Mainline Kernel script with the help of the “wget” tool; here is a command to follow in your terminal.
wget https://raw.githubusercontent.com/pimlie/ubuntu-mainline-kernel.sh/master/ubuntu-mainline-kernel.shOnce the script is on your system, make it executable and move it to /usr/local/bin to easily use it in the future to get the latest version of the kernel.
chmod +x ubuntu-mainline-kernel.shsudo mv ubuntu-mainline-kernel.sh /usr/local/bin/Step 4. List the newest version of the Linux Kernel
We can use the Ubuntu Mainline Kernel script to find the newest Linux kernel version and install it on our Ubuntu system. For that, on your command terminal, run:
ubuntu-mainline-kernel.sh -cIf the latest version differs from the one installed on your system, the script will display that.
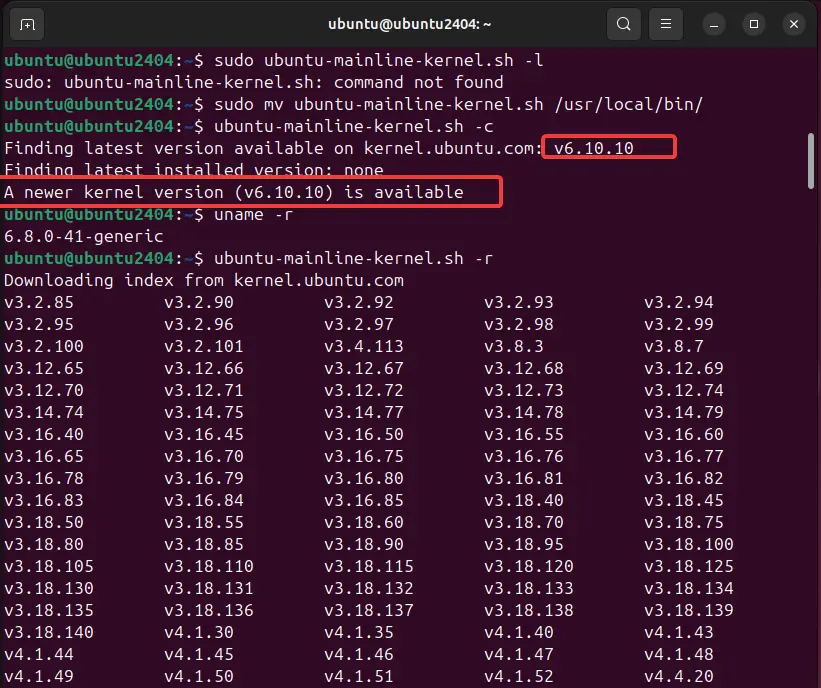
To list available Kernel series (versions) that you can install using the script, use this terminal command:
ubuntu-mainline-kernel.sh -rStep 5. Installing Linux Kernel on Ubuntu 24.04
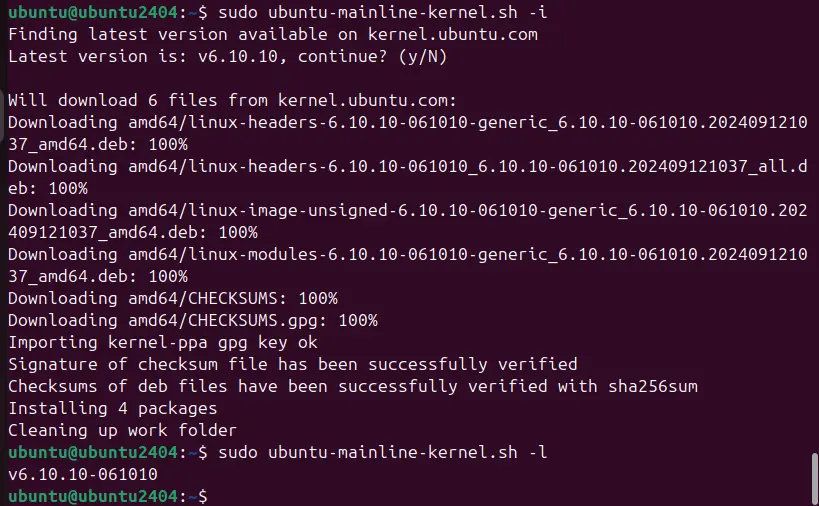
Once we have confirmed the latest kernel version available to install, we can do that very quickly by using the same “ubuntu-mainline-kernel” script, which fetches the kernel packages from the repository – kernel.ubnut.com.
sudo ubuntu-mainline-kernel.sh -iThe command will automatically add the newest stable Linux kernel to your Ubuntu 24.04, but what if you want to downgrade and need to install some older version? In that case, we need to specify the exact version number in the command given above. For example, for 6.2, we can use:
sudo ubuntu-mainline-kernel.sh -i v6.2.0If you have installed multiple Linux kernel versions on our Ubuntu using this script, then to list all of them, we can use the following:
sudo ubuntu-mainline-kernel.sh -l
Step 6. Reboot your system
Restart your system to let it use the kernel version you have just configured.
sudo reboot
After the system reboots, check your current version by using:
uname -r
This time, you will see the latest one.
Step 7. Change or Set the Default Kernel Version
Ubuntu is configured by default to use the latest available Linux version on the system. However, due to any reason, if you want to change that, then edit the Grub file.
sudo nano /etc/default/grub
Add the following two lines. To get an idea,. You can see the screenshot.
GRUB_SAVEDEFAULT=true
GRUB_DEFAULT=saved

Save the file Ctrl+O, hit the Enter Key, and then exit it Ctrl+X. This will save our preference of the default kernel in the Boot menu and will not reset it with the system reboot until we change it.
Update Grub:
sudo update-grub
Now reboot your system:
sudo reboot
Press the Esc button to access the Grub menu as you start your system. Select “Advanced options for Ubuntu” and then select the Kernel version you want to set as the default one.


8. Uninstall Linux kernel
To remove any existing Ubuntu Linux kernel from your system you have installed using the script, run the mainline tool command:
sudo ubuntu-mainline-kernel.sh -u
Select the serial number of the version you want to remove from your system.

Other Articles: