Steps and commands to install TeamPass collaborative Password Manager on Ubuntu 20.04 LTS Linux server or desktop to manage passwords using the browser.
What is TeamPass collaborative Password Manager?
TeamPass is an open-source web-based password manager that also allows sharing of passwords. It is available to install on a Linux and Windows server along with an easy Docker Image way as well. It is also known as a collaborative password keeper because it allows sharing of the stored pass key folders with team members. Access rights can be defined for each user to control or limit them to access only a given set of data.
Key Features:
- Several levels of security with encryption
- Web-based
- Low system requirements
- Highly customizable
- Allow setting of local policies to limit the rights of Team members
- Open Source, thus nothing is hidden
- Docker image is available
- Supports multiple Languages
TeamPass System requirements
It doesn’t need any special system requirements
- A standard Linux server with a minimum of 512 MB RAM and a dual-core processor will work. However, 1 GB of memory will be needed depending on how many people simultaneously going to access the webserver.
- Apache Webserver
- MySQL 5.1 or higher Database
- PHP 5.50+
- non-root
sudouser access
Install Apache web server on Ubuntu 20.04
As TeamPass password manager is a web-based application thus we need to set up a Web server on our Ubuntu server or desktop. For that run
sudo apt update
sudo apt install apache2
sudo systemctl enable --now apache2
sudo systemctl start apache2
Allow Apache full in the firewall:
ufw allow "Apache Full"
Get PHP and its extensions for the Teampass
As the Teampass is based on PHP, hence we need to install this hypertext language on our Ubuntu server along with extensions that help it to communicate with MySQL and perform other tasks with Apache.
Use the below single command that will not only installs the PHP but the necessary extensions.
sudo apt install php-{mysql,curl,mbstring,bcmath,fpm,iconv,common,gd,xml}
We also need Mcrypt but it is not available in the official repo, thus we compile it from the source.
sudo apt -y install gcc make autoconf libc-dev pkg-config libmcrypt-dev php-pear php-dev
sudo pecl channel-update pecl.php.net
pecl update-channels
sudo pecl install mcrypt
Enable mcrypt extension-
sudo echo "extension=mcrypt.so" | tee -a /etc/php/*/cli/php.ini /etc/php/*/apache2/php.ini
Check it-
php -m | grep mcrypt
Output:
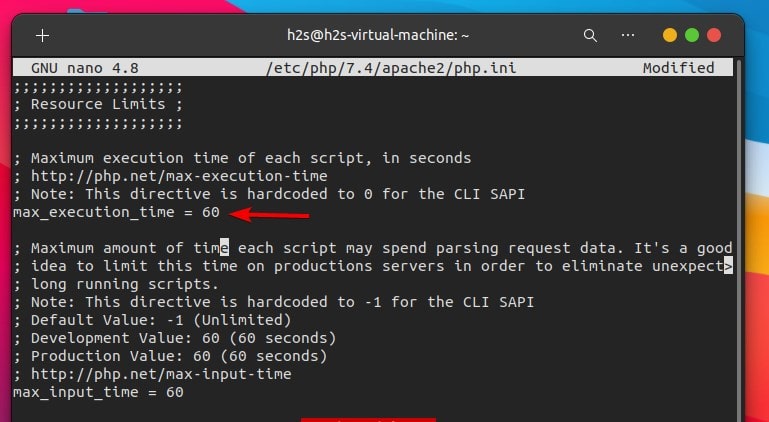
One more thing we have to edit is the PHP.ini to increase the maximum execution time for a script/process:
nano /etc/php/*/apache2/php.ini
Under Resource Limit find the line:
max_execution_time = 30
and change its value to
max_execution_time = 60
Save file- Ctrl+X, Y and hit the Enter key.
Install Mysql on Ubuntu 20.04
To store the Database of Teampass, MySQL has to be installed either on the same Ubuntu server or in a dedicated one. The packages to set up MySQL or MariaDB are already there on Ubuntu 20.04 official repo.
sudo apt install mysql-server
Enable and start it-
sudo systemctl enable mysql

sudo systemctl start mysql
Run mysql_secure_installation to secure the initial installation.
Create Database for TeamPass
Login to MySQL:
sudo mysql
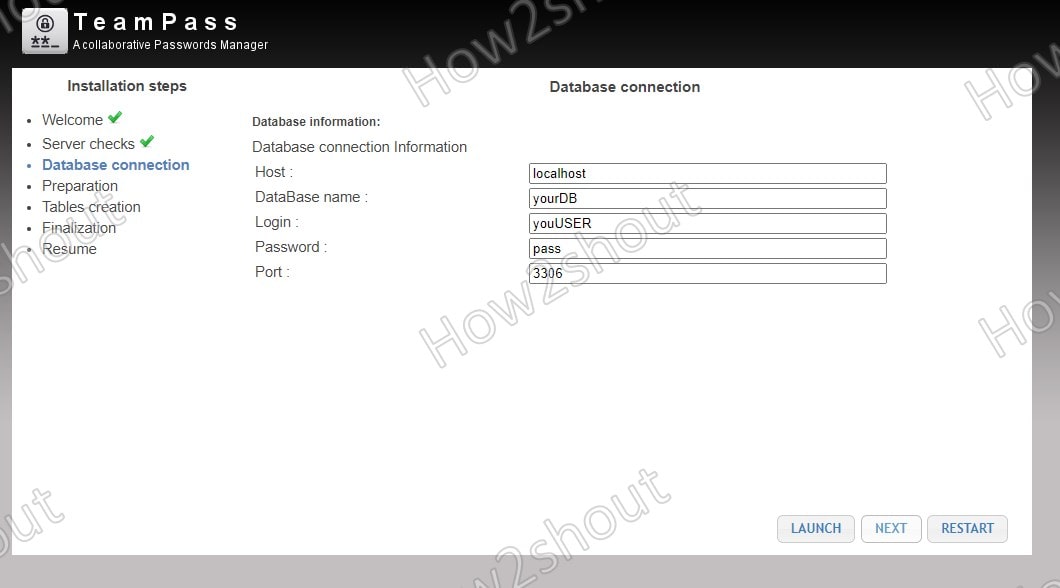
Replace youDB with the database name you want to use and youUSER for username and pass with the password you want to use.
create database yourDB;
CREATE USER 'youUSER'@'localhost' IDENTIFIED BY 'pass';
grant all privileges on yourDB.* to youUSER@localhost;
flush privileges;
exit;
Download TeamPass Password Manager on Ubuntu 20.04
Now, let’s download the files we need to configure and setting up the TeamPass collaborative password manager on the Ubuntu running system.
Create a dedicated directory in www to hold the Teampass files.
sudo mkdir /var/www/html/teampass
sudo apt install git
Get the latest files
sudo git clone https://github.com/nilsteampassnet/TeamPass.git /var/www/html/teampass
Create virtual host
sudo nano /etc/apache2/sites-available/tpass.conf
Add the following lines, and it must look exactly like below:
##——————————————————————————–
<VirtualHost *:80>

ServerAdmin admin@your_example.com
ServerName your_example.com
ServerAlias www.your_example.com

DocumentRoot /var/www/html/teampass

<Directory //var/www/html/teampass/>
Options -Indexes -FollowSymLinks
AllowOverride All
</Directory>

<DirectoryMatch "/var/www/html/teampass/(\.|protected|themes/\w+/views|uploads/file)">
Order Deny,Allow
Deny from all
</DirectoryMatch>

<FilesMatch "^\.">
Order Deny,Allow
Deny from all
</FilesMatch>

</VirtualHost>
##—————————————————————————————–
Save the files Ctrl +X, type Y, and hit the Enter key.
Enable Apache configuration file
Disable Default Apache website configuration and enable the one you have created.
sudo a2dissite 000-default.conf

sudo a2ensite tpass.conf
Reload Apache
sudo systemctl reload apache2
Access Teampass web interface and Installation Wizard
Open your browser and type the Ip-address of the server or the URL of the domain where you have installed the TeamPass Password manager.
- Click on the Next button to start the TeamPass Installation steps.
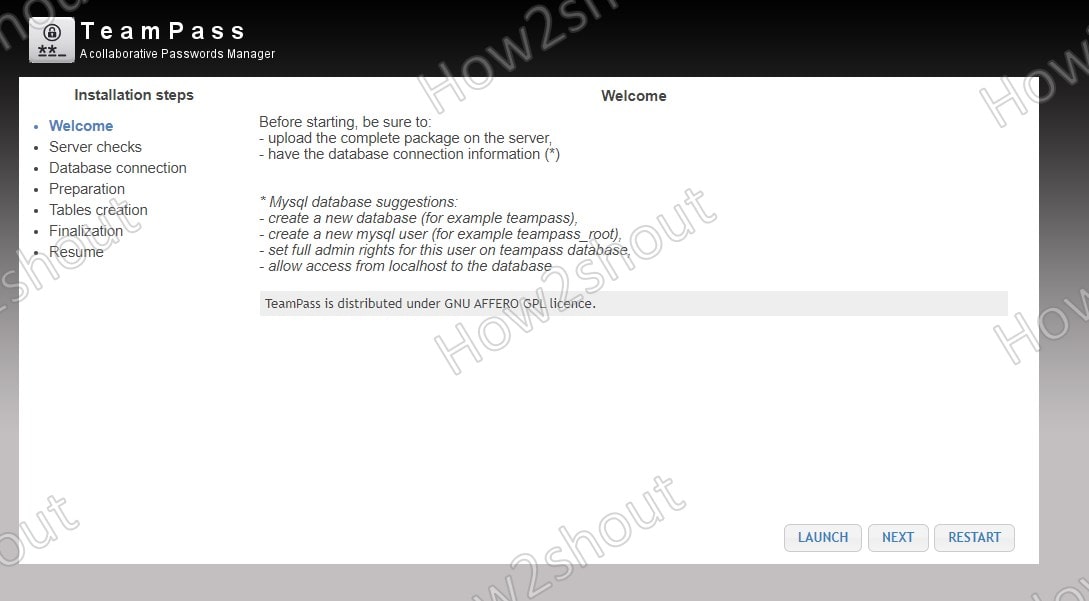
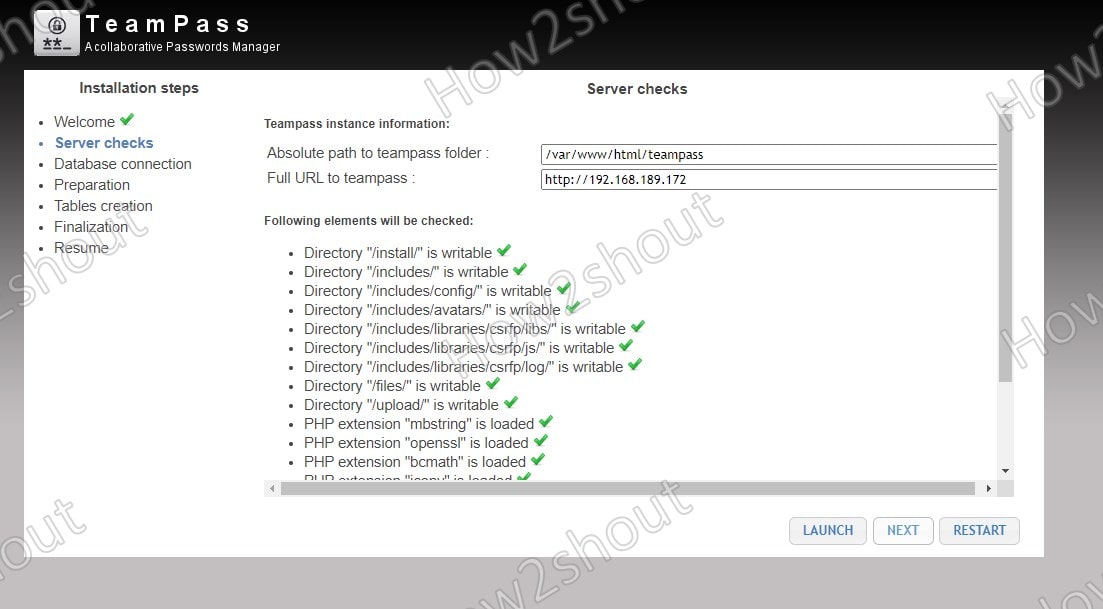
- To check whether all the things which are required for the working of Teampass are working absolutely fine, click on the Launch button and make sure all the elements are with a green tick mark. After that click on the NEXT button to move forward.
- Add the details of the MySQL database we have created. If your database server is on the same Ubuntu machine where we have installed the TeamPass password manager instance then type localhost in the HOST box otherwise the address of the server where you have your Database. After that add the other details and click on the Launch button to check the connection is established successfully or not.
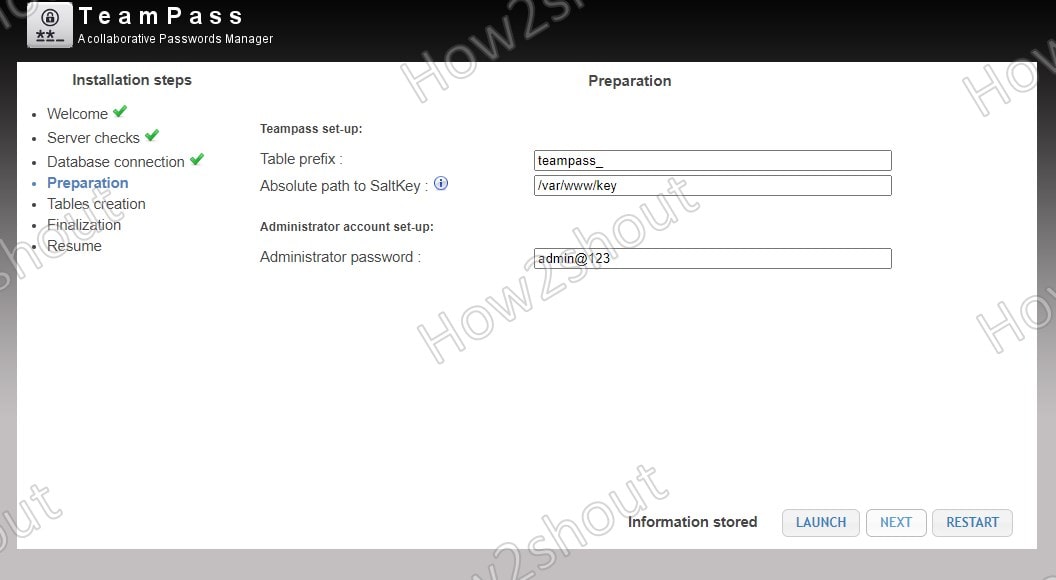
- By Default, the SaltKey path is the same directory where we have the TeamPass installation files. Well, there is no problem with that, however, developers recommend saving it somewhere else on your Server to improve security. Also, set the Admin password which you want to use.
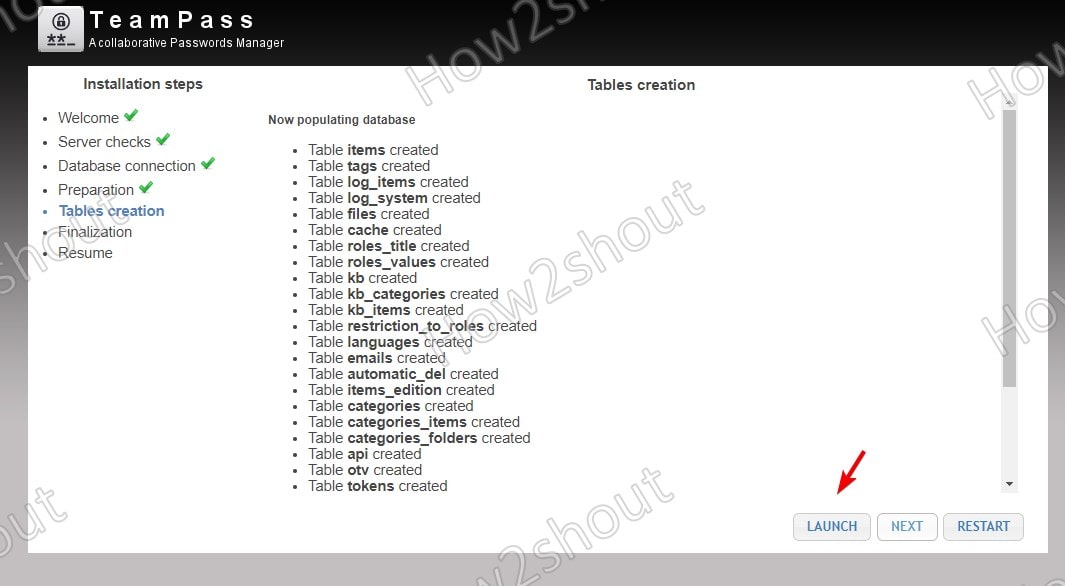
- Click on the Launch button to create database tables that will use later to store data.
- Finally, click on the NEXT button to finish the installation process.
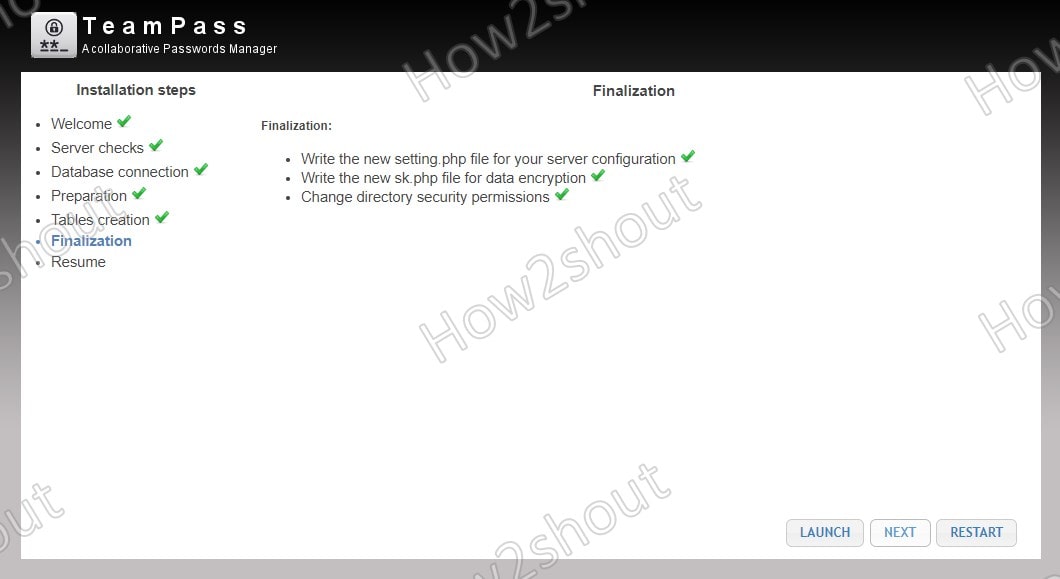
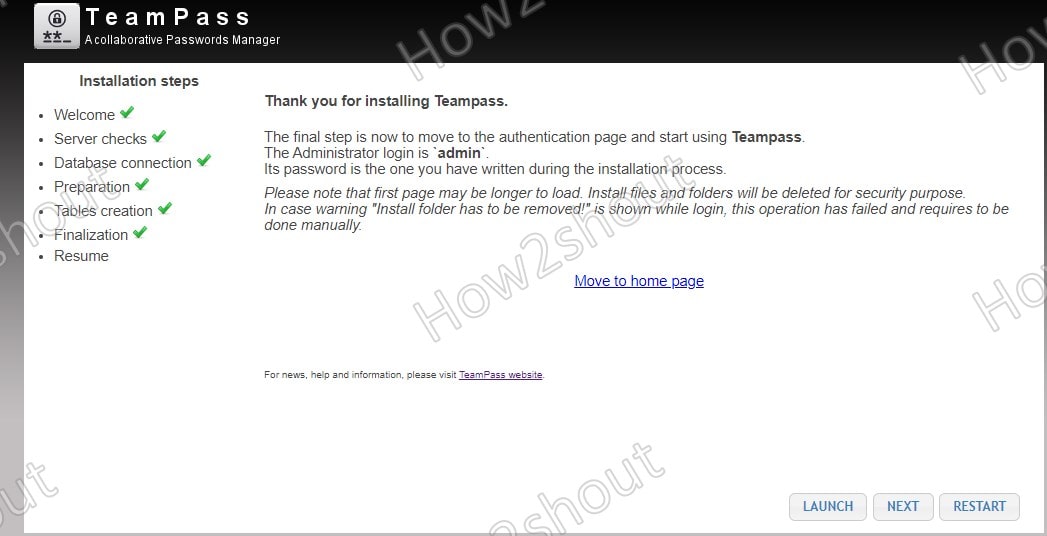
- The installation of Teampass on Ubuntu 20.04 Server has been done successfully, now, click on the Move to home page link to access the login page.
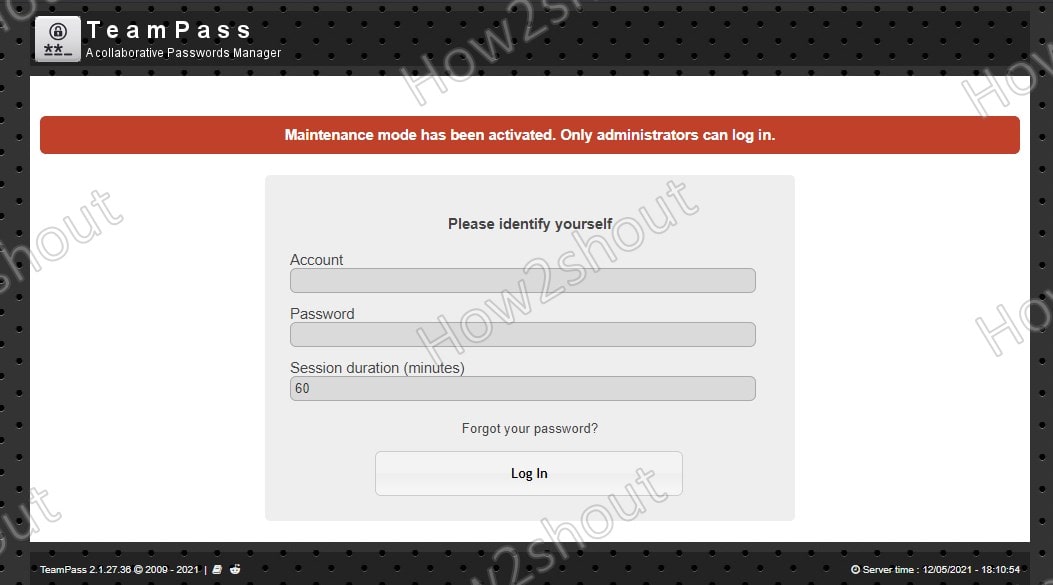
- Login- Default Username- admin and the password that you set for Teampass Administrator.
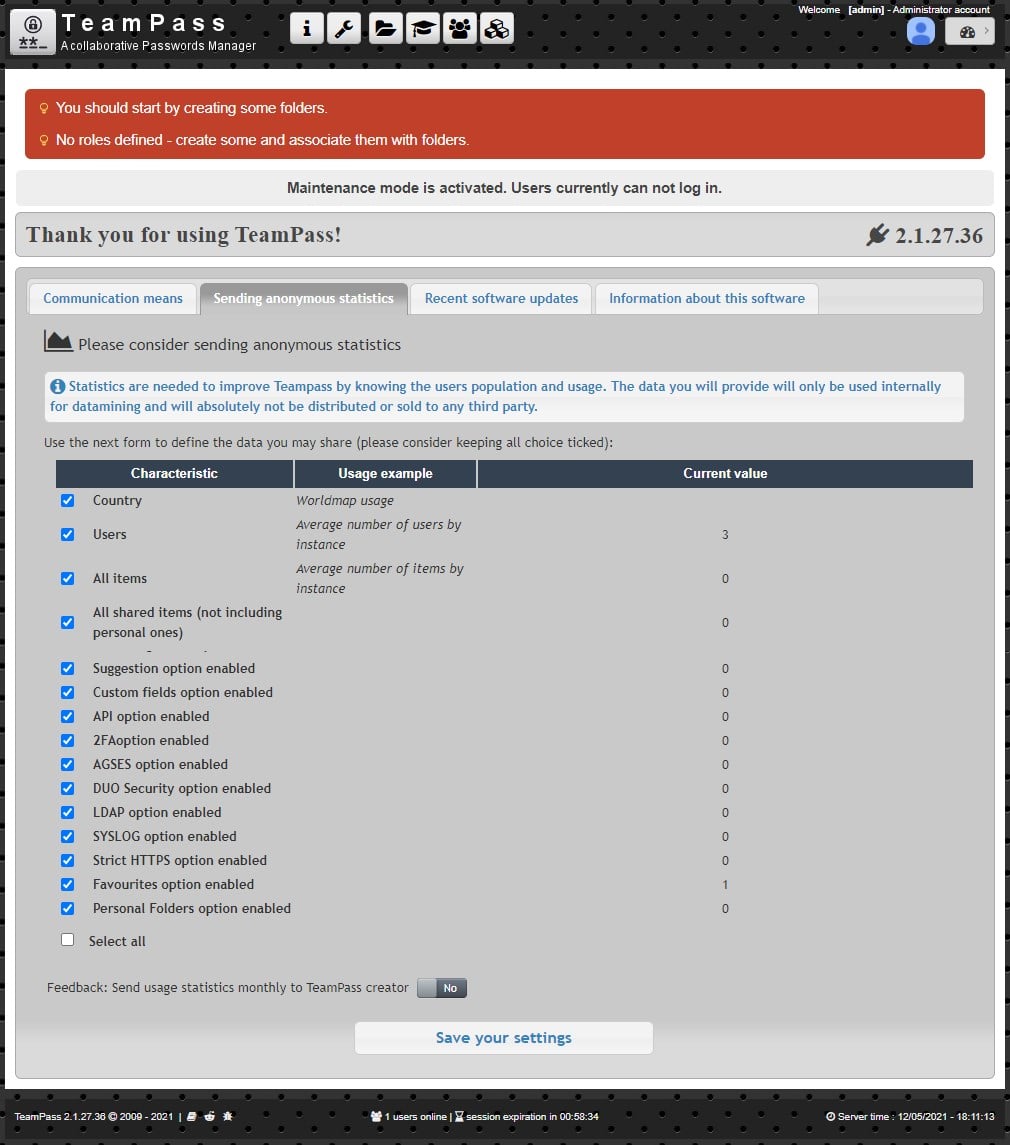
- Here is the final Dashboard of Teampass to store passwords and configure the password strength, access roles for users or team members, and more. Check out more about it on the official docs of Teampass to manage it.
