humhub is a PHP-based open-source social network platform that one can install on a Linux server or desktop editions such as Ubuntu 20.04/18.04, CentOS 7 /8, RHEL, and others. Here, we will show the steps, on how to install and use this personal social network platform to build your own community. It is perfect for social Intranets, Enterprise Social Networks, Collaboration, and Private Social Networks.
Although there are many social media networks present online to use such as Facebook, however, if you worry about privacy and want a restricted social network of your own then Humhub can be an option to go with. You can use it for public or private communities, in schools, for creating enterprise social Intranet in your own premises only; for agencies, etc. It all depends upon you what is your need.
If we talk about the features of this personal open-source social network platform then that is extendable using additional modules available to download from its marketplace.
HumHub is available in two versions, one is the community that we are going to install here and the other is enterprise one but with slight extra features such as Commercial License, professional support, Prioritized Bugfixes;
Long-Term-Support (LTS) and Expanded LDAP-Support.
Well, there are some limitations of this platform as well such as you cannot use it to host billions of active users like Facebook because it is not designed in such as way; the platform is customizable, however for the extensive one you will need a developer help; the guest mode is limited and no payment integration is available currently. You can know more about this platform in HumHub’s About section.
How to install humhub on Ubuntu 20.04 LTS Linux
Here we are using the latest Ubuntu 20.04 LTS, however, the user can follow the steps for Ubuntu 20.10/19.04/18.04… Linux Mint, Debian, MX Linux, and other same Linux distros.
System requirements
- Apache or Nginx Webserver with mod_php or php-fpm
- 64 MB of memory allocated to PHP
- 500 MB for the applications
- 100 MB for the database
- PHP 7.3 or 7.4
- PHP with extensions- GD, Curl, MBString, MySQL, ZIP, EXIF, INTL, FileInfo, ImageMagick (optional but recommended), LDAP, APC, and Memcached
- MariaDB 10.1+ or MySQL 5.7+
1. Update Ubuntu 20.04 System
Run the system update command on your Ubuntu 20.04 server, so that the repo cache can be rebuild again along with updating of installed packages of the system.
sudo apt update
3. Install Apache Webserver for HumHub
As the Apache webserver is recommended to be used by the developers of this social network platform. Thus, we will use the same here as well.
sudo apt install apache2 libapache2-mod-xsendfile php-fpm
Enabe FPM nd FCGI for Apache
sudo a2enconf php7.4-fpm
sudo a2enmod proxy_fcgi setenvif
systemctl restart apache2
4. Setup PHP latest version
By default, while doing this article, the latest version available to download and use on Ubuntu 20.04 LTS was PHP 7.4, thus simply run the below command to install that as well as other extensions.
sudo apt install php php-cli php-imagick php-curl php-bz2 php-gd php-intl php-mysql php-zip php-apcu-bc php-apcu php-xml php-ldap
5. Configure PHP.ini
We need to increase the Memory to execute scripts, increase the upload size limit for the files, and maximum execution time for the Humhub. All that can be done from php.ini
Check the path PHP.ini present on your system
php -i | grep -i php.ini
You will see the path of the file, now copy and use it with the nano command to edit the file.
sudo nano etc/php/7.4/cli/php.ini
Scroll down and find the below lines, and change their corresponding values as given below:
post_max_size = 32M
max_execution_time = 120
upload_max_filesize = 32M
To save the file press Ctrl+X and the Y followed with the Enter Key.
systemctl restart apache2
6. Install MariaDB or MySQL DataBase and create Schema
Both MariaDB and MySQL work similarly, so you can use any of them.
For MariaDB
sudo apt install mariadb-server mariadb-client automysqlbackup
or
For MySQL
sudo apt install mysql-server mysql-client automysqlbackup
Secure MySQL Installation
To remove the demo database and users including the remote access of the MySQL or MariaDB, run the below command and follow the wizard.
sudo mysql_secure_installation
Login to MySQL server
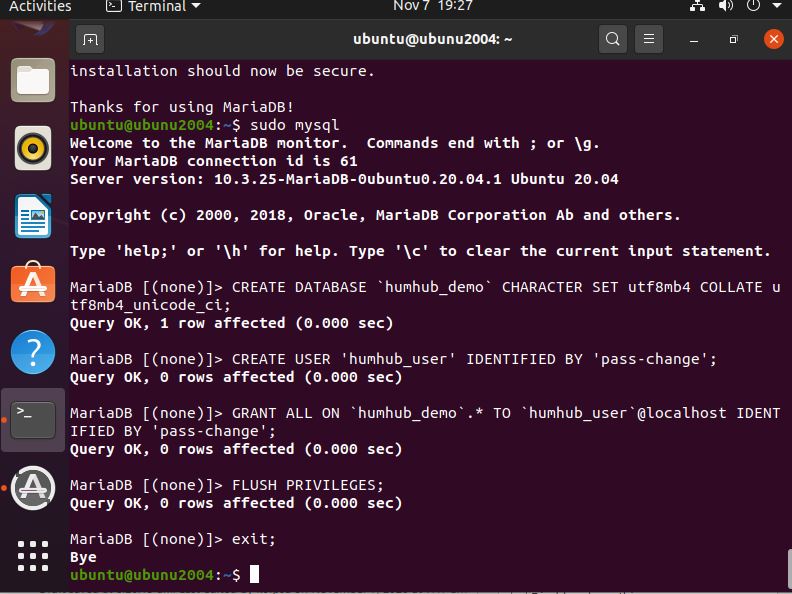
sudo mysql
Here we are using:
- Database name=
humhub_demo - Database User =
humhub_user - Database Password=
pass-change
Note: Change the above values in the below command as per your choice.
Create a new database
CREATE DATABASE `humhub_demo` CHARACTER SET utf8mb4 COLLATE utf8mb4_unicode_ci;
Create a user
CREATE USER 'humhub_user' IDENTIFIED BY 'pass-change';
Give the create user permission to manage the database
GRANT ALL ON `humhub_demo`.* TO `humhub_user`@localhost IDENTIFIED BY 'pass-change';
FLUSH PRIVILEGES;
exit;
7. Download HumHub
Go to the official website of the Humhub social network and download the latest version. If you want to use the command terminal to download it, then right-click on the download button and copy the link to use with wget.
However, the current version is 1.7.0 thus you can use the below command:
cd /tmp
wget https://www.humhub.com/download/package/humhub-1.7.0.tar.gz
8. Extract and move humhub to the webroot
Now, extract and move the humhub directory to the Apache webserver public root directory, so that we can access it later using a browser.
sudo tar -xvf humhub-*.*.tar.gz
sudo mv humhub-*.*/ /var/www/humhub
Now give the Apache user permission to fully manage the humhub extracted folder.
sudo chown -R www-data: /var/www/humhub
9. Create Virtual Host
Here instead of using the default Apache configuration file, we will create a new one, this approach would be good in case you are planning to host multiple websites on the same web server.
Create Apache configuration file for humhub
sudo nano /etc/apache2/sites-available/humhub.conf
Here we are using the HTTP port to access the humhub, thus add the following lines in your configuration file.
##————————————
<VirtualHost *:80>
ServerAdmin admin@your_example.com
ServerName your_example.com
ServerAlias www.your_example.com
DocumentRoot /var/www/humhub
<Directory /var/www/humhub/>
Options -Indexes -FollowSymLinks
AllowOverride All
</Directory>
<DirectoryMatch “/var/www/humhub/(\.|protected|themes/\w+/views|uploads/file)”>
Order Deny,Allow
Deny from all
</DirectoryMatch>
<FilesMatch “^\.”>
Order Deny,Allow
Deny from all
</FilesMatch>
</VirtualHost>
##————————————
To save the file press CTRL+X, then Y followed by the Enter key.
Remove default conf file of Apache
sudo rm /etc/apache2/sites-available/000-default.conf
Enable the created virtual host for Apache webserver
sudo a2ensite humhub
systemctl reload apache2
10. Access HumHub open-source Social network in Browser
Finally, all the basic things have been done. Now, open your browser and either use the domain or IP address of the server where the Hunhub has been installed by you.
http://domain.com
or
http://ip-address
11. Setup HumHub
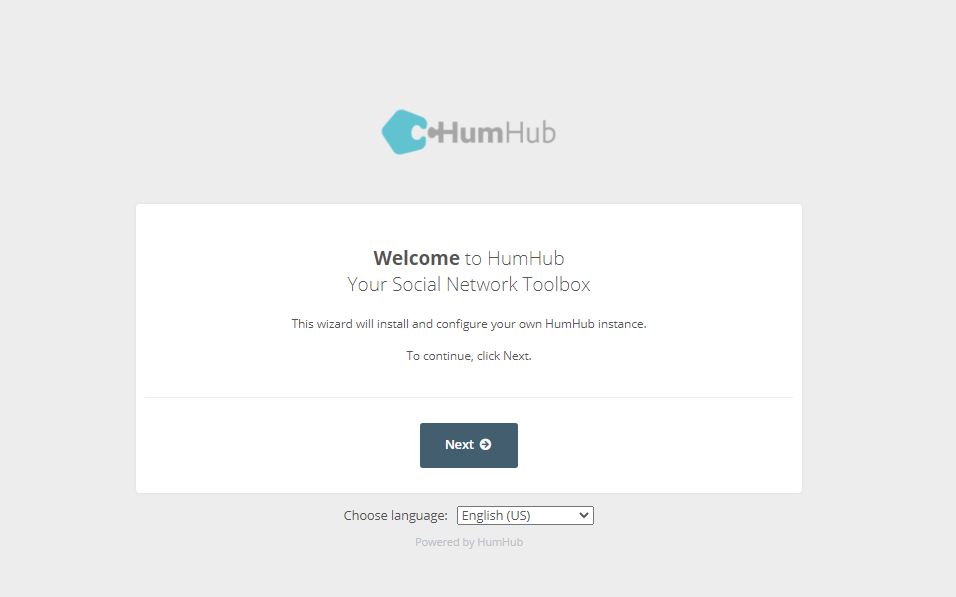
Welcome to Social network ToolBox
Simply click on Next to move further.
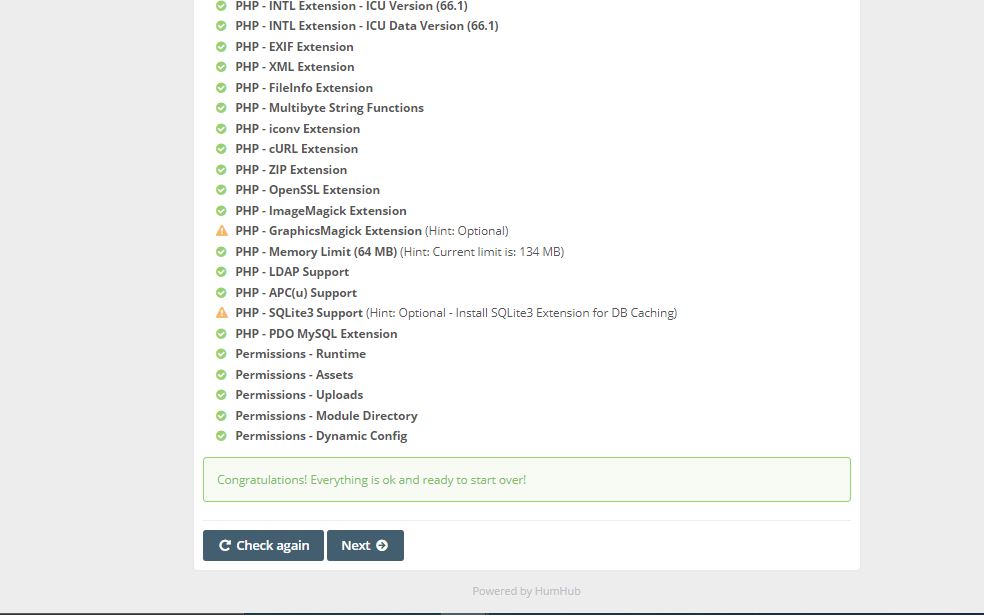
System Check
This step will let you know all the required modules or extensions are activated and working fine.
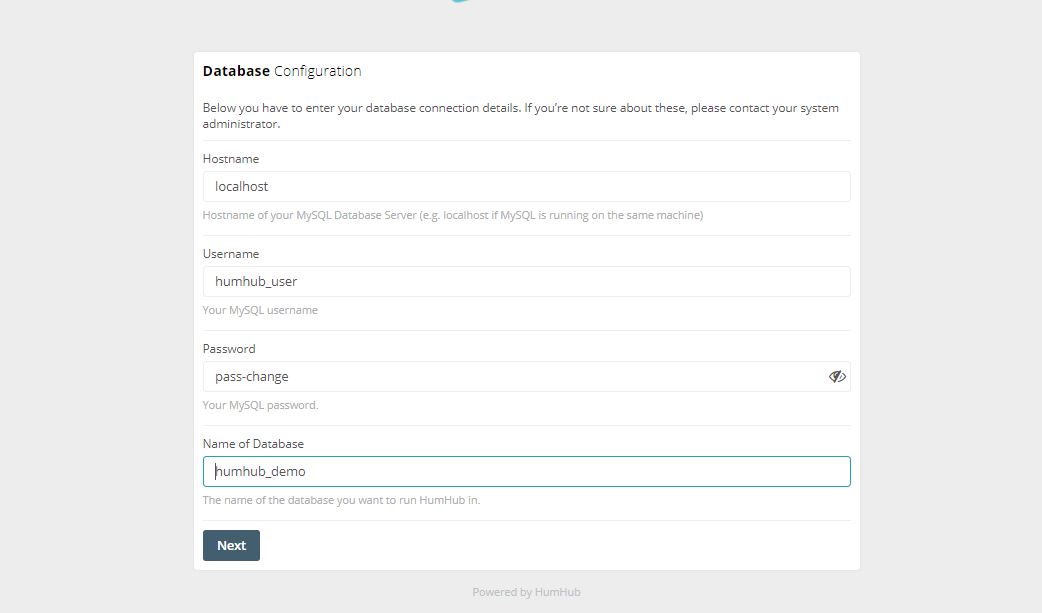
Database Configuration
We have created a database while performing this tutorial, enter the details of that. You can also use some remote MySQL database by specifying its address in the Hostname and then the database details available on it.
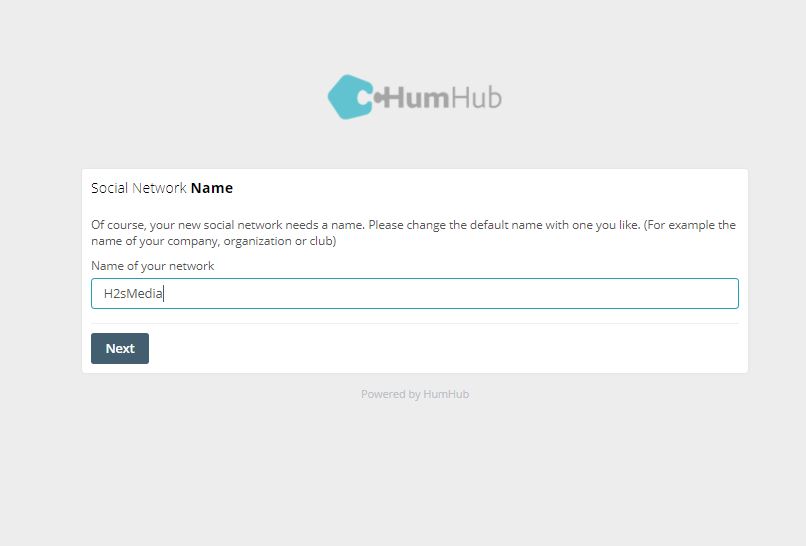
Social network Name
Assign the name which you want to use for your social network on HumHub.
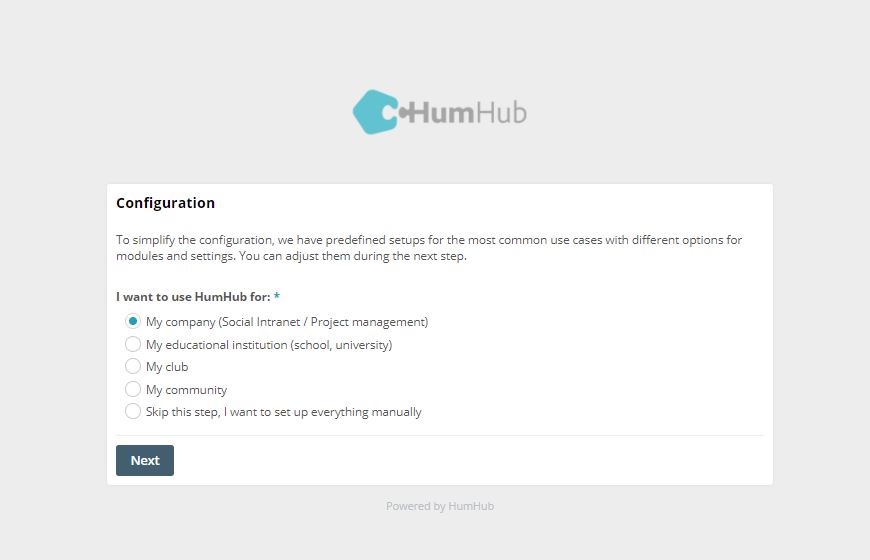
Configuration
Pre-define setups are available to select for the most common use cases with different options for modules and settings, choose the one as per your setup.
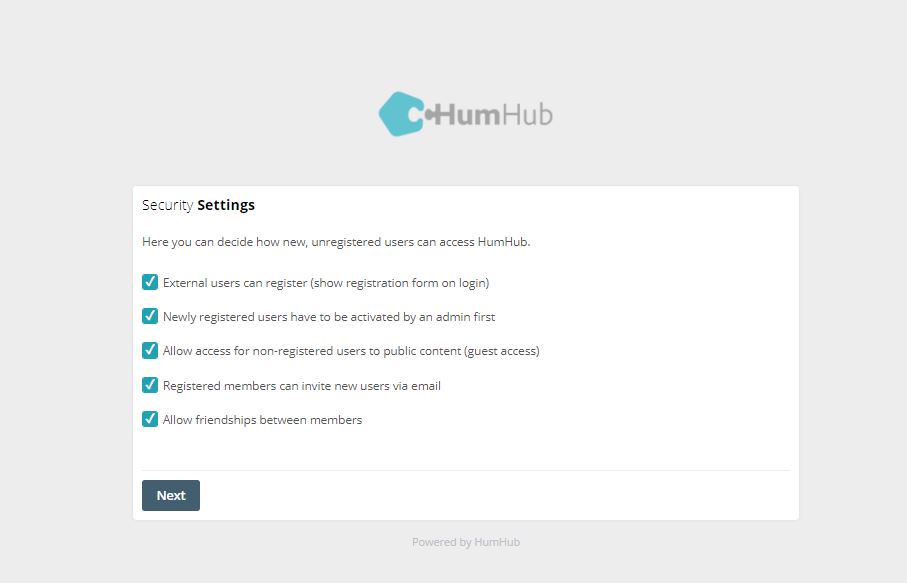
Security Settings
Select the options to configure how you want to allow unregistered users on your social media network …
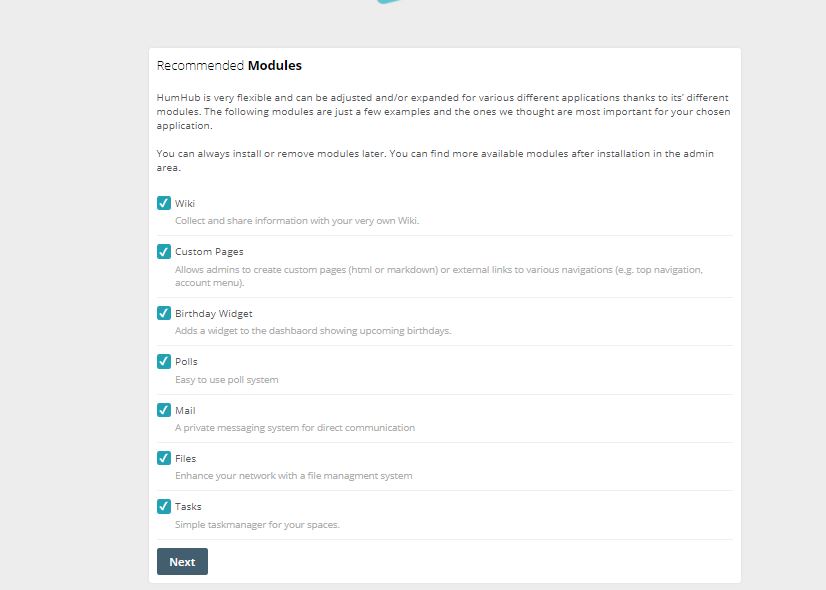
Recommended Modules
Let all the modules be selected by default and simply click on the Next button to install them. You can enable them later from your Account Settings.
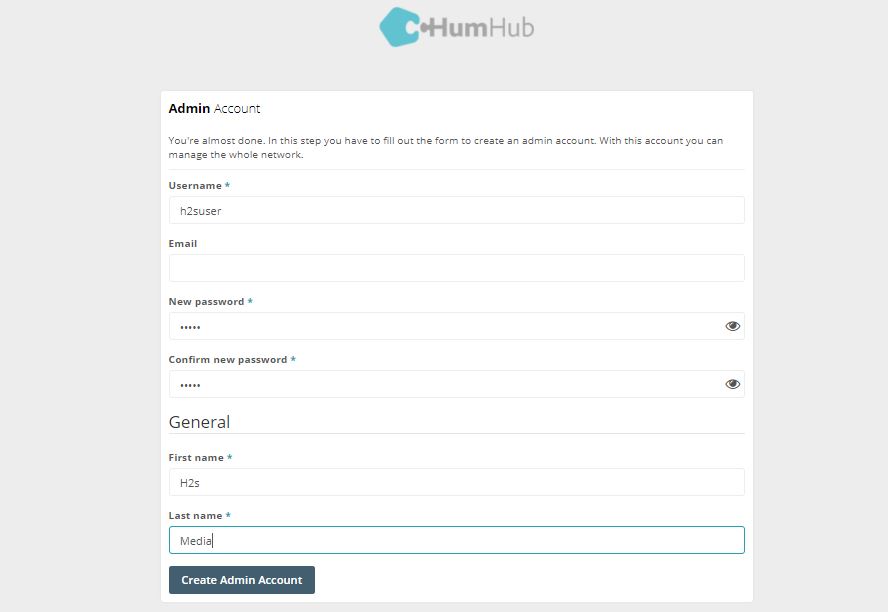
Create Admin Account
Enter the username and password along with the email address you want to use for the Administrator account for HumHub.
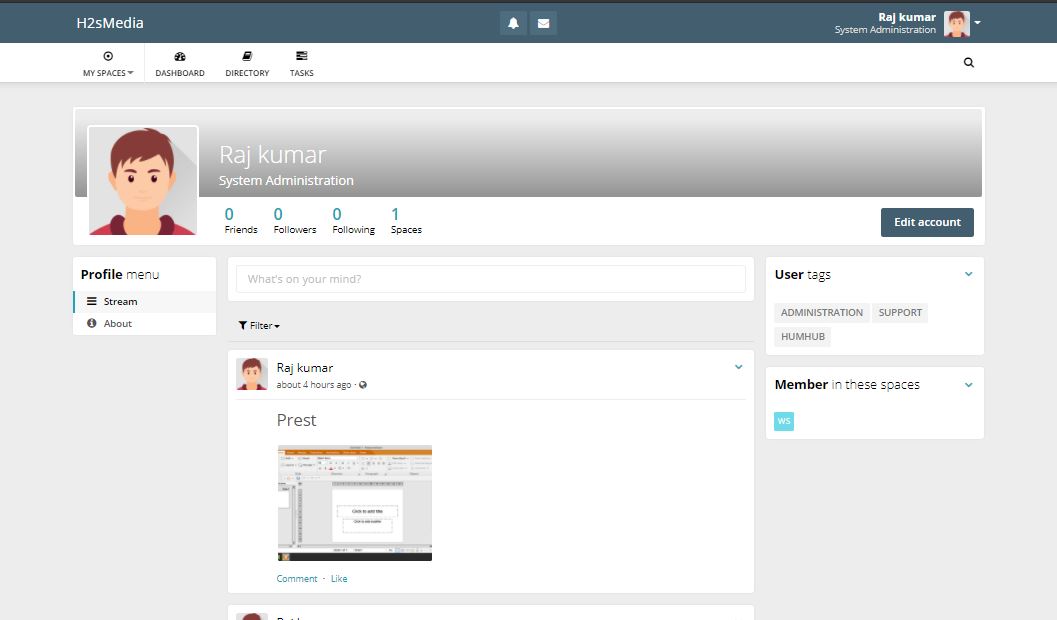
Dashboard
The main home screen of the Humhub that will appear to other users on your social network when they visit your profile is similar somewhat to Facebook.
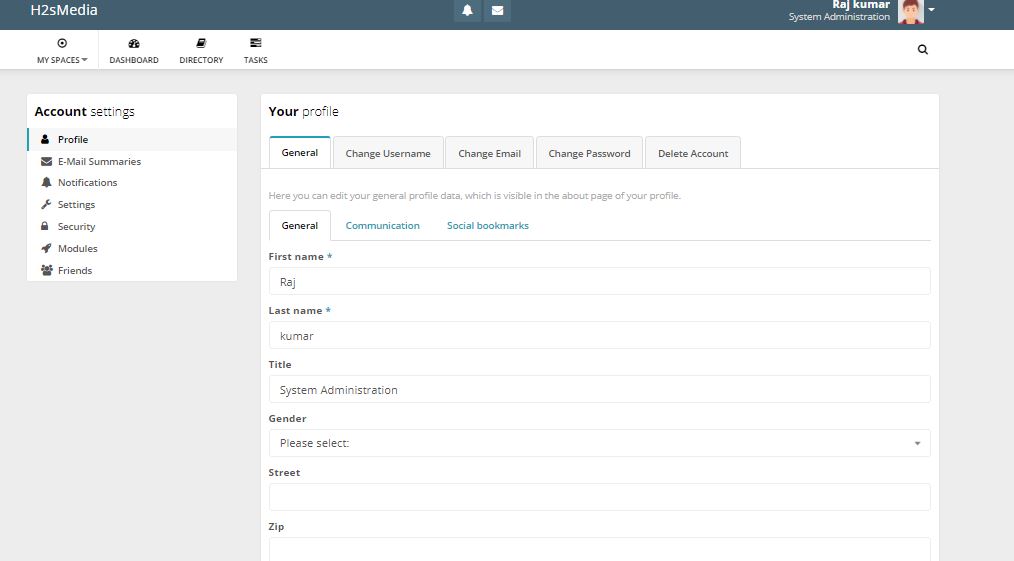
Account Settings
Post Area
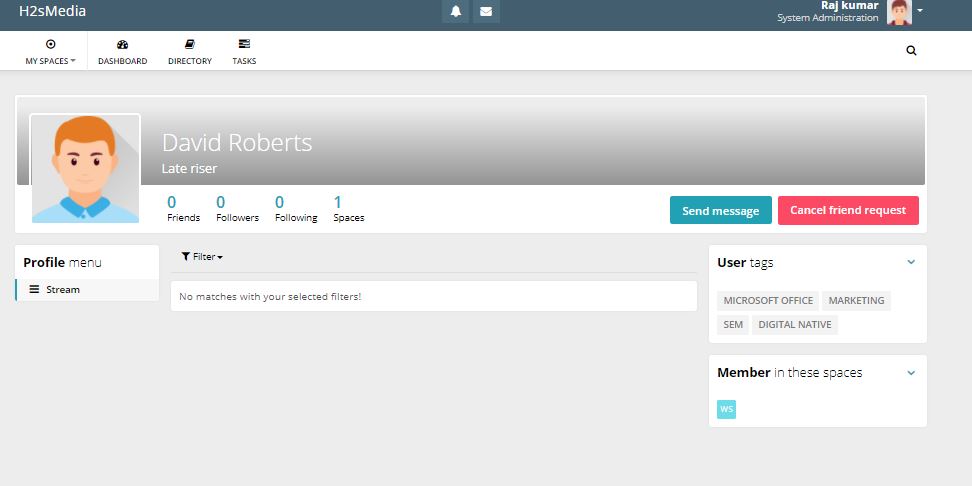
Friends’ Profile – Request send
Closing thoughts
In this way, we can quickly set up the HumHub on our Ubuntu Linux server. To know more about it, see the documentation of this platform. Here is the link.
