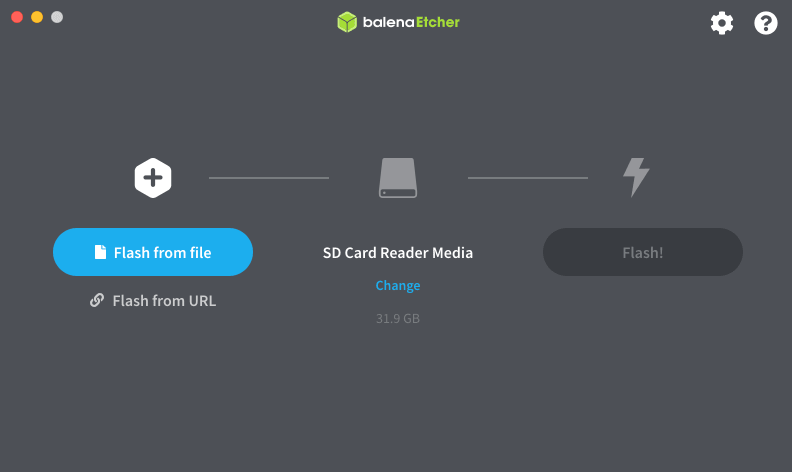
balenaetcher is a popular cross-platform bootable USB maker available for Windows, Linux, and macOS.With the minimal interface, this program is very easy to use and operate. Well, on the official website for Linux systems Etcher is available in AppImage format, however, if you don’t want it instead a completed installation using BalenaEtcher repository via command terminal then here is the tutorial for the same.
What is Etcher?
Etcher is an open-source program to write image files to removable media. This prevents you from accidentally selecting the hard drive, as only USB drives or memory cards are available. The bootable image formats it supports are * .iso , * .img , * .bin and also packed variants. The program recognizes an image is bootable or not. Optionally, the successful write process can also be compared with the image file to identify damaged data carriers.
It is also available in a portable version for Windows and Linux.
Etcher installation on Linux OS using Repository
Here we will try to cover all major Linux operating systems to know how to install BalenaEtcher on them using its repository.
Install on Ubuntu, Debian, Linux Mint, Kali, and others
All the Debian and Ubuntu 21.04/20.4/18.04/16.04… based operating systems can follow the below-given steps to install Etcher on their operating systems.
1. Add repository
Open the command terminal on your respective Debian-based operating system, paste a whole given block of command and hit the Enter key.
curl -1sLf \
   'https://dl.cloudsmith.io/public/balena/etcher/setup.deb.sh' \
   | sudo -E bash
2. Run system update
To rebuild the system repo cache, run-
sudo apt update
3. Install Etcher
Finally, run the system update command:
sudo apt-get install balena-etcher
4. Uninstall
In case you don’t want this bootable USB maker anymore, remove it using:
sudo apt-get remove balena-etcher
sudo rm /etc/apt/sources.list.d/balena-etcher.list
sudo apt-get clean
sudo rm -rf /var/lib/apt/lists/*
Etcher repository installation on RPM Linux – RedHat, Fedora, CentOS, AlamLinux, Rocky Linux
1. Add balenaEtcher Repository- Yum or DNF
Open command terminal on your RPM system and paste a below-given block of command and hit the Enter key:
curl -1sLf \
'https://dl.cloudsmith.io/public/balena/etcher/setup.rpm.sh' \
| sudo -E bash
2. Update system
Command to update system packages and rebuild repo cache.
sudo yum update
3. Install Balena-etcher-electron
Now, use the yum or DNF to install this USB maker for installing a bootable OS on your Linux.
sudo yum install -y balena-etcher-electron
4. Remove (optional)
If you want to uninstall the, then run the below commands:
sudo yum remove -y balena-etcher-electron
sudo rm /etc/yum.repos.d/balena-etcher.repo
OpenSUSE LEAP & Tumbleweed BalenaEtcher installation
Just like we did above for other Linux same here open the command terminal and add the repository:
1. Add the BalenaEtcher repository
curl -1sLf \
'https://dl.cloudsmith.io/public/balena/etcher/setup.rpm.sh' \
| sudo -E bash
2. Install
sudo zypper install balena-etcher
3. Remove
zypper rr balena-etcher
zypper rr balena-etcher-source
For Arch/Manjaro Linux
On Arch Linux, it is already available in one of the repositories, thus simple use:
sudo pacman -Sy
sudo pacman -Sy etcher
Whereas to remove the same:
sudo pacman -R balena-etcher


cool thanks!