VMware Tools is a bundle of utilities that enhances the performance and compatibility of the Guest operating system (virtual machines) running on VMplayer or VMware Workstation Pro. Furthermore, with the installation of VMware Tools, we will have drag-and-drop, shared folder, and optimal screen resolution functionality enabled for the Guest OS.
So, let’s learn the commands we can use to install VMware Tools on Kali Linux, which will improve the integration between the host and the guest OS.
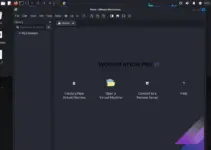
Note: If you want to install VMware Workstation Pro on the Kali Linux host system, click on the linked text.
Step 1: Access Kali Linux VM
First, we must access Kali Linux on our VMware Workstation, VMware Player, or VMware Fusion. Therefore, power “ON” your Kali Linux virtual machine and open the command terminal. We can access the terminal by clicking its shortcut icon in the Taskbar.

Step 2: Update the system
To ensure our Kali Linux is up to date, execute the given command once in the terminal. It will install the available updates and security patches.
sudo apt update Step 3: Installing VMware Tools on Kali Linux
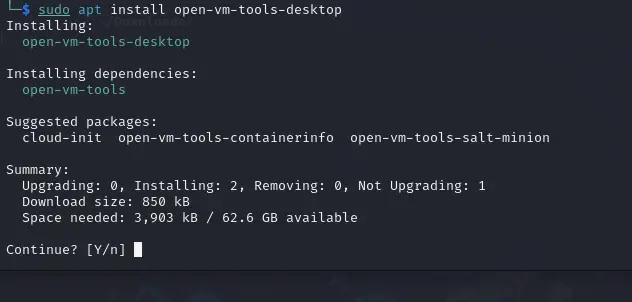
We don’t need to add any third-party repository to install the VMware tools required for various VMware services and utilities to enable the overall guest OS functionality. Just run the given command in your Kali Linux command terminal, and you are done.
sudo apt install open-vm-tools-desktop
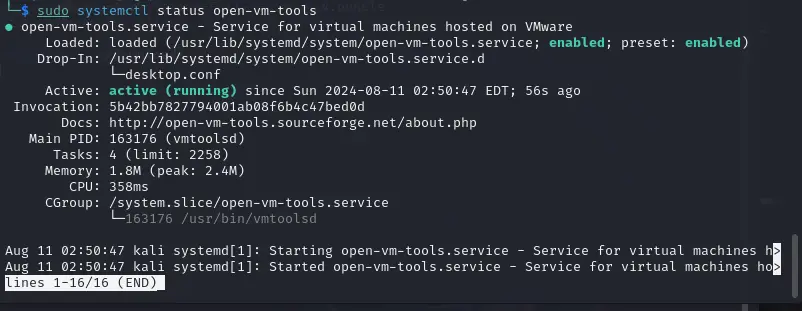
Step 4: Verify Installation
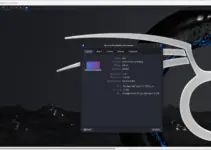
Run the following command to ensure that VMware Tools is installed correctly. The output, as given in the screenshot, will indicate that the service is active (running).
Step 5: Reboot the VM:
We need to reboot our system to apply all the changes we have made by installing the VMware Tools on Kali Linux.
sudo rebootAfter rebooting, we can further confirm the availability of Vmware Tools by checking its version.
vmware-toolbox-cmd -vThose who want to transfer files between guests and hosts can enable the VMware “Shared folders” feature. However, after turning it ON in your VMware settings, users need to manually mount the shared folder in Kali Linux to get access.
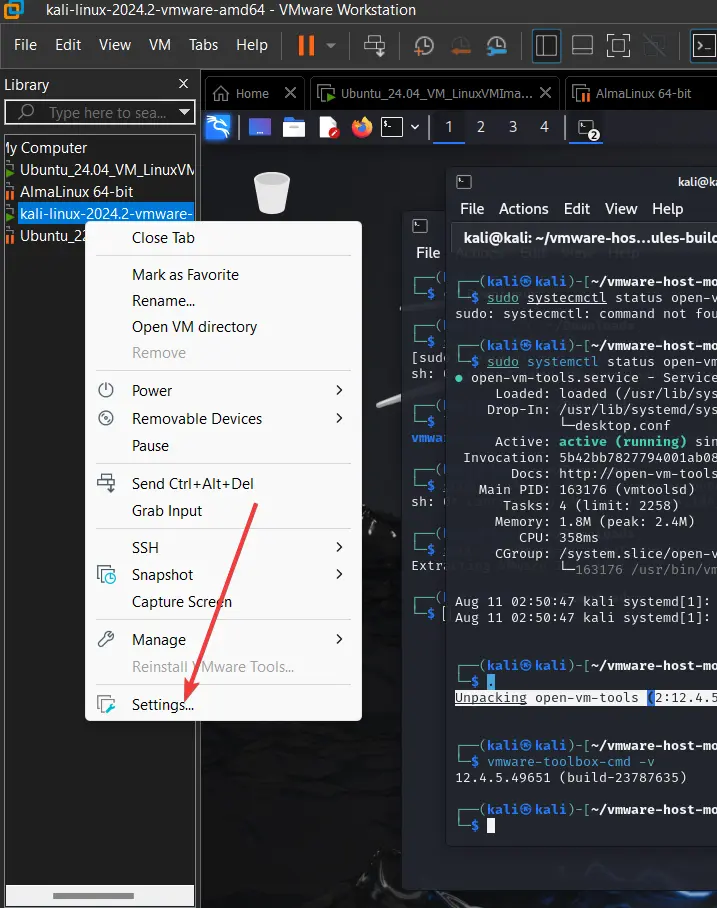
Create a Shared Folder in VMware:
- Go to the VM settings.
- Select “Options” and then “Shared Folders.“
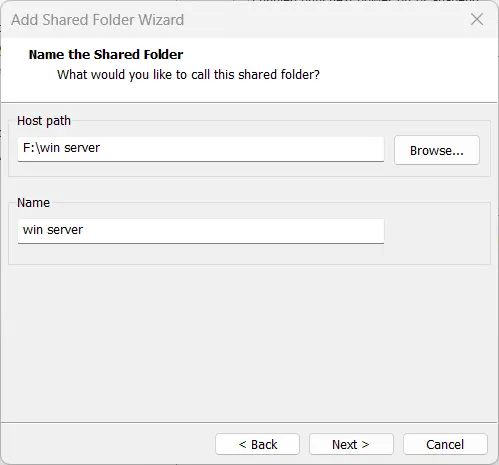
- Add a new shared folder.

Create a mount point
sudo mkdir /mnt/hgfsMount the shared folder:
sudo vmhgfs-fuse .host:/ /mnt/hgfs -o allow_otherAccess the folder:
cd /mnt/hgfsls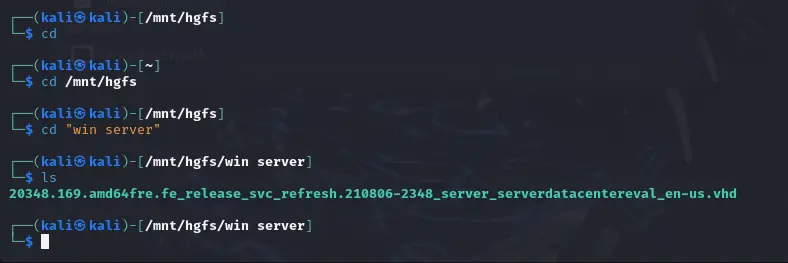
Conclusion
Installing and configuring Kali Linux with VMware tools is not tricky. We have already seen it. Although we can use the guest OS on the VMware workstation without installing this set of tools, it is recommended to have them for better performance and seamless integration with the Host system for enhanced graphics, smooth mouse control, and easy file sharing.
Other Articles:
- How to Check NIC Firmware Version in Linux
- 7 Ways to Check Firmware Version in Linux Command Line
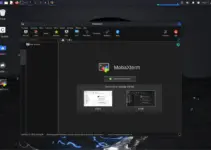
- How to install MobaXterm in Kali Linux Desktop
- 8 Ways to Delete Files in Linux such as Ubuntu, Debian, Kali, etc
- How to use Remote Desktop from Kali to access Windows 10 or 11