Tutorial to learn the steps and commands to install the RabbitMQ Server on Ubuntu 20.04 LTS Focal Fossa Linux to create your own, message broker.
RabbitMQ is a freely available message broker software under Mozilla Public License. It is an implementation of the Advanced Messaging Queue Protocol (AMQP) and manages the exchange of messages between sender and receiver as an intermediary service. The software is written in the programming language Erlang and is available for all common operating systems. It supports all major operating systems such as Windows, macOS, and Linux.
Through plug-ins, RabbitMQ can also be used with other messaging protocols such as STOMP (Streaming Text Oriented Messaging Protocol) or MQTT (Message Queuing Telemetry Transport).
In RabbitMQ, the software sets up queues between the producers and the consumers of the messages in which the messages are temporarily stored. The message exchange between sender and receiver is asynchronous. This means that the message producer is not blocked by sending a message and can perform new tasks regardless of how the recipient picks up the message.
Steps to install RabbitMQ on Ubuntu 20.04 LTS Server
Estimated reading time: 6 minutes
1. Update Ubuntu 20.04
If you have just installed a fresh Ubuntu 20.04 server or using an already existing one after some time then it is a good idea to start with the system update command. This will install all the available updates for your system.
sudo apt update && sudo apt upgrade
Also, install common tools:
sudo apt install curl wget gnupg apt-transport-https -y
2. Install Erlang programming langauge
RabbitMQ server software is written in the programming language known as Erlang and is available for all common operating systems. Therefore before the software installation, let’s set up Erlang on our Ubuntu 20.04 LTS system.
Add GPG Key:
curl -fsSL https://packages.erlang-solutions.com/ubuntu/erlang_solutions.asc | sudo gpg --dearmor -o /usr/share/keyrings/erlang.gpg
Add Repository:
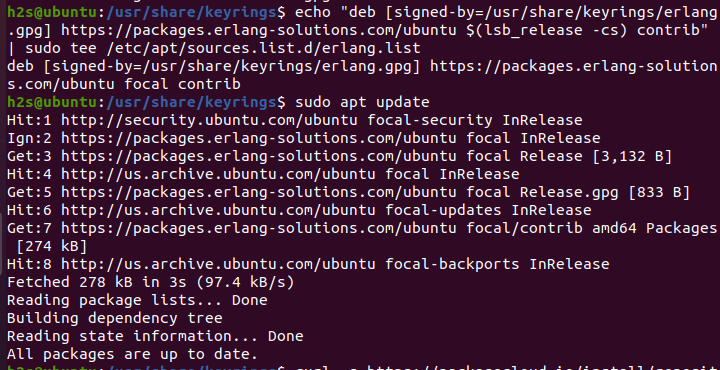
echo "deb [signed-by=/usr/share/keyrings/erlang.gpg] https://packages.erlang-solutions.com/ubuntu $(lsb_release -cs) contrib" | sudo tee /etc/apt/sources.list.d/erlang.list
Run system update:
sudo apt update
Install Erlang
sudo apt install erlang
3. Add RabbitMQ Repository
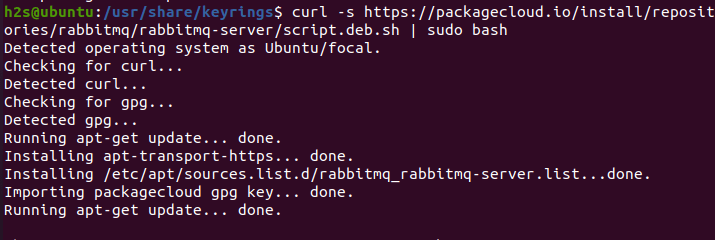
Just like Erlang, RabbitMQ packages to install it are also not available using the default system repository of Ubuntu 20.04. Hence, run the given command that will fetch and run a script to configure the RabbitMQ GPG key and repository on your supported Ubuntu Linux.
curl -s https://packagecloud.io/install/repositories/rabbitmq/rabbitmq-server/script.deb.sh | sudo bash
4. Install RabbitMQ Server on Ubuntu 20.04 LTS
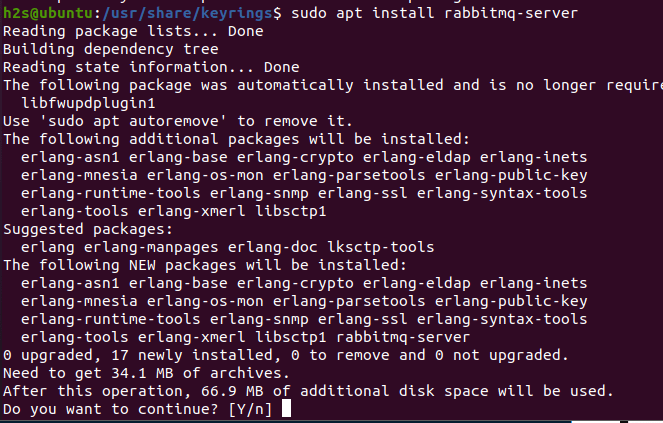
Once you are done with the above-given steps, let’s use the APT package manager to install the server packages available for RabbitMQ using its official repository on Ubuntu 20.04 Focal.
sudo apt install rabbitmq-server
5. Check Rabbitmq-server service status
Well, to confirm after the installation the RabbitmQ service is running in the background without any error use:
systemctl status rabbitmq-server.service --no-pager -l
For Knowledge: To stop, restart and disable the service in the future you can use:
To stop
sudo systemctl stop rabbitmq-server.service
To Restart
sudo systemctl restart rabbitmq-server.service
To disable
sudo systemctl disable rabbitmq-server.service
To enable:
sudo systemctl enable rabbitmq-server.service
6. RabbitMQ GUI Web Management
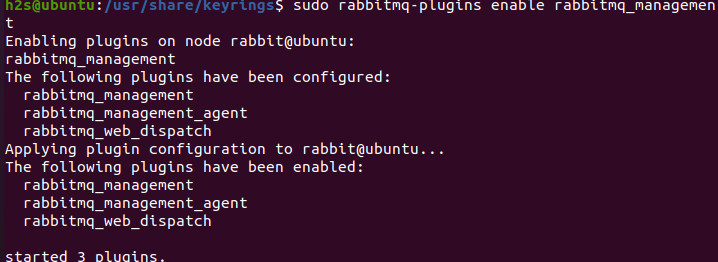
(Optional): Those who want a graphical web management interface can enable a plugin called rabbitmq_management that offers a GUI web interface for easy management of the RabbitMQ server.
sudo rabbitmq-plugins enable rabbitmq_management
7. Create User
To login to the RabbitMQ server remotely we have to create an Admin user. However, if you are accessing it locally on the same system where you have installed the RabbitMQ then you can use http://localhost:15672, where the user name will be = guest and password=guest.
However, if you are using CLI Ubuntu 20.04 and want to access its GUI web management remotely then create an Admin user:
sudo rabbitmqctl add_user h2s your-password
Note: Change h2s with the username, you want to set and your-password with the password for the user.
Set tags for created user to [administrator]
sudo rabbitmqctl set_user_tags h2s administrator
Giver permission to created user:
sudo rabbitmqctl set_permissions -p / h2s ".*" ".*" ".*"
8. Acess Web interface
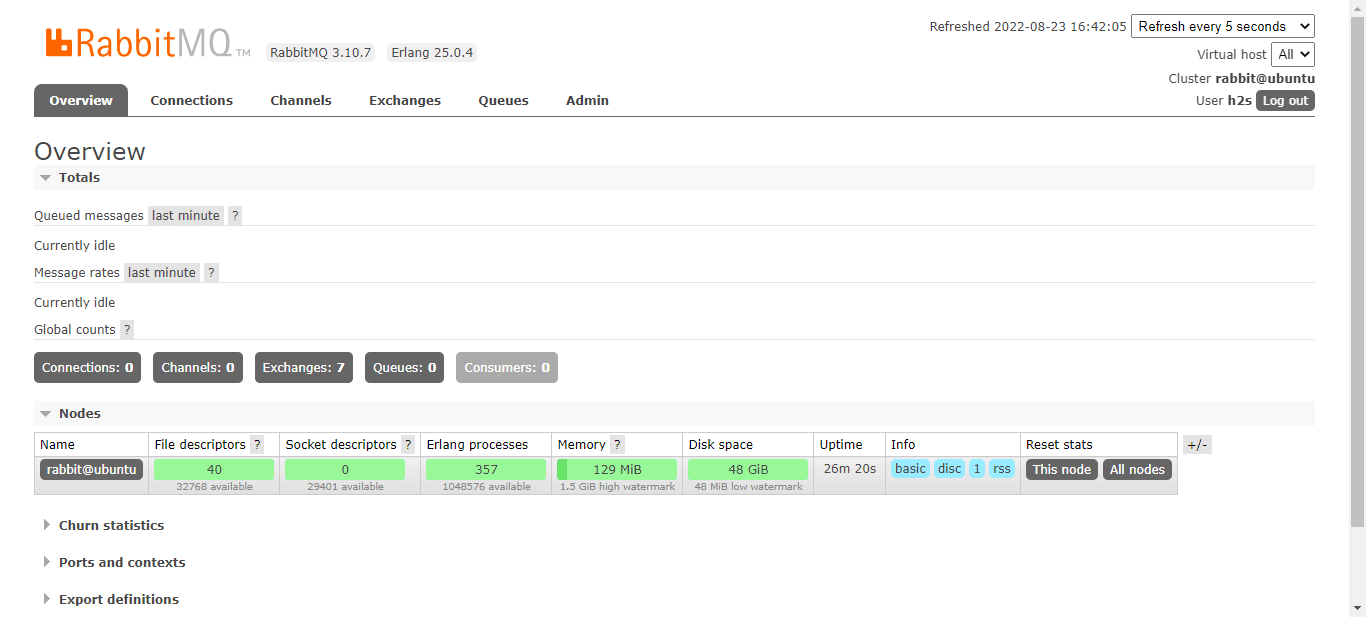
Open your browser that can access the IP address of the Ubuntu 20.04 server where you have installed RabbitMQ. After that point it to the server-ip-address along with port number: 15672.
Format: http://server-ip-address:15672
For example http://192.168.135.134:15672
9. Common rabbitmqctl command usage
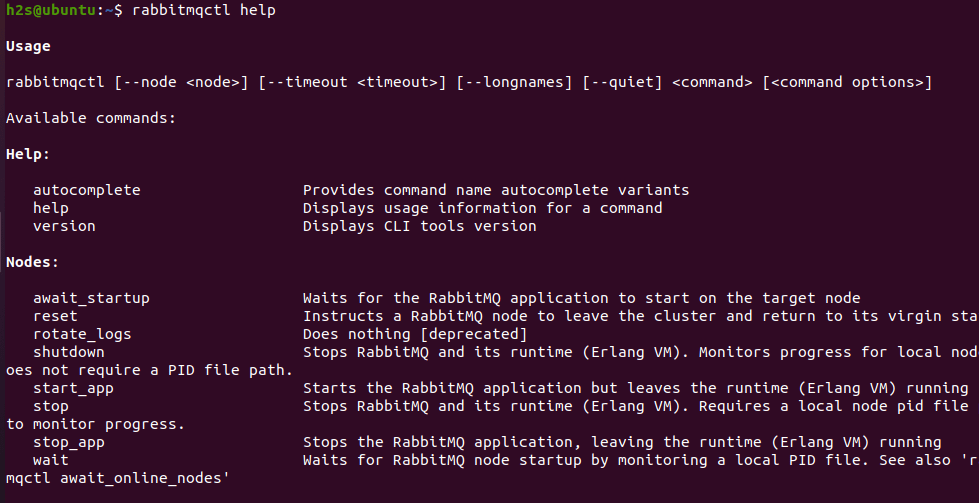
To manage the platform, we can use a command line tool called rabiitmqctl gets installed on your system automatically with the server package of this platform.
To know what are the options available to use with it, the users can run:
rabbitmqctl help
To delete added user:
sudo rabbitmqctl delete_user username
RabbitMQ User password change:
If you forget the user password or just want to change it then:
sudo rabbitmqctl change_password username password
To know more about the Admin tools of RabbitMQ visit the official guide page.
To learn more about RabbitMQ, users can refer to the official tutorial page of it.
10. Uninstallation
In case you are facing some problem and want to completely remove the RabbitMQ Server from Ubuntu 20.04, then follow the given command:
sudo apt autoremove --purge rabbitmq-server
To remove Erlang
sudo apt autoremove --purge erlang
For deleting repos and gpg keys of these tools:
sudo rm /usr/share/keyrings/erlang.gpg /etc/apt/sources.list.d/erlang.list
sudo rm /etc/apt/keyrings/rabbitmq_rabbitmq-server-archive-keyring.gpg /etc/apt/sources.list.d/rabbitmq_rabbitmq-server.list
Other Tutorials:
⇒ 4 Ways to Check MySQL or MariaDB version on Linux
⇒ Install Yandex Browser on Ubuntu 20.04 LTS Linux
⇒ How to install CyberPanel on Ubuntu 20.04 LTS Server
⇒ How to install Linux kernel 5.19 on Ubuntu 22.04 or 20.04


