Use our guide to install the InfluxDB database server on Ubuntu 22.04 LTS Jammy using the command terminal.
What is InfluxDB?
InfluxDB is an open-source database developed by InfluxData that prioritizes maximum efficiency with limited complexity, unlike relational databases such as MySQL and MariaDB or structured databases such as Redis. Although the software is distributed under an open-source license, the company also offers commercial extensions such as access controls for business customers within its root server and cloud services with graphical data analysis via a web interface. Some of its key features are Specialization in time series; Combination of several sources in one central instance; Very high processing efficiency; Support of Flux as a scripting language for administration and Collection of data from different sources, for example via the third-party API.
Steps to install InfluxDB on Ubuntu 22.04 LTS Linux
The steps given below to install InfluxDB for Ubuntu 22.04 LTS can also be used for the Linux system based on it. Such as Linux Mint, POP OS, Elementary OS, and more…
1. Start with a System update
As we are about to install a database server on Ubuntu 22.04, hence it is better to run the system update command first. This will ensure that we have important security updates on our system.
sudo apt update2. Import the InfluxDB GPG key
As the packages for the installation of InfluxDB are not available through the default system repository. Therefore, we need to add the one manually, however, the system has to ensure the packages getting from a particular repo are the same as they were released by its developers. And for that purpose, it needs the GPG Key. Follow the given command to add the one offered by the developers of InfluxDB.
wget -q https://repos.influxdata.com/influxdata-archive_compat.key3. Add APT repository
Next, add the repository officially issued by the developers of InfluxDB. The given command will automatically detect the version of your system and the InfluxDb package repository corresponding to that.
echo '393e8779c89ac8d958f81f942f9ad7fb82a25e133faddaf92e15b16e6ac9ce4c influxdata-archive_compat.key' | sha256sum -c && cat influxdata-archive_compat.key | gpg --dearmor | sudo tee /etc/apt/trusted.gpg.d/influxdata-archive_compat.gpg > /dev/nullecho 'deb [signed-by=/etc/apt/trusted.gpg.d/influxdata-archive_compat.gpg] https://repos.influxdata.com/debian stable main' | sudo tee /etc/apt/sources.list.d/influxdata.listPerform the system update:
After adding the repo, run the system update command to rebuild the APT package index cache.
sudo apt update4. Installing InfluxDB on Ubuntu 22.04
We have prepared our system by following the above commands to fetch the packages of InfluxDB using the APT package manager. Now, to install it, run the given command:
sudo apt install influxdb25. Start and Enable the Influxdb service
To let the database server service start automatically with the system boot, start and enable it using the given commands.
sudo systemctl start influxdb
sudo systemctl enable influxdb
Whereas to check the status of the service, you can see:
sudo systemctl status influxdbIn the future to stop and restart the database server, the commands are:
To restart:
sudo systemctl restart influxdbTo stop
sudo systecmtl stop influxdb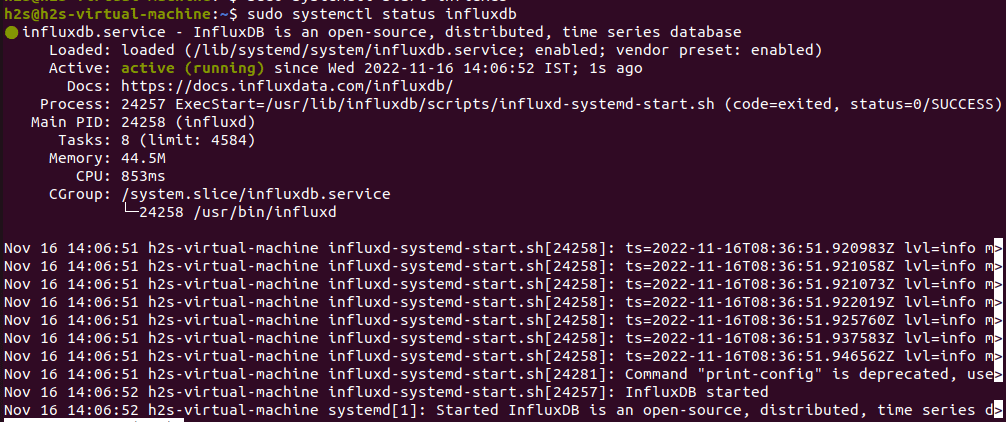
6. Allow InfluxDB TCP port 8086 in the Firewall
If you have enabled the system firewall then allow port 8086 in it to access InfluxDb from the client over its HTTP API.
sudo ufw allow 8086/tcpIn the same way, we can also open TCP port 8088 using the above command, if needed. This port is used by the RPC service for backup and restore.
6. Setup InfluxDB
You can use the command line or the GUI to set up the primary username and password.
For the command line:
influx setup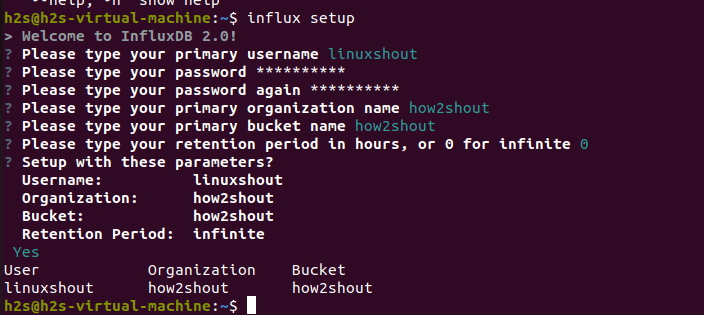
or
Open the browser and type: http://server-ip-address:8086
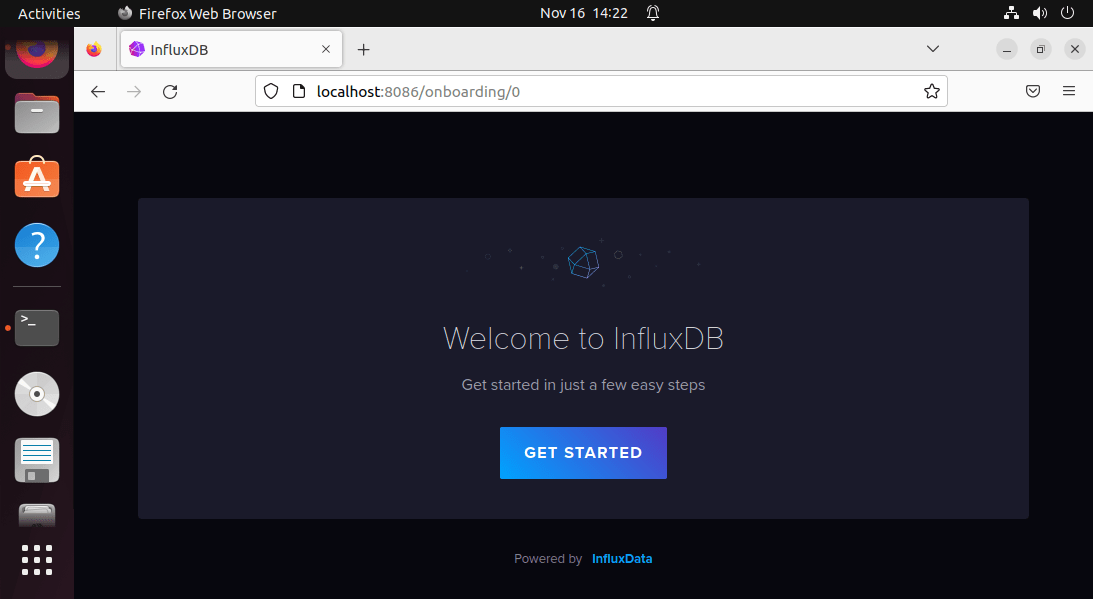
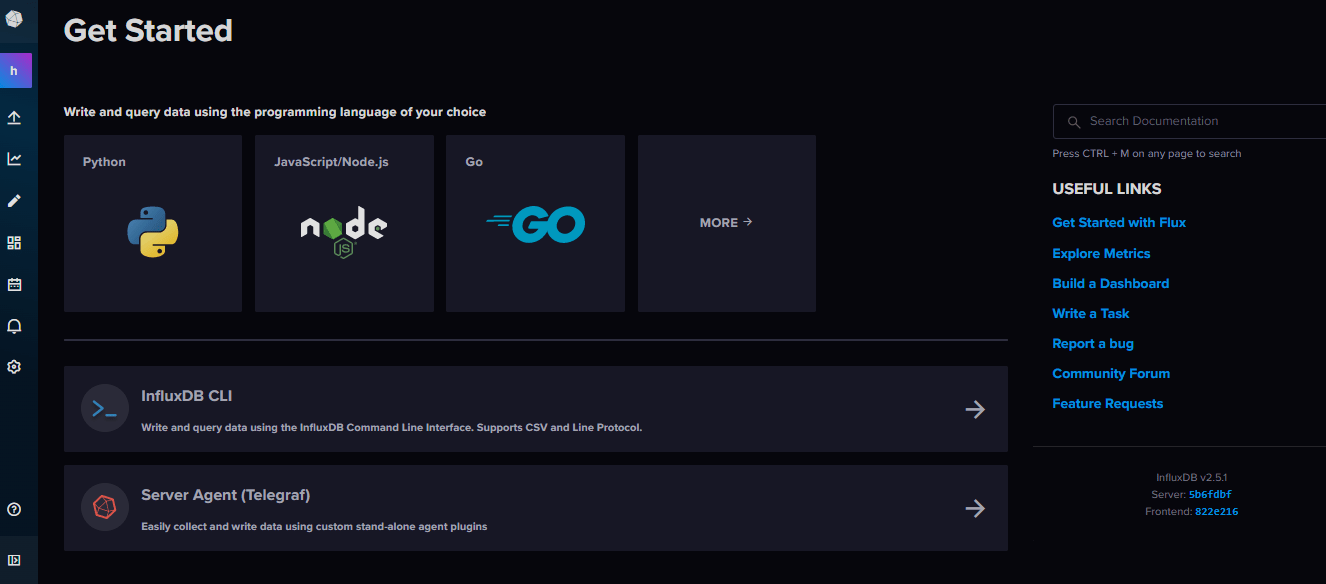
This was the quick way to install InfluxDB Database Server and use it on Ubuntu 22.04. To know more about security and authentication- see the official documentation.




Hi, just an update, I had issues with ubuntu 22.04 cause the gpg key wasn’t validated. In the repo page it says that both influxdb.key and influxdb2.key have been deprecated, so you’d need to change the gpg key to either influxdata-archive.key or influxdata-archive_compat.key for older distribution
Other than that, great tutorial, thanks for the work
It looks like this install process may have been broken again. I diligently followed the instructions. When performing the second update (after adding APT repository) I get:
user@server:~$ sudo apt update
Hit:1 http://gb.archive.ubuntu.com/ubuntu jammy InRelease
Get:2 http://gb.archive.ubuntu.com/ubuntu jammy-updates InRelease [119 kB]
Get:3 https://repos.influxdata.com/ubuntu jammy InRelease [7,028 B]
Get:4 http://gb.archive.ubuntu.com/ubuntu jammy-backports InRelease [108 kB]
Get:5 http://gb.archive.ubuntu.com/ubuntu jammy-security InRelease [110 kB]
Err:3 https://repos.influxdata.com/ubuntu jammy InRelease
The following signatures couldn’t be verified because the public key is not available: NO_PUBKEY D8FF8E1F7DF8B07E
Reading package lists… Done
W: GPG error: https://repos.influxdata.com/ubuntu jammy InRelease: The following signatures couldn’t be verified because the public key is not available: NO_PUBKEY D8FF8E1F7DF8B07E
E: The repository ‘https://repos.influxdata.com/ubuntu jammy InRelease’ is not signed.
N: Updating from such a repository can’t be done securely, and is therefore disabled by default.
N: See apt-secure(8) manpage for repository creation and user configuration details.
The article is updated, remove the previously added repository using
sudo rm /etc/apt/sources.list.d/influxdb.listand run the tutorial commands again.Hi, great tutorial with clear steps.
Please correct step 6 ( Firewall ports)
add UFW after sudo otherwise the UFW program is not referred.
complete command “sudo ufw allow 8086/tcp”
I had to install influxdb2-client “sudo apt install influxdb2-client” to run influx setup