Learn the steps and commands to install open source CyberPanel on Ubuntu 20.04 LTS Server for having your web control panel to host & manage websites and other web applications.
CyberPanel is a stable open source control panel that is available to easily install on any VPS or dedicated server running on Linux server operating system. It helps the users to easily manage their command line server using the web interface and allows hosting websites because of the inbuilt web server and other required components such as PHP.
Instead of Apache, CyberPanel offers a well-optimized lightweight webserver Litespeed. It is compatible with Apache host configuration files and also can handle large amounts of requests using a well-developed caching system called LSCACHE but usually requires an additional license.
Cyberpanel is available in two editions one uses LiteSpeed web server open source edition known as OpenLitespeed whereas the other one is with Litespeed web server enterprise, which is free for a domain with one worker (process) and limited to 2GB RAM only. For more domains, supporting more RAM and workers require the purchase of a CyberPanel Enterprise license.
Hence, if you don’t want to invest additional money on a web server control panel platform then an open source version of Litespeed cache is best to opt for while installing CyberPanel on Ubuntu 20.04 Linux.
Steps to install CyberPanel on Ubuntu 20.04 LTS Linux
CyberPanel Requirements
To follow this tutorial your Linux server should full fill the listed things:
⇒ Server with a fresh Ubuntu 20.04 OS and sudo access
⇒ Python 3.x
⇒ 1 GB RAM, or higher
⇒ 10GB Disk Space
Update Ubuntu 20.04
Login to your remote Ubuntu 20.04 focal server via SSH or direct command line web interface offered by your VPS or cloud service provider. Here we are using the Amazon Lightsail Ubuntu 20.04 server. After that run the system update and upgrade command to ensure our server is up to date.
sudo apt update && sudo apt upgrade
Install wget & curl
To run the script provided by the Cyberpanel developers to install their hosting control panel, we need wget and curl tools on our system.
sudo apt install wget curl -y
Install CyberPanel on Ubuntu 20.04 LTS
After following the previous steps our Ubuntu 20.04 Linux system, it is ready to install CyberPanel. To makes things easy for users, the developers of this open source control panel offer a script. Running which will automatically install the CyberPanel, of course, some inputs are required which we will discuss here as well.
Switch to root user:
sudo su -
Let’s download and initiate the CyberPanel installation script.
sh <(curl https://cyberpanel.net/install.sh || wget -O - https://cyberpanel.net/install.sh)
Once the script is downloaded and run as a root user, it will first start checking the system compatibility and whether it meets the required hardware resource requirements or not.
Initial Configuration
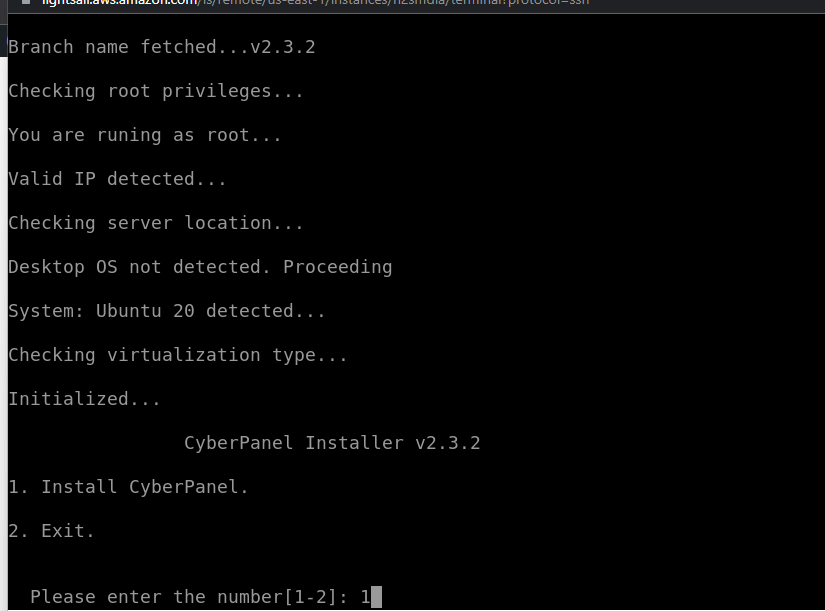
Step 1: The text-based wizard will ask you to enter ‘1‘ to start the installation process. If you want to exit then type number 2 and hit the Enter key.
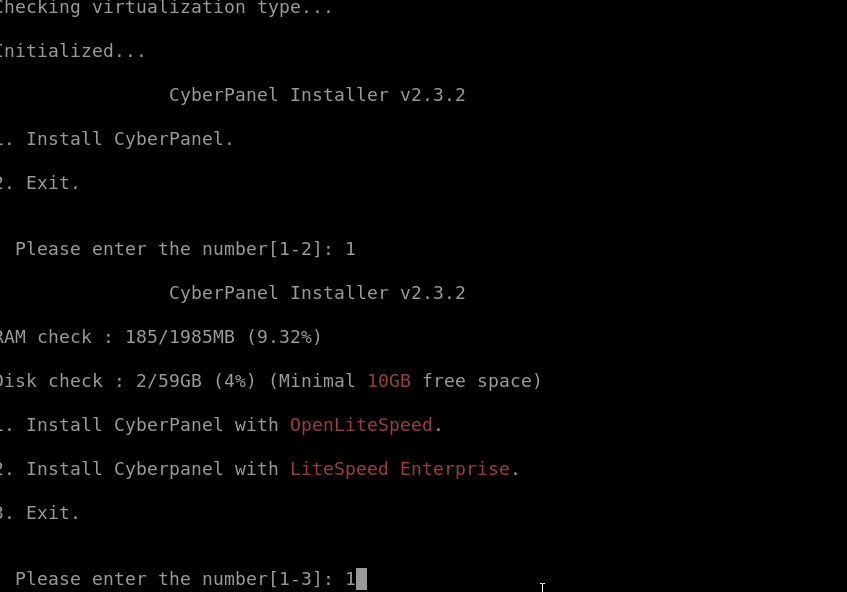
Step 2: Select Web server type. If you want the Open source LiteSpeed then select the first option with OpneLiteSpeed one whereas those who want the Enterprise edition of it can go for the second one.
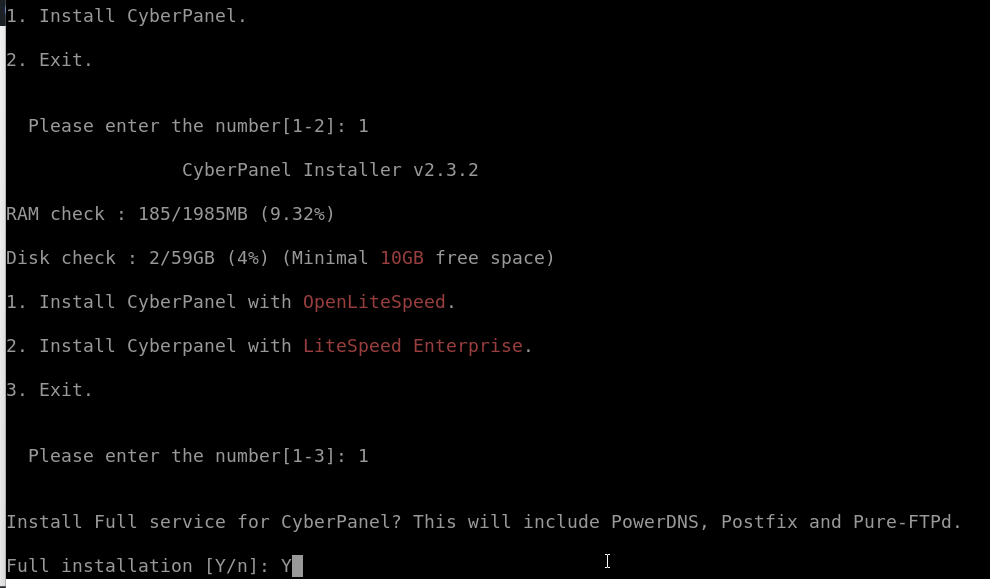
Step 3: Install Full Service of CyberPanel on Ubuntu 20.04, simply type Y and hit the Enter key.
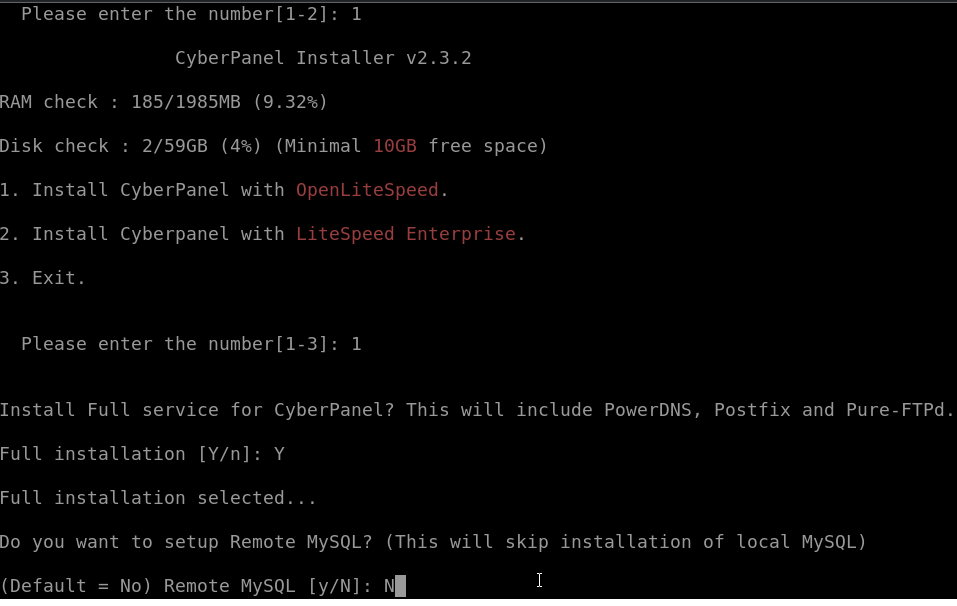
Step 4: Do you want to set up a remote MySQL Database? Well, if you already have a MySQL server running on some remote server then select the Y option otherwise press N and hit the Enter key. Well, if you don’t have any idea about this then it is recommended to select N to let CyberPanel install the MySQL server on the same Ubuntu 20.04 VPS where you are installing the CyperPanel.
Step 5: Press the Enter key after that let the Cyber Panel select the latest version to install. After that, the setup will ask you to set the Admin password. If you skip this, the setup will set the default password for the Control panel Admin user i.e 1234567. However, it is recommended to set some strong passwords here manually. For that use the option ‘s‘ and hit the Enter key. Once done type the password two times you want to setup.
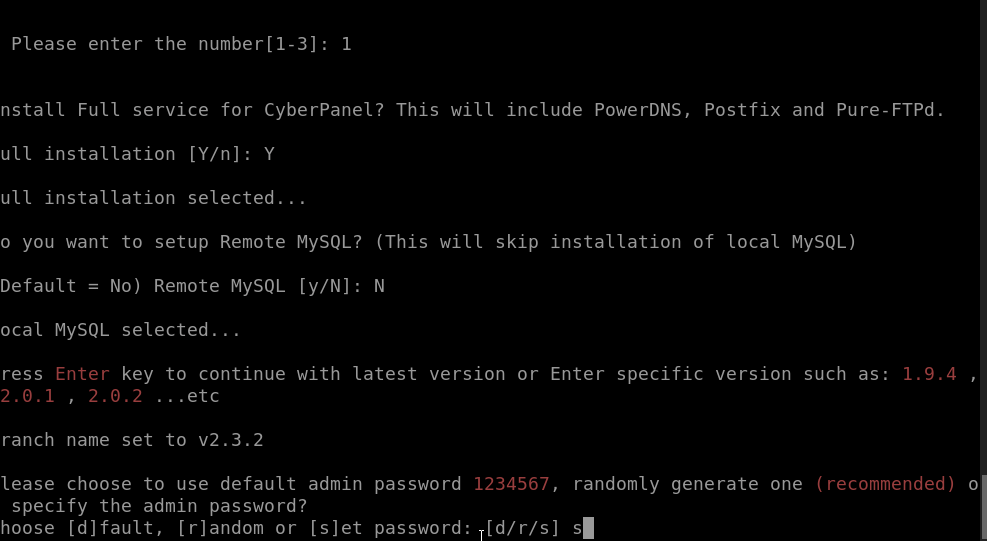
Install PHP and its extension along with other things; the process will ask for your permission.
Wait for some time until the script completed the installation process. Once the process is completed, you will have the intimation for the same along with your Ubuntu 20.04’s IP address that you can use to access the CyberPanel web interface.
Restart your system by pressing Y to complete the CyberPanel installation.
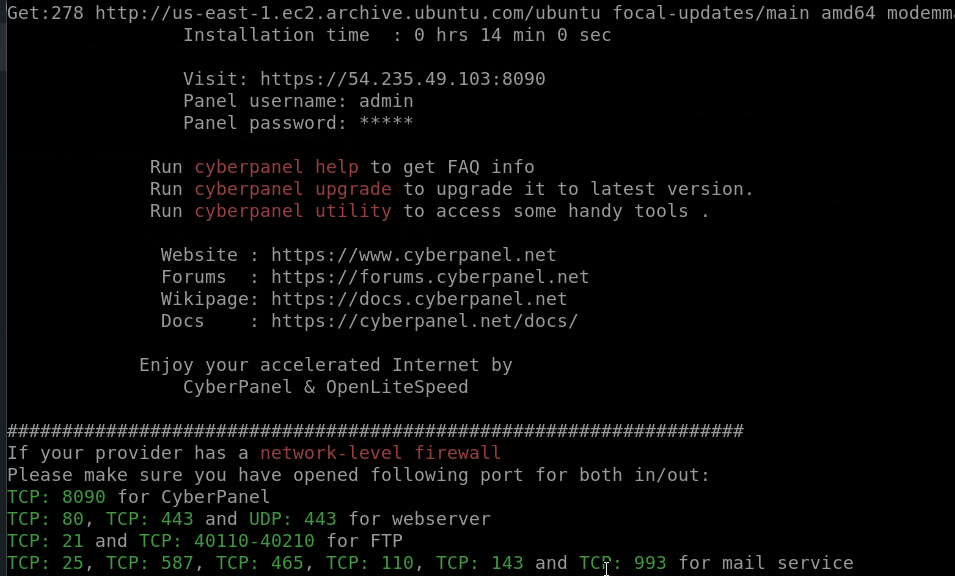
Ports need to be opened in the firewall
If you are using a firewall on Ubuntu 20.04 then open the following ports. Whereas, if you are on a cloud service provider then open the required ports in the service provider’s firewall.
For UFW firewall only, if installed otherwise skip this:
sudo ufw allow 8090,80,443,25,587,465,110,143,993,53,21/tcp
sudo ufw allow 443,53/udp
sudo ufw allow 40110:40210/tcp
Note: If you are a VPS or Cloud server user with a service provider firewall then open the above ports in that instead of using ufw.
Access the OpenLiteSpeed:
Once you have opened the ports, open a browser on your system that can access the server IP address and get the OpenLiteSpeed web interface by typing- http://your-server-ipaddres:7080
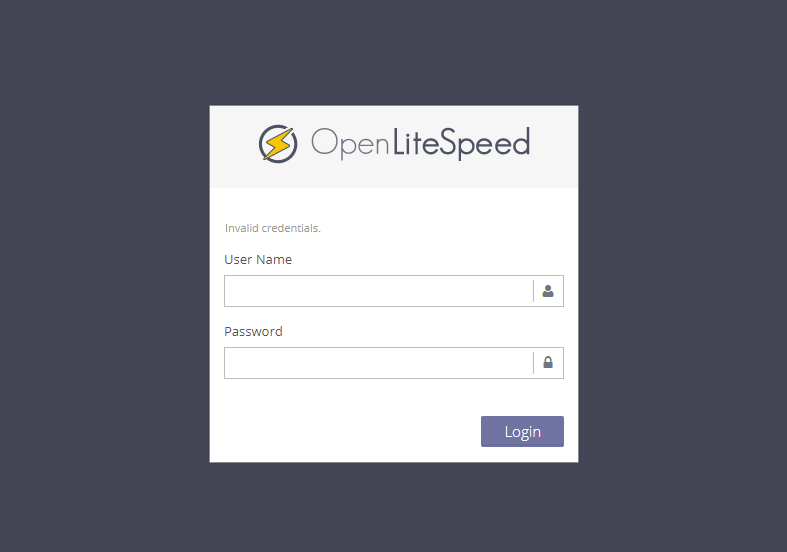
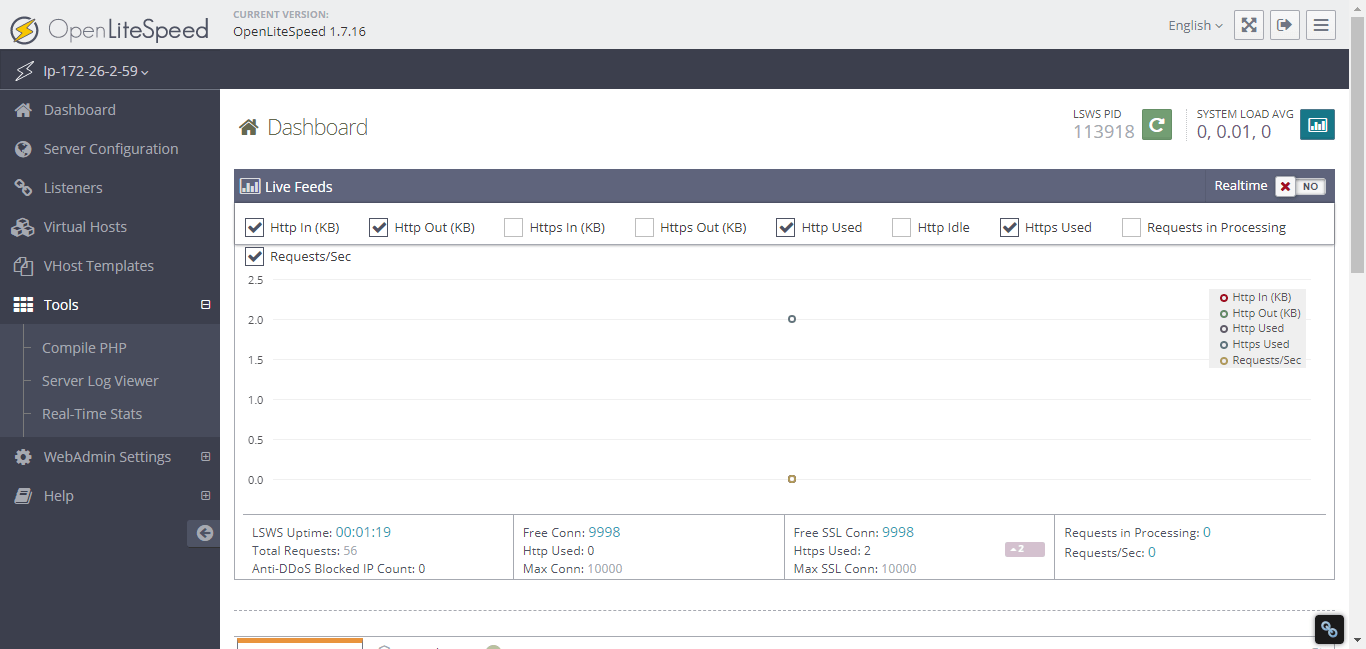
CyberPanel Web interface
For the Web hosting control panel management interface use- https://your-server-ipaddres:8090
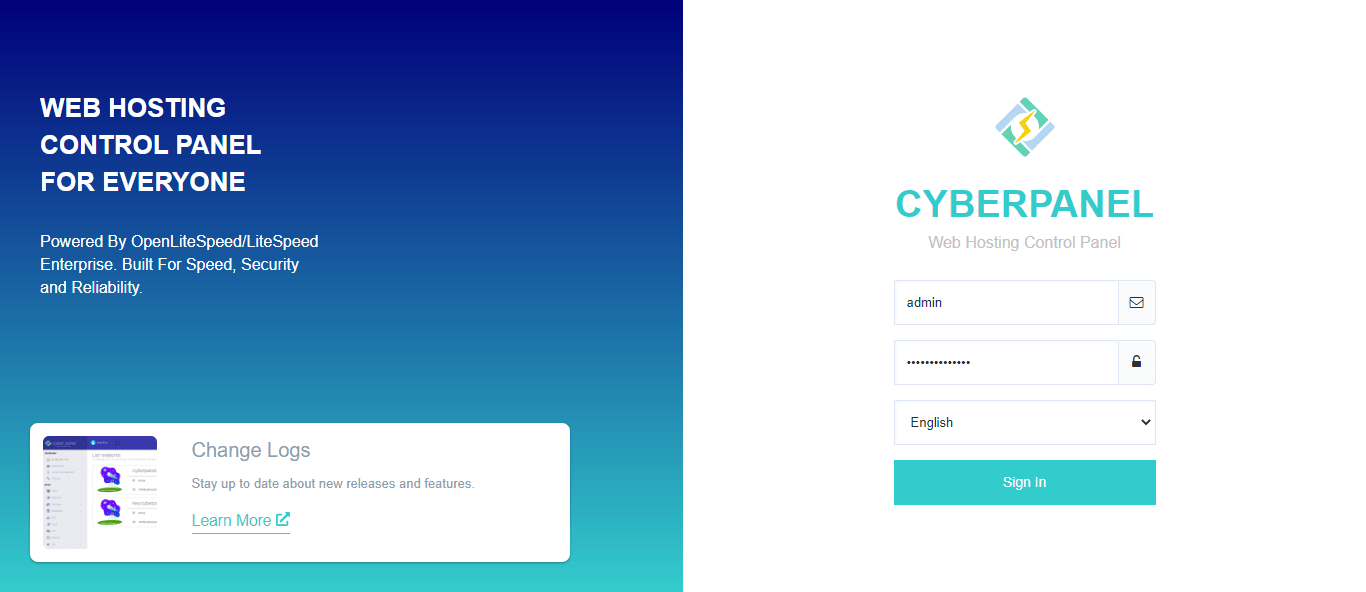
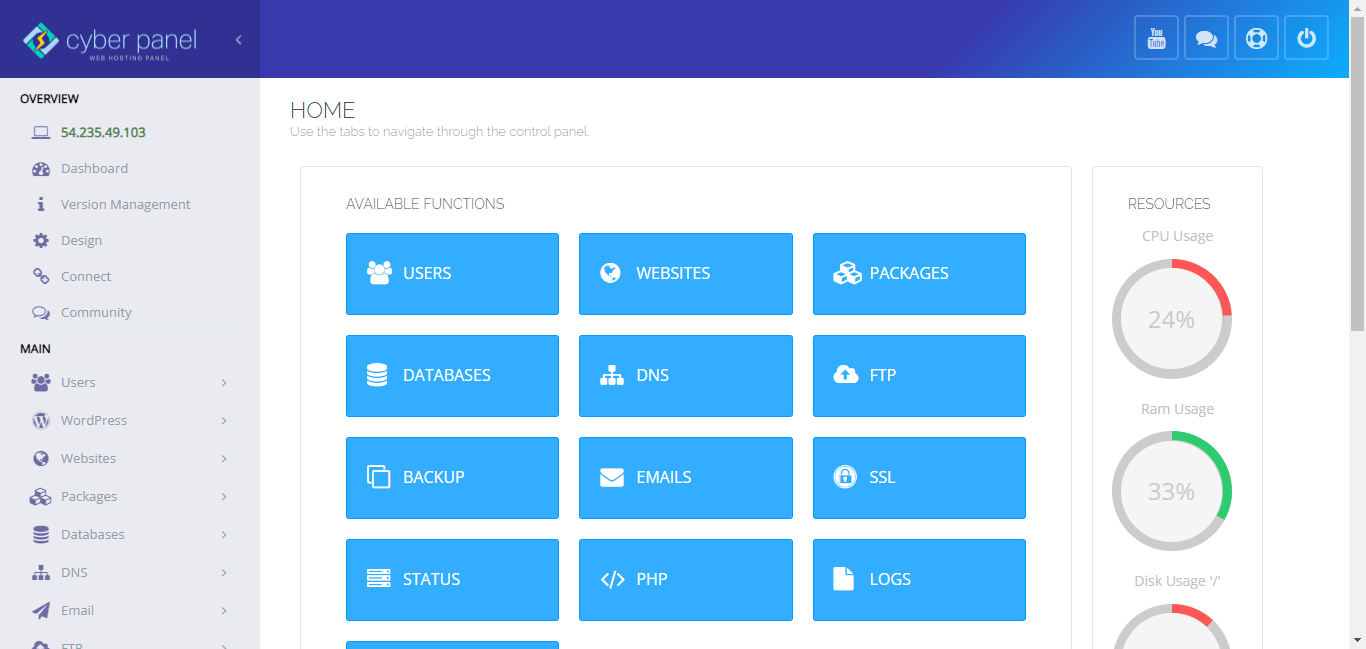
How to change the password of OpenLiteSpeed and CyberPanel Web Admin
In case you have forgotten the password set for OpenLiteSpeed and CyberPanel Admin web interface then here is the way to change the passwords for them.
Go to your Ubuntu 20.04 command terminal where Cyberpanel has been installed.
For CyberPanel backend running at port number 8090:
cd /usr/bin/
sudo adminPass your-new-password
Note: replace the your-new-password with the password you want to set for CyberPanel Admin users:
For CyberPanel OpenLiteSpeed Web Admin Interface running at port number 7080.
cd /usr/local/lsws/admin/misc
sudo ./admpass.sh
Ending Note:
Now, you can manage your web server and website easily using OpenLiteSpeed and CyberPanel Web hosting control panel running on Ubuntu 20.04 LTS Linux. For more details refer to Cyberpanel’s Official Documentation.
Other Articles:
⇒ 6 Best free Cloud hosting Control Panels for Linux Servers for 2022
⇒ Install opensource CyberPanel on Almalinux | Rocky linux 8
⇒ How to Install OpenLiteSpeed Web Server on AlmaLinux 8 or Rocky
⇒ List Open or closed Ports in UFW Firewall on Ubuntu 20.04




Excellent article. It could add a lot to the Cyberpanel documentation, lacking information.
I would like to take the opportunity to launch a challenge, install Cyberpanel on Ubuntu 20.04, with MySQL MariaDB external.
I’ve made dozens of attempts using an EC2 and an RDS free tier from Amazon.
Even connected to the DB, in some attempts, not even the Cyberpanel database is created in MariaDB.
I’ve only been successful using a six-digit password on the DB, type 123456. Which doesn’t seem to make any sense.