Learn the steps to install the Icinga monitoring solution on Ubuntu 20.04 LTS Focal Fossa desktop or server using the command terminal, in this tutorial.
What is Icinga?
Icinga is an open-source monitoring software platform available as a standalone solution that was originally released as a variant of Nagios. Unlike Nagios, Icinga has a modular architecture and a multi-threaded design.
The web interface comes in different variants, which makes Icinga particularly adaptable. Similar to Nagios, the software can be expanded. However, it differs in that the configuration takes place via the web interface and not via configuration files.
Icinga is characterized primarily by its flexibility and is suitable for large and diverse environments. The solution is used on physical or virtual servers and in the cloud.
Steps to install Icinga2 on Ubuntu 20.04 Focal LTS Linux
1. Requirements
To perform this tutorial we required these key things on our system to set it.
• Ubuntu 20.04 Linux
• LAMP Server
• A non-root user with sudo rights
2. Add Icinga2 Repository on Ubuntu 20.04
The packages we required to install the Icinga monitoring solution are not available in the default repository of Ubuntu 20.04 LTS. Hence, we have to add the one provided officially by the Icinga developers.
Add GPG Key
sudo apt install wget -y
wget -O - https://packages.icinga.com/icinga.key | sudo gpg --dearmor -o /usr/share/keyrings/icinga-archive-keyring.gpg
Add Repository
sudo nano /etc/apt/sources.list.d/icinga.list
Copy-Paste the following lines:
deb [signed-by=/usr/share/keyrings/icinga-archive-keyring.gpg] https://packages.icinga.com/ubuntu icinga-focal main
deb-src [signed-by=/usr/share/keyrings/icinga-archive-keyring.gpg] https://packages.icinga.com/ubuntu icinga-focal main
Save the file, press Ctrl+O, Hit the Enter key, and then exit Ctlr+X.
3. Run the system update command
Once you added the repository, run the system update command to make sure everything is up to date. And this will also refresh the repo cache to ensure the system could recognize the packages available through our newly added Icinga repo.
sudo apt update -y
4. Install Apache, PHP & MySQL
We need a LAMP or LEMP server to run the Icinga monitoring platform, here we are going for LAMP – Linux, Apache, MySQL, and PHP stack. Although you can install them one by one, however, instead of that here we use Tasksel to easily install all of them by using a single command.
sudo apt install tasksel -y
sudo tasksel install lamp-server
5. Install Icinga2 and Monitoring Plugins
Well, we have added the package source for this open-source platform, now we can use the APT package manager to install Icinga.
sudo apt install icinga2 monitoring-plugins
6. Install Icinga MySQL module
Once the LAMP server is installed, let’s secure and create a database to use with Icinga for storing the data generated by it.
Secure Database server:
sudo mysql_secure_installation
Follow the text-based wizard to set the root password for the Database server and then follow it further to remove the anonymous user, table and restrict the remote login.
Press y|Y for Yes, any other key for No:
Please set the password for root here.

New password:
Re-enter new password:

Remove anonymous users? (Press y|Y for Yes, any other key for No) : Y
Disallow root login remotely? (Press y|Y for Yes, any other key for No) : Y
Remove test database and access to it? (Press y|Y for Yes, any other key for No) : Y
Reload privilege tables now? (Press y|Y for Yes, any other key for No) : Y
Create DB
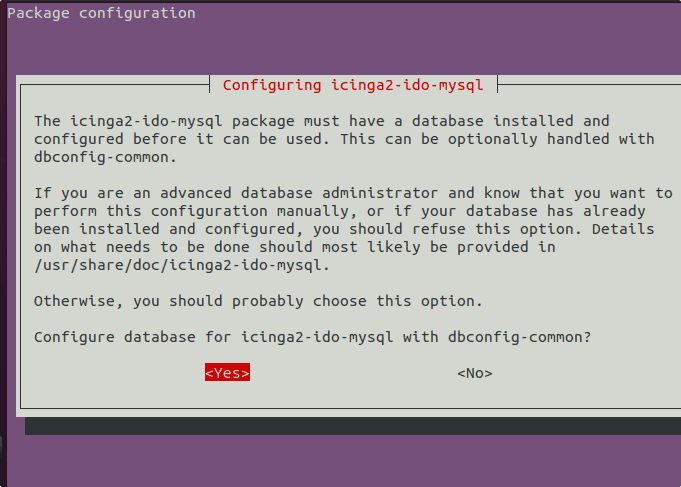
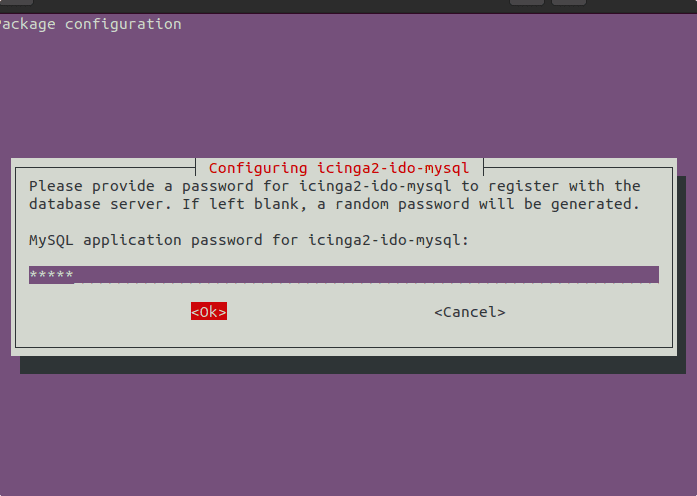
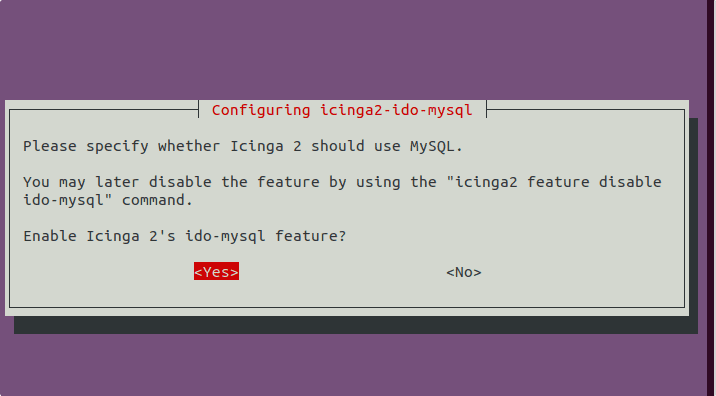
Run the given command to get the Intelligent Data Object (IDO) module required by the Icinga to interact with data in the database. This will also create the database, when it asks for the password to set for it, then enter some strong one.
sudo apt install icinga2-ido-mysql
Login MySQL
sudo mysql -u root -p
Run
ALTER USER icinga2@localhost IDENTIFIED WITH mysql_native_password BY ' your-password';
Note: Replace “your-password” with the one you used while setting up icinga2-ido-mysql module.
flush privileges;
exit;
7. Activate icinga2 module feature and restart service
sudo icinga2 feature enable ido-mysql
Check whether the module is activated or not:
sudo icinga2 feature list
Restart icinga2 service
sudo systemctl restart icinga2
8. Setup icingaweb2 icingacli on Ubuntu 20.04
To monitor our servers using Icinage we can use the graphical web interface as well as its command-line tool, to easily perform monitoring.
sudo apt install icingaweb2 icingacli
9. Create a database user for icingaweb2
Let’s create one more database to store the data of icingaweb2. Login to MySQL
sudo mysql -u root -p
Create DB and user:
create database icingaweb2;
create user icingaweb2@localhost identified with mysql_native_password by "your-password";
grant all privileges on icingaweb2.* to icingaweb2@localhost with grant option;
flush privileges;
exit;
10. Generate Token
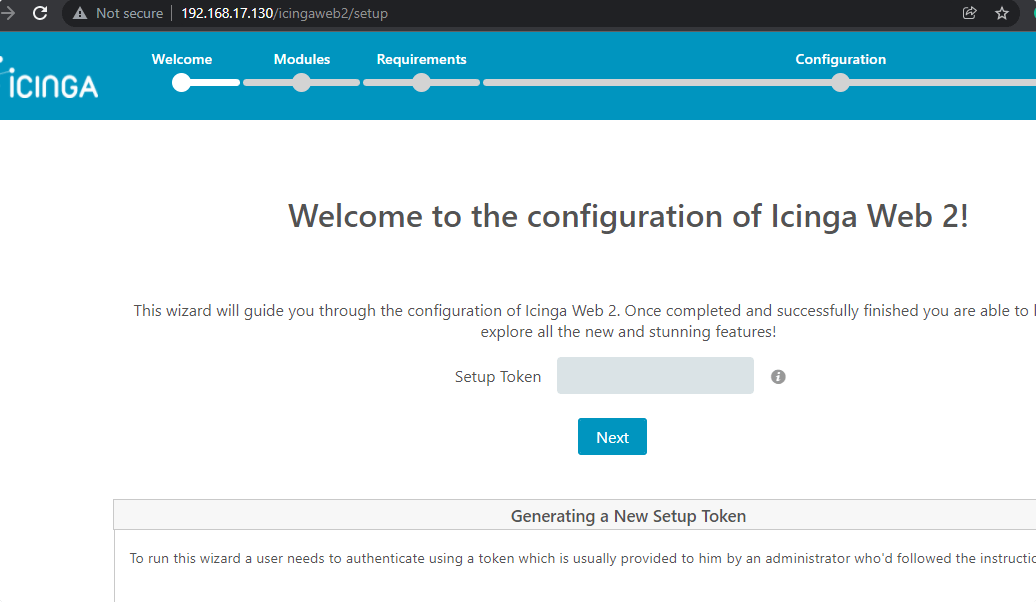
After setting, the first page that appears on your web browser will ask for a Token, hence generating that before moving further.
sudo icingacli setup token create
Copy the Token and move to the next step.
11. Access Web Interface
Open browser on your local system where you have installed the Icinga, if that doesn’t have GUI then open in any other system that can access the server’s IP address where you have installed it.
http://server-ip-address/icingaweb2/setup
Note: Replace server-IP-address with the actual Ip-address
Paste or Type the token you have generated in Step 9 of this article. After that click Next.
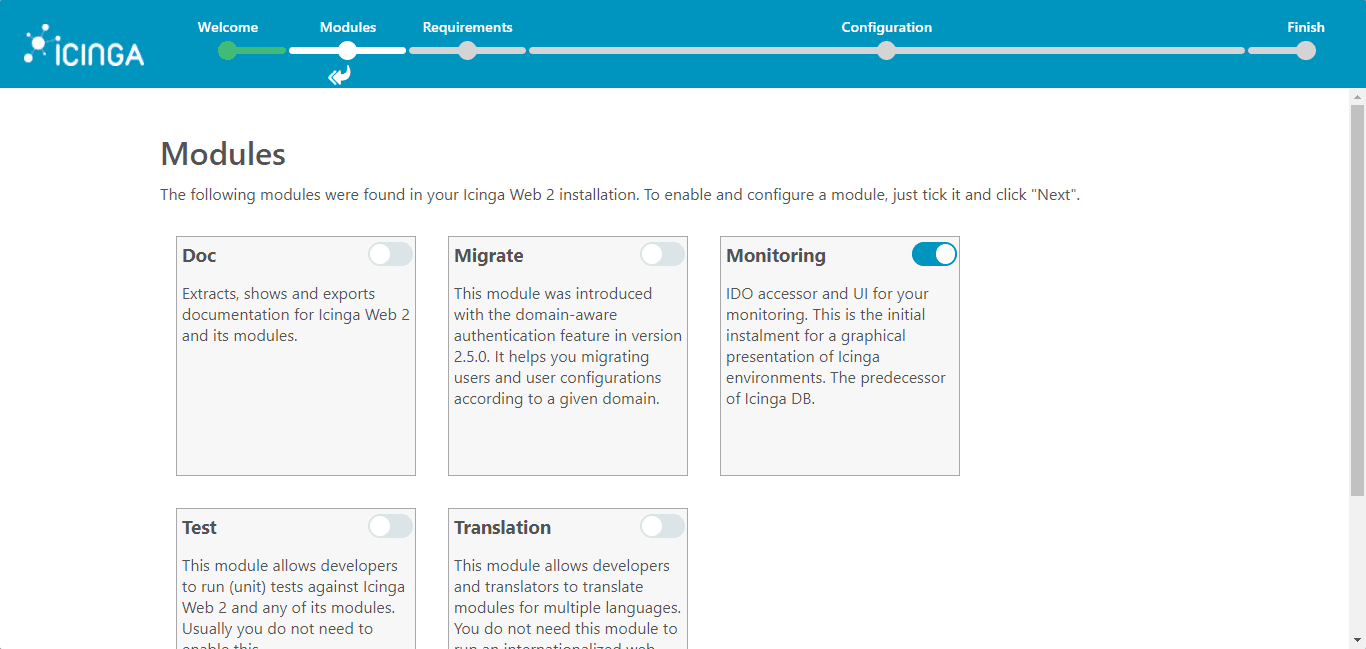
Select or Enable the modules you want to install:
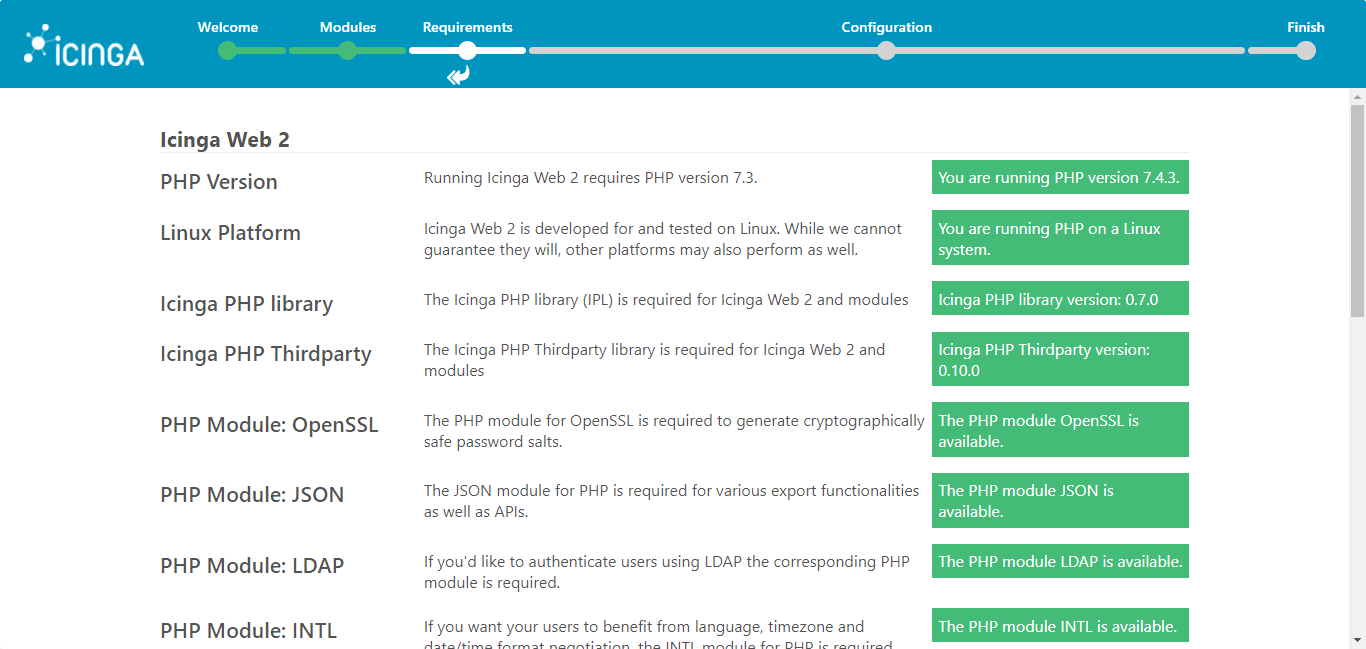
The system will check the required things are in place or not. Simply click on the Next button.
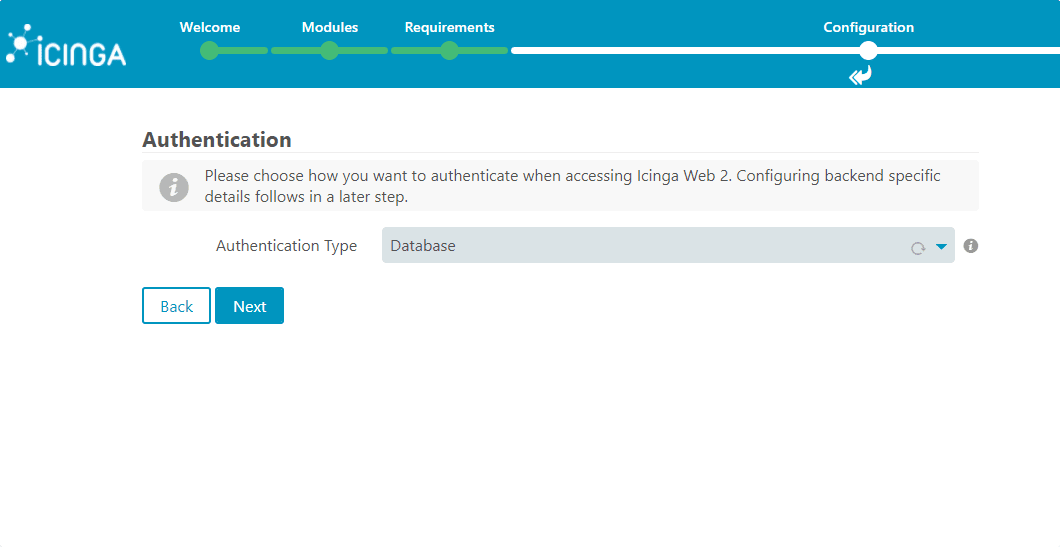
Select Authentication Type- Database to access Icinga Web 2.
12. Configure Database for Icinga Web 2
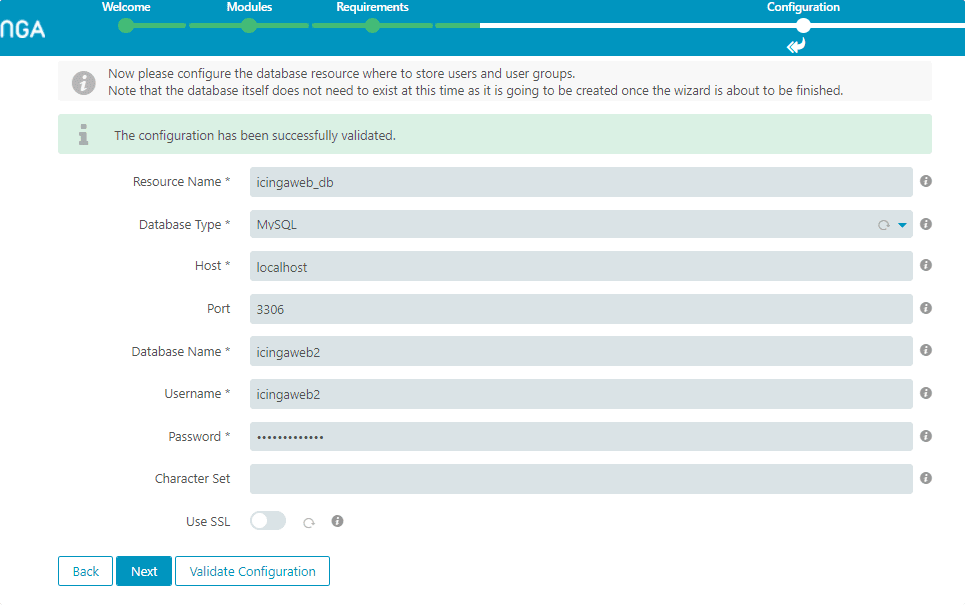
We already have created a dedicated database and user to store data of Icinga Web interface, just enter the information of that here, as shown in the screenshot.
To confirm the entries are valid- click on Validate Configuration.
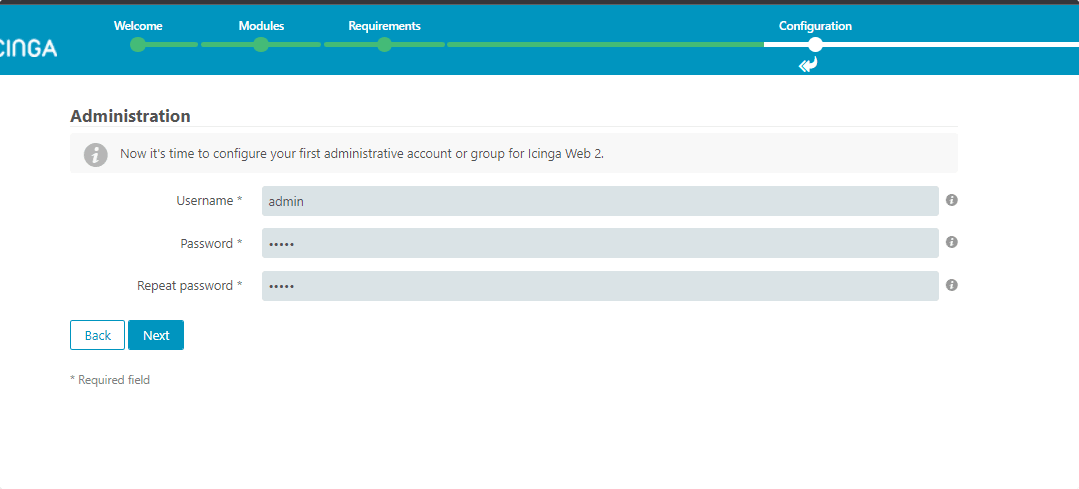
Create Admin user account
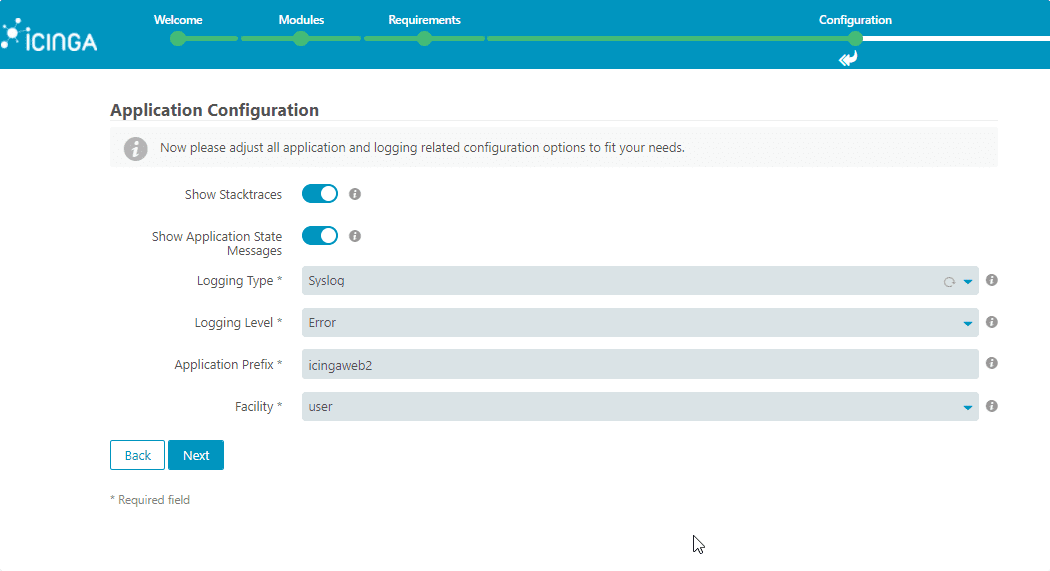
Leave the default configuration as it’s as and just move further.
13. Configure Icinga IDO Database
We have configured the Icinga IDO module in Step 6 of this article. Add the details of that Database and user, here. To verify the details, again first hit the “Validate Configuration” button and after that Next.
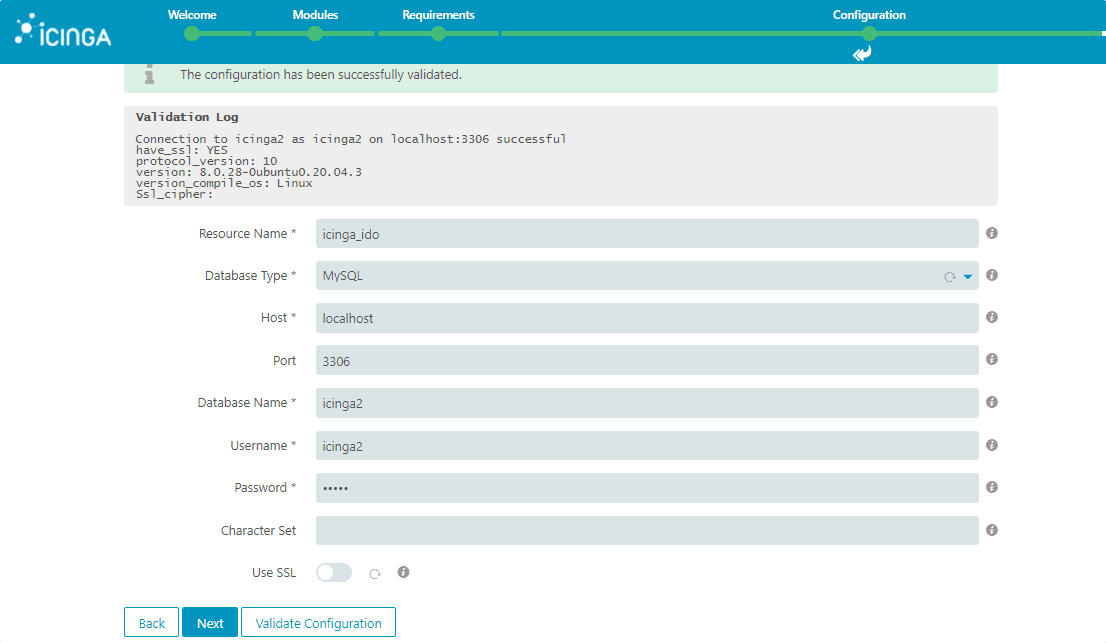
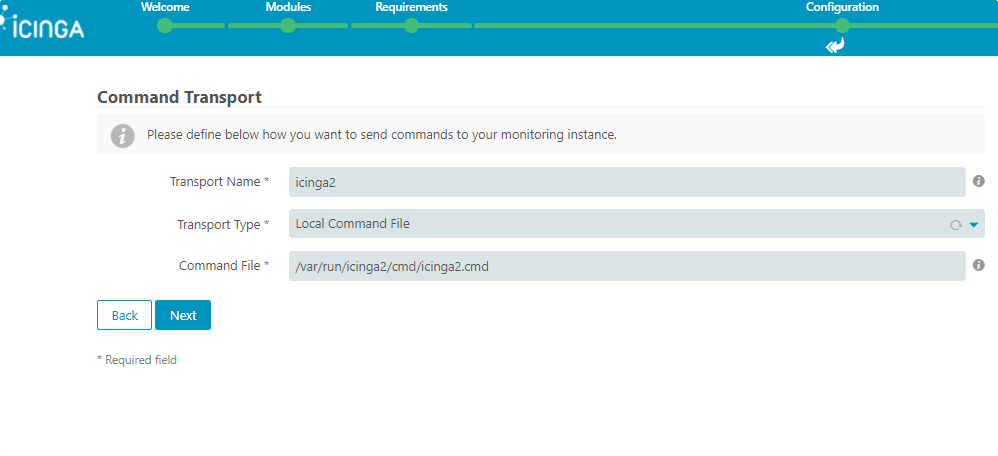
Select Transport Type- Local Command File
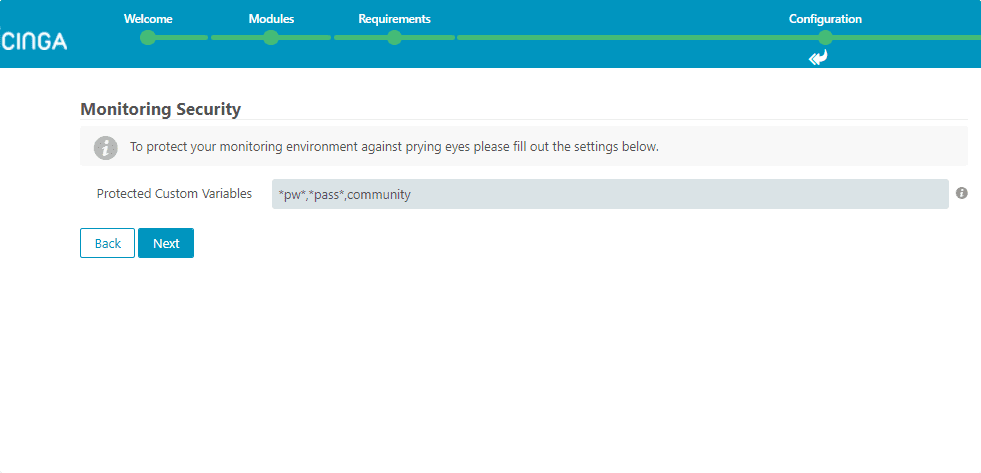
14. Monitoring Security
Leave the settings as it is.
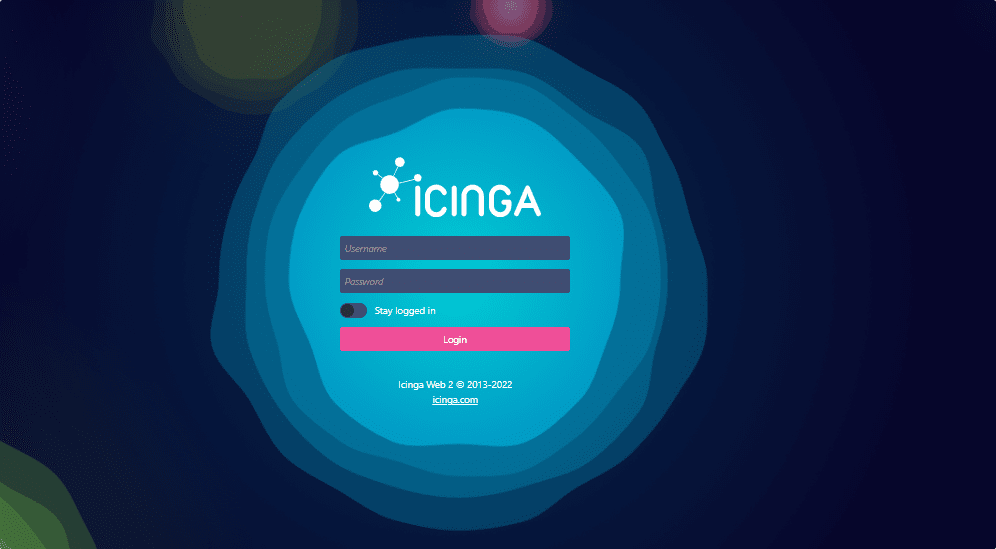
15. Login Admin Back-end
Enter the login details you have created for Admin User.
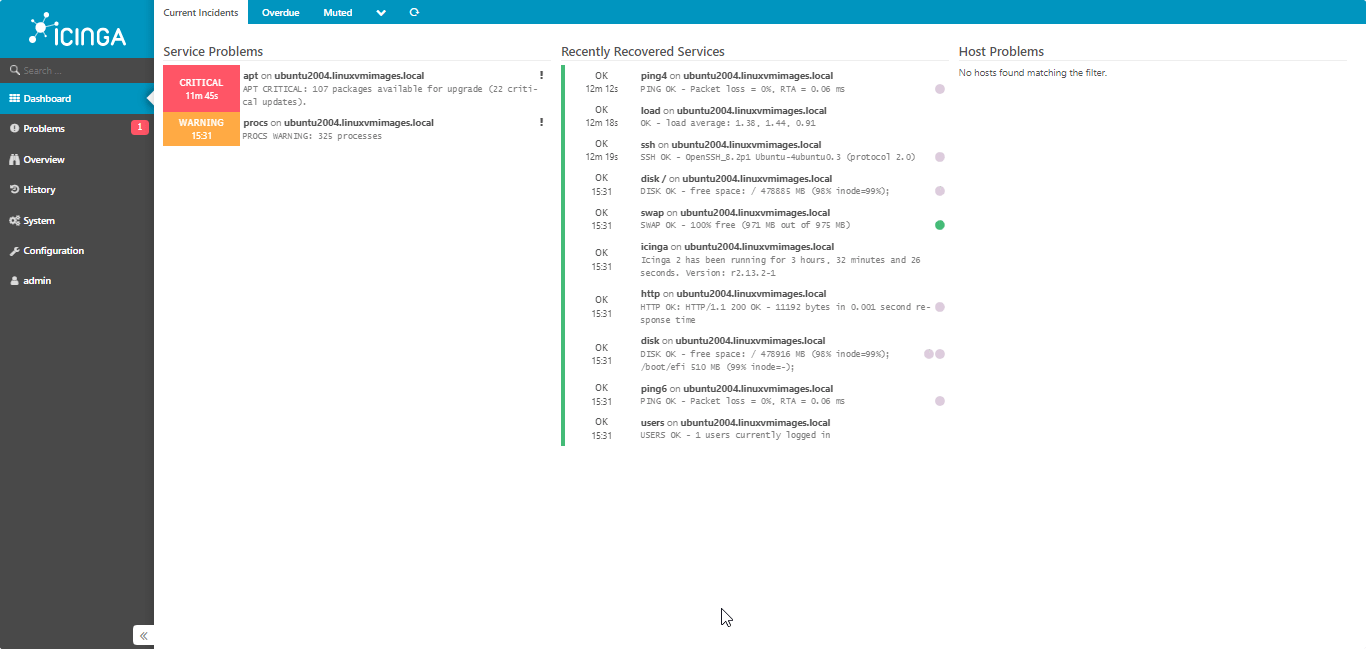
16. Icinga Dashboard
Finally, the installation is successfully done. You can start monitoring your infrastructure. For further information, you can see the official documentation.
Other Articles:
• 7 Best Gnome system monitor alternative Linux applications
• Install Centreon Monitoring on AlmaLinux 8 | Rocky 8
• Install Munin on Ubuntu 20.04 for Server Monitoring
• 5 Best htop alternatives to monitor Linux system


