WHM cPanel is a popular software that provides a web-based control panel for command-line servers. Cpanel allows users to easily manage websites, emails, databases, and other server configurations using a graphical user interface. This article will show how to install WHM Cpanel in Almalinux 9, an open-source community-driver enterprise Linux based on RHEL.
Prerequisites:
- AlmaLinux 9 or Rocky Linux 9 Server
- A minimum of 2 GB RAM, although 4 GB or more is recommended for optimal performance.
- Root or Sudo user access
- Internet connection
- At least 20GB of free disk space
- 4 GB or more RAM on the server
- Static IP address
- A valid hostname (e.g., server.example.com) is set on the server.
Step 1: Switch to Root
It is recommended that you first switch to the root user to perform a smooth installation without repeatedly using ” sudo.”
sudo suStep 2: Update Almalinux or Rocky Linux 9 Server
Update your Almalinux 9 or Rocky 9 Linux before installing the CPanel to ensure that everything on the system is in its current state. Here is the command to follow on your terminal:
sudo dnf update -yStep 2: Set the Hostname for CPanel
To ensure the proper functioning of cPanel, it is recommended that the server’s hostname be a fully qualified domain name (FQDN). Replace server.example.com with your desired hostname.
sudo hostnamectl set-hostname server.example.comVerify the hostname change:
hostnamectlStep 3: Disable your Linux FirewallD
Disabling the system firewall is recommended to ensure that the WHM CPanel installer won’t be interrupted.
iptables-save > ~/firewall.rules
systemctl stop firewalld.service
systemctl disable firewalld.service
Step 4: Disable Almalinux or Rocky SELinux
Apart from the system firewall, disable SELinux to make AlmaLinux 9 or Rocky Linux 9 system compatible with cPanel & WHM.
SELinux must be disabled for cPanel installation. Edit the SELinux configuration file to disable it:
sudo nano /etc/selinux/configFind the line SELINUX=enforcing and change it to:
SELINUX=disabledSave the file (Ctrl + O, Enter, Ctrl + X) and reboot the server to apply the changes:
sudo rebootStep 5: Install Perl and Curl
cPanel also requires Perl and Curl to run the installation script, so using the given command, install them
sudo dnf install -y perl curlStep 6: Download and Run the cPanel Installation Script
Navigate to your home directory and download the latest cPanel installation script using the following command:
cd /home
curl -o latest -L https://securedownloads.cpanel.net/latest
Step 7: Run the installation script:
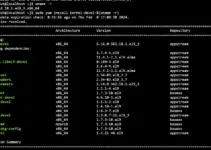
After downloading, we start executing the downloaded script using the given command. Depending on the server resources and network speed, it will take 15 to 20 minutes.
sudo sh latest
Step 8: Access the cPanel WHM Interface
Once this process is completed, we can access cPanel, go to a browser, and enter the following line in the address bar: https://Server_IP: 2087. Replace Server_IP with your IP address or fully qualified domain name.
Also, if you a cloud hosting services then don’t forget to open following ports as per the requirements to access WHM and CPanel:
- cPanel – Port : 2082
- cPanel – SSL Port: 2083
- WHM Port: 2086
- WHM – SSL Port: 2087
You will see “Your connection is not private” message, this indicates that the connection to the site is not secure because of no SSL. To bypass this, click the Advanced button and proceed with the “Continue to IP address (unsafe)” link. This will add the appropriate exception in the new window to allow the connection with cPanel.

The following window appears. In it, you must enter your AlmaLinux root user and password to access data for cPanel. After that Accept the Terms and Conditions..

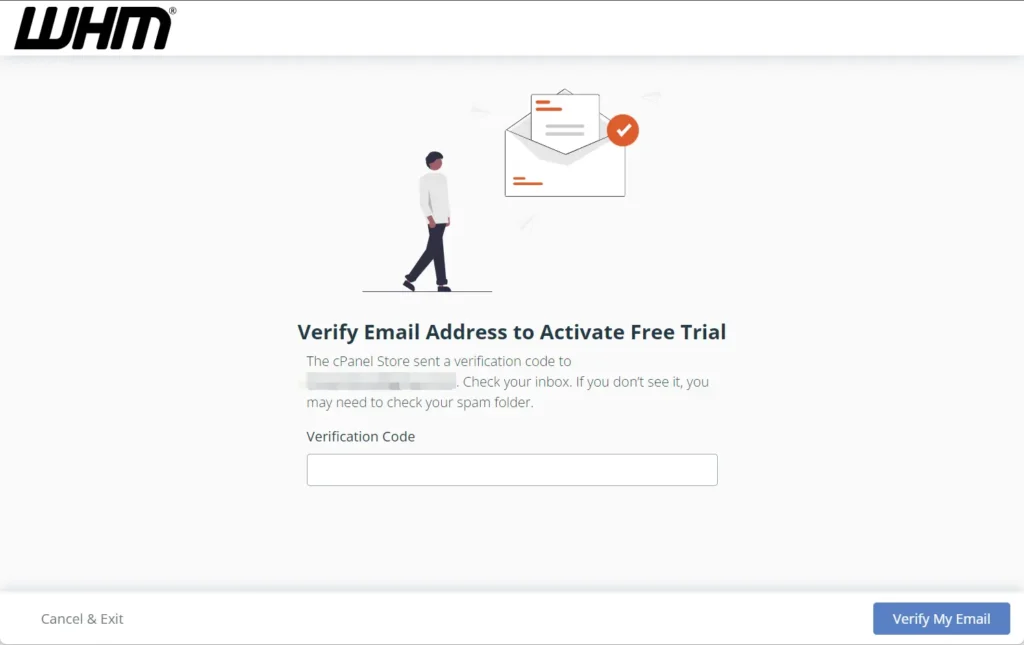
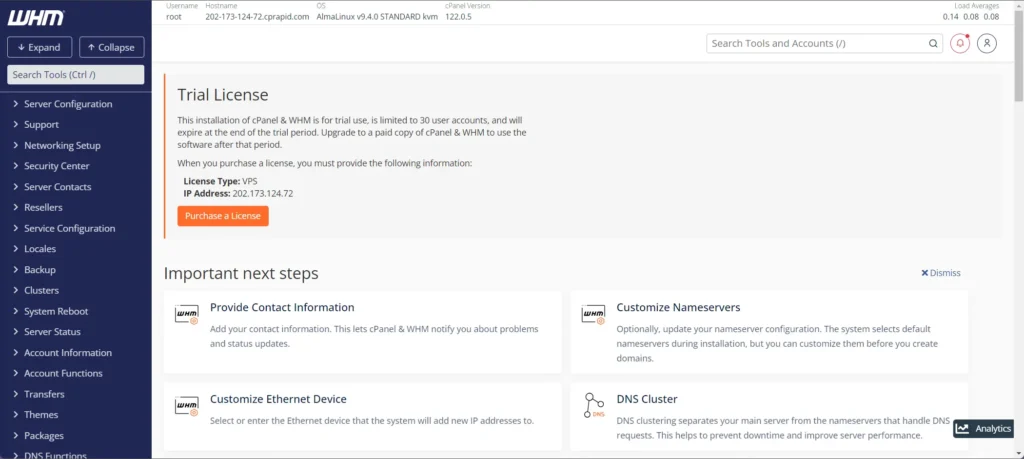
Step 9 Apply for Cpanel & WHM Trail license.
Log in to the cPanel store using the button provided. If you don’t have an account with the WHM service, you can create one. After you log in, a 15-day free trial license will be issued.

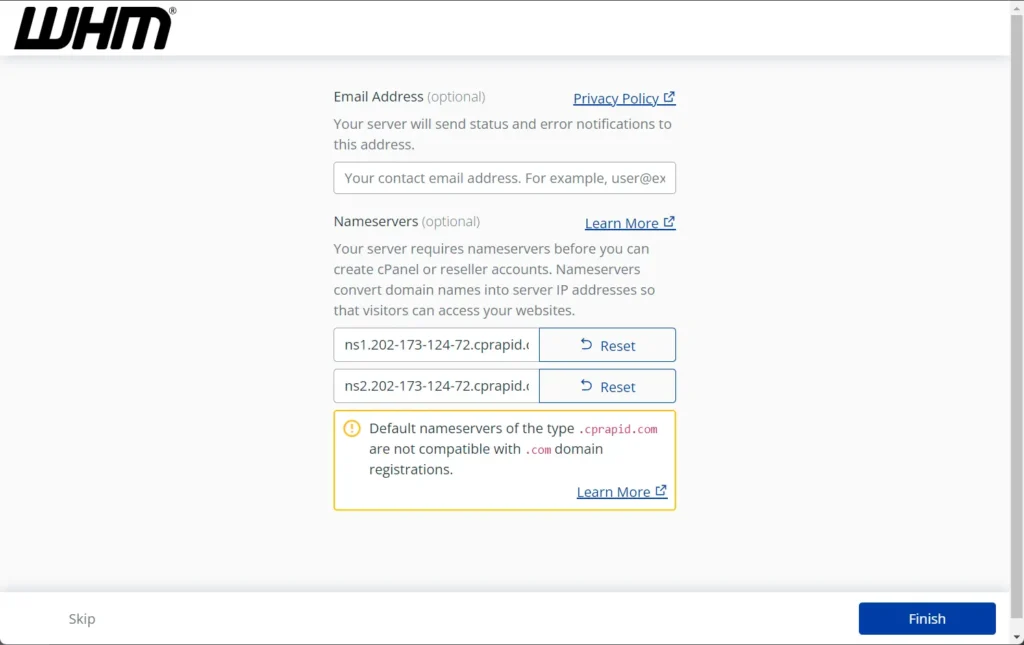
Enter the email address and the name of your hosting service. If you have a nameserver, configure it. If you don’t know about it, search online for it.

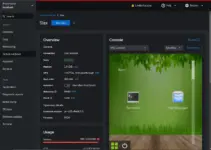
Step 10. WHM Dashboard
Finally, if you have installed WHM on AlmaLinux 9 or Rocky Linux 9, you can now create a cPanel account to host a website.
Step 11: Configuration paths for cPanel and WHM files
Here are a few directories for cPanel installed items, in case any of you want to access it manually on AlmaLinux 8 using the command line-
- CPanel directories
/usr/local/cpanel
- Third-party tools
/usr/local/cpanel/3rdparty/
- Directories of addons or cPanel add-ons
/usr/local/cpanel/addons/
- Essential files like PHPMyAdmin, themes
/usr/local/cpanel/base/
- CPanel binaries
/usr/local/cpanel/bin/
- CGI files
/usr/local/cpanel/cgi-sys/
- Access to cPanel & Error event files
/usr/local/cpanel/logs/
- WHM files
/usr/local/cpanel/whostmgr/
- Apache configuration
/etc/httpd/conf/httpd.conf
- Configuration of the Exim mail server
/etc/exim.conf
- Named configuration files
/etc/named.conf
- Configuration files ProFTP and Pureftpd
/etc/proftpd.conf and /etc/pure-ftpd.conf
- CPanel user files
/var/cpanel/users/username
- CPanel configuration files (tweak settings)
/var/cpanel/cpanel.config
- Network configuration files
/etc/sysconfig/network
- Addons and subdomain information
/etc/userdomains
- CPanel update files
/etc/cpupdate.conf
- Clamav configuration files
/etc/clamav.conf
- MySQL configuration files
/etc/my.cnf
- PHP.ini configuration files
/usr/local/lib/php.ini
These were quick steps to configure Cpanel and WHM on AlmaLinux for web hosting, device management, and associated account management.
Other Articles:
- How to install WHM Cpanel on AlmaLinux 8 Server
- Five commands to Check the AlmaLinux or Rocky Linux version
- How to install KVM on Almalinux 9 or Rocky Linux 9 to create VMs
- Installing Kernel Headers on AlmaLinux 9 or Rocky Linux 9
- Installing Apache on AlmaLinux 9 or Rocky Linux 9