Neofetch and Screenfetch both are lightweight tools for Linux to fetch the system version and resources details on the command terminal but in an intuitive way. Here we learn the commands to install Neofetch & Screenfetch on Ubuntu 22.04 Jammy Jellyfish and 20.04 Focal fossa.
What is Neofetch?
Neofetch is a command-line program that we can use to display the most important system information directly in the system’s terminal using a single command.
Command to install NeoFetch on Ubuntu 20.04 | 22.04 LTS
1. Run Apt update
Open your command terminal and run the system update command, first. This will refresh the system repository cache to ensure the latest packages are available to install using the package manager.
sudo apt update
2. Install neofetch or screenftech on Ubuntu 20.04 | 22.04
The command given below will be the same not only for Ubuntu 22.04 & 20.04 but for other versions of it as well. Including Linux Mint, Elementary OS, MX Linux, POP OS, Debian, and more. The best thing the package to install Neofetch is available via the default system’s repository, hence don’t need to add any third package repository.
sudo apt install neofetch
Whereas those who are interested in Neofetch alternative Screenfetch can for the given command. Actually, both tools are written in bash language and meant to show system information related to CPU, RAM, Harddisk, OS version, and more. However, Neofetch is slightly more flexible than Screenfetch. Nevertheless, those who are interested in only the Screenfetch can go for this:
sudo apt install screenfetch
3. Run NetoFetch or ScreenFetch
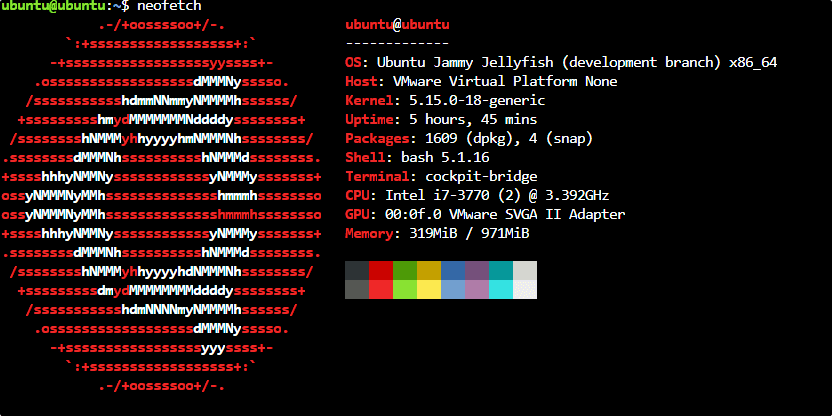
Once you have Neofetch installed, open the terminal and type neofetch in to launch the program. In the terminal you can then see all important system information at a glance by default:
NetoFetch Display
On the left, you can see the logo of the installed Linux distribution in text form. The color palette set for the terminal is displayed at the bottom right. You can also see other software and hardware information about your system.
Screenfetch Display
screenfetch
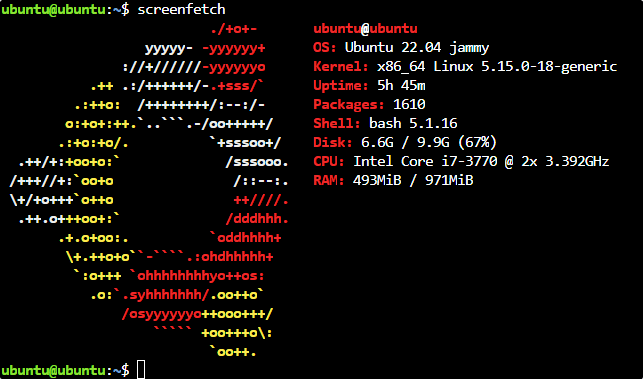
If you compared the above two screenshots then you can see the default difference between these two tools.
4. Neofetch information explained:
Neofetch information explained:
| OS | Operating system and version |
| host | PC name |
| kernel | The kernel used |
| uptime | Time how long the PC has been booting |
| packages | Installed package managers and package count |
| shell | Installed shell version |
| resolution | monitor resolution(s) |
| EN | The installed user interface ( desktop environment ) |
| WM | The installed window management ( window manager ) |
| WM theme | The Windows Manager theme |
| theme | Installed user interface theme |
| icons | Installed Icon Pack (Icons) |
| terminal | terminal designation |
| CPU | Processor and Performance ( Intel / AMD ) |
| GPU | graphics card(s) |
| Memory | Memory used and available |
Edit Config file to display more information
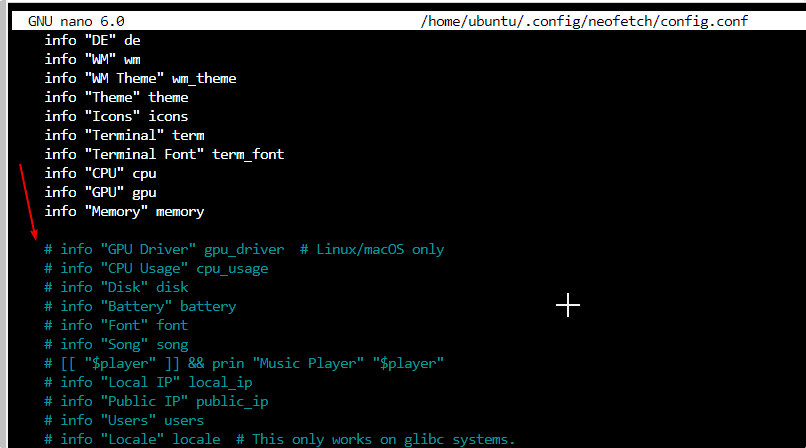
Apart from the default information, neotech also offers more values of different resources to display. However, they are not activated to display on the terminal when we run the Neotech command. If you want to them, then first edit the configuration file
nano ~/.config/neofetch/config.conf
Remove the # tag from the front of the line that you want to activate. In the same way, we can also hide the items by just adding the # tag again in the front of a line.
Other Articles:
• List of Commands to get Linux system info using terminal
• Cpufetch – Check CPU information on Linux terminal
• Install Gnome Tweak Tool on Ubuntu 22.04 LTS Jammy JellyFish
