Most of us manage files on hosting servers by directly opening the file manager on CPANEL via HTTP protocol, however, that is not an FTP connection. The FTP protocol is meant for uploading or downloading files to web servers and file servers. And if you want to use an FTP connection to connect your Cloud or hosting server then Filezilla is one of the best clients available for Windows, macOS, and Linux.
What is an open-source FileZilla FTP client?
The FileZilla FTP client is an open-source software used by many people across the globe to connect a computer/server running an FTP server. It is easy to use and at the same time offers a decent range of functions. It offers a tabbed interface for quick management, bookmarks can be set and managed, and files can be dragged and dropped like in a file manager. FileZilla supports the protocols SSL, SSH, SFTP, and FTPS, among others.
Key Features
- Interrupted downloads and uploads can also be resumed
- The transmission speed can be limited
- IPv6 support
- Directory comparison
- Event of lost connections, and a keep-alive system
- Offers customizable commands
- Remote file editing
- HTTP/1.1, SOCKS5, and FTP-Proxy support
- Up to 4 GB of file support
- Remote file search
- Firewalls and proxies are also supported
Steps to install FileZilla on Ubuntu 20.04 LTS Server
Here we will see how to quickly install FileZilla’s latest version on Debian-based Ubuntu 20.04 LTS focal fossa Linux operating system including Linux Mint, Elementary, MX Linux, and others.
Open command Terminal
It is best to use the command terminal for the installation of the FileZilla client because of the quick and easy-to-install method. To open Terminal, the user can also use a keyboard shortcut that is CTRL+ALT+T. Or simply go to Applications and search for it.
Run Ubuntu System update
Let’s first run the system update command to achieve the latest state of all the installed packages on our Linux.
sudo apt update
Install FileZilla Client
Ubuntu 20.04, 18.04 LTS or earlier doesn’t need any third-party repository to install the FileZilla packages, everything will be there on the official repo. Here is the command to use
sudo apt install filezilla
Output:
Reading package lists... Done
Building dependency tree
Reading state information... Done
The following additional packages will be installed:
filezilla-common libfilezilla0 libpugixml1v5 libwxbase3.0-0v5
libwxgtk3.0-gtk3-0v5
The following NEW packages will be installed:
filezilla filezilla-common libfilezilla0 libpugixml1v5 libwxbase3.0-0v5
libwxgtk3.0-gtk3-0v5
0 upgraded, 6 newly installed, 0 to remove and 259 not upgraded.
Need to get 9,821 kB of archives.
After this operation, 40.6 MB of additional disk space will be used.
Do you want to continue? [Y/n]
Run FileZilla
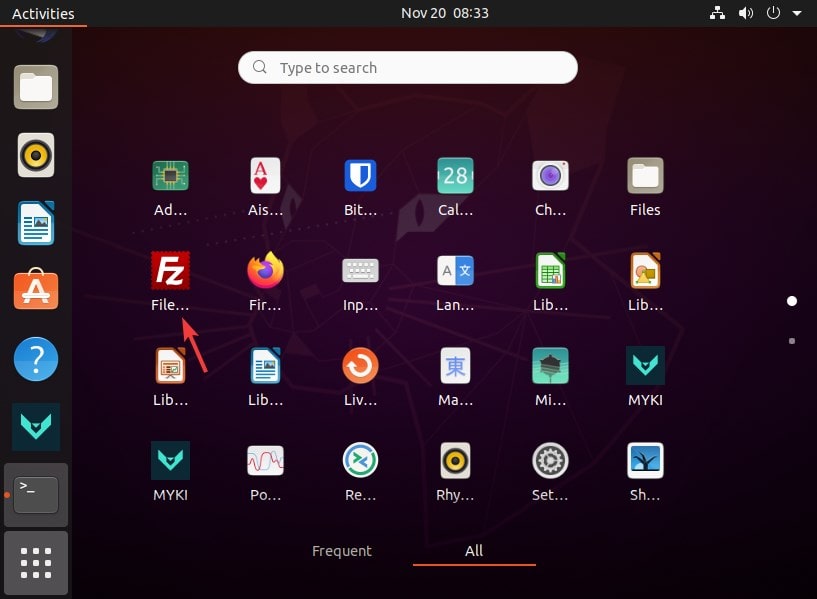
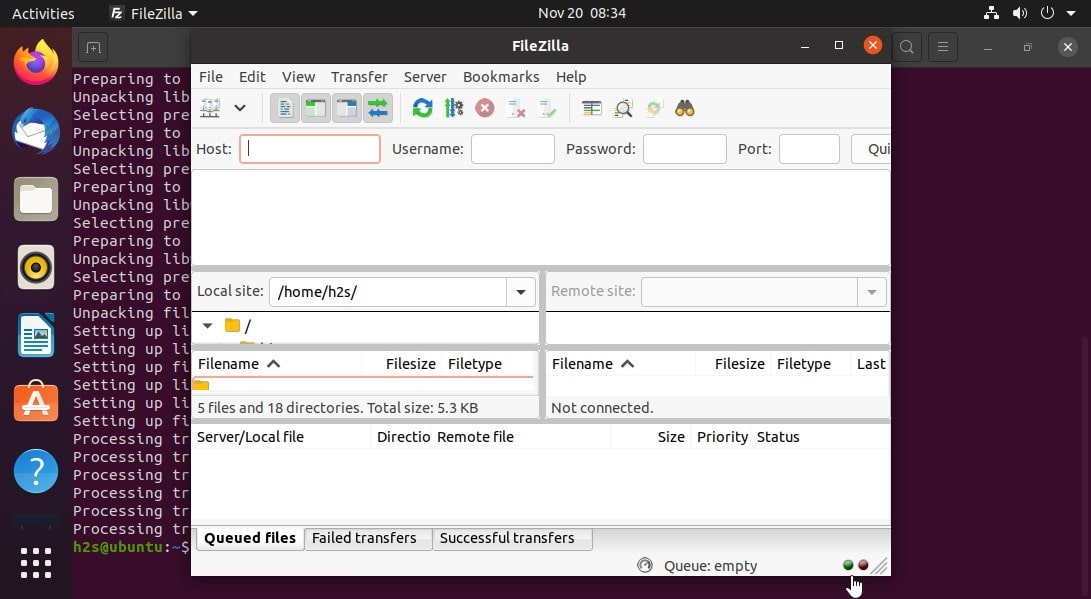
Go to Applications and then search for this open-source FTP client. When appears, click to run it.


