Rootkit Hunter (Hunter) is an open-source but powerful tool for Linux systems such as Ubuntu 24.04 that scans for local exploits, backdoors, and rootkits. Therefore, it is an essential tool for server administrators, especially for maintaining system security by checking for common signs of malicious software. The installation and usage of Rootkit are also easy; let’s see how.
Here’s a step-by-step guide on how to install and use Rootkit Hunter on Ubuntu 24.04 LTS Linux.
Although we are using Ubuntu 24.04 to write this article, the steps will be the same for other versions, such as 22.04, 20.04, and 18.04.
1. Prepare your System
Ensuring the system is up-to-date before installing a package is always recommended. Therefore, use the command given to install security and other package updates on your Ubuntu Linux.
sudo apt update && sudo apt upgrade2. Install Rootkit Hunter on Ubuntu 24.04
We need nothing else to add to our Ubuntu system, such as a repository to install RootKit Hunter. The packages to install this security tool are already available in the default Ubuntu system repositories. Therefore, use the given APT command, and the Hunter will be on your system.
sudo apt install rkhunter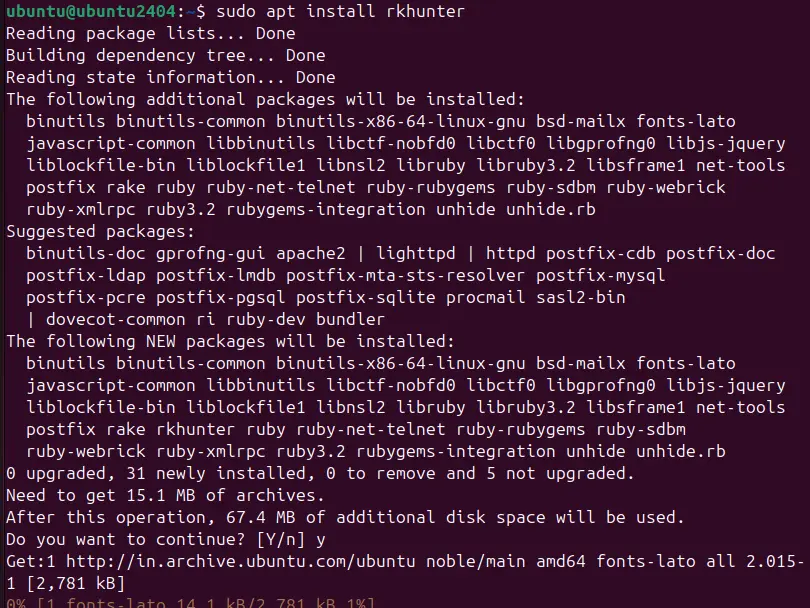
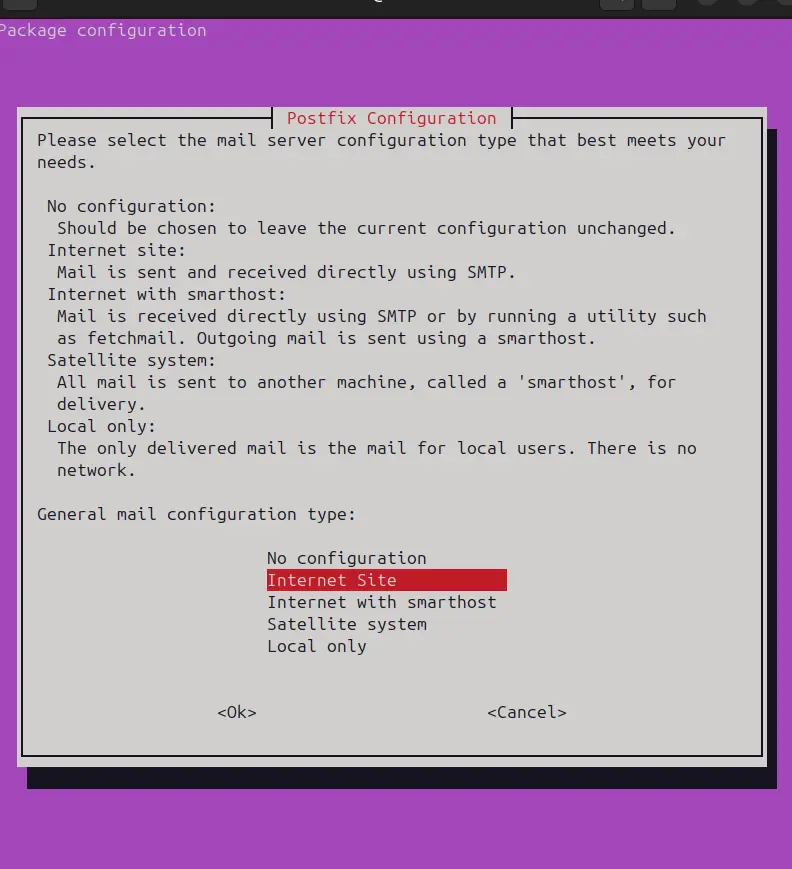
The system will ask for your mail server configuration to send email notifications about alerts, reports about potential threats, and scan results generated by RootKit. Select the one that suits your environment.
3. Update Rootkit Hunter Definitions
As we have completed the installation, the first step is to make sure the database files of RootKit Hunter are up to date. This will ensure it has the latest information on potential threats.
sudo rkhunter --update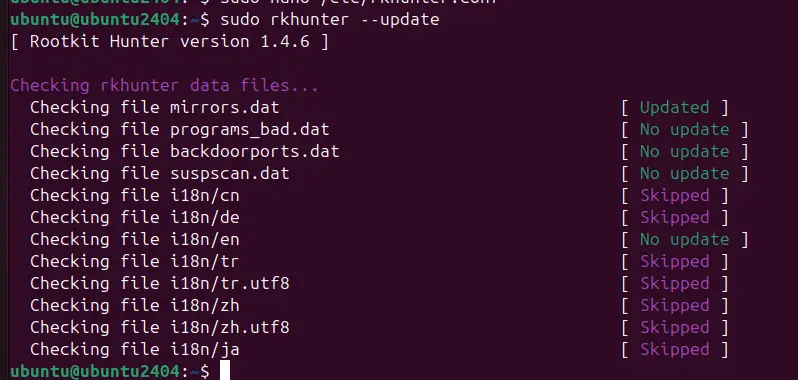
If, after executing the above command, you get the following error:
Invalid WEB_CMD configuration option: Relative pathname: “/bin/false“
Then, we need to edit the Hunter configuration file:
sudo nano /etc/rkhunter.confAfter that, scroll and find the line “WEB_CMD=”/bin/false” and change it to:
WEB_CMD=""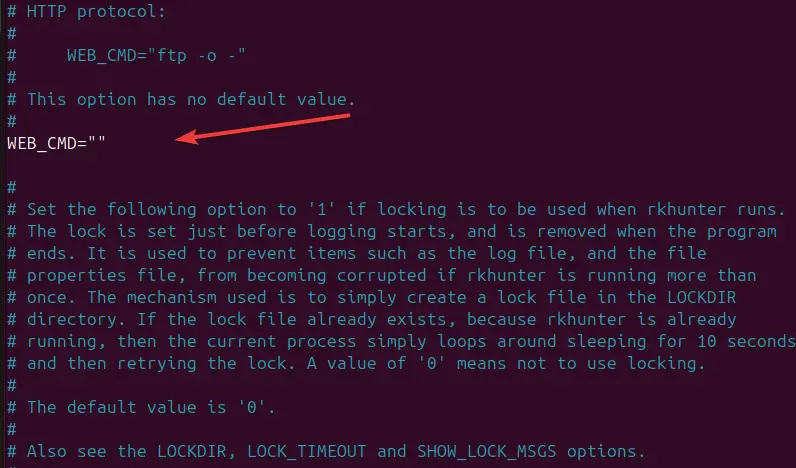
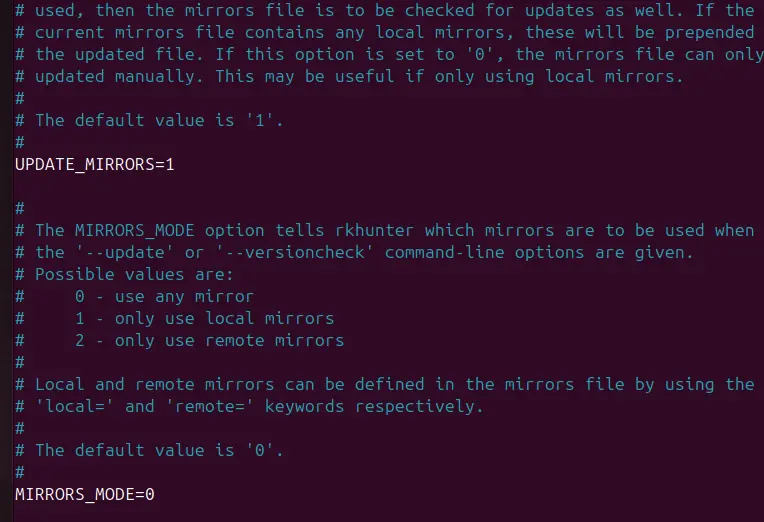
Also, change the value of “MIRRORS_MODE=1” and “UPDATE_MIRRORS=0” as well as shown below:
UPDATE_MIRRORS=1
MIRRORS_MODE=0
Save the file by pressing Ctrl+X, typing Y, and then hitting Enter Key.
4. Run Rootkit Hunter to Scan Ubuntu
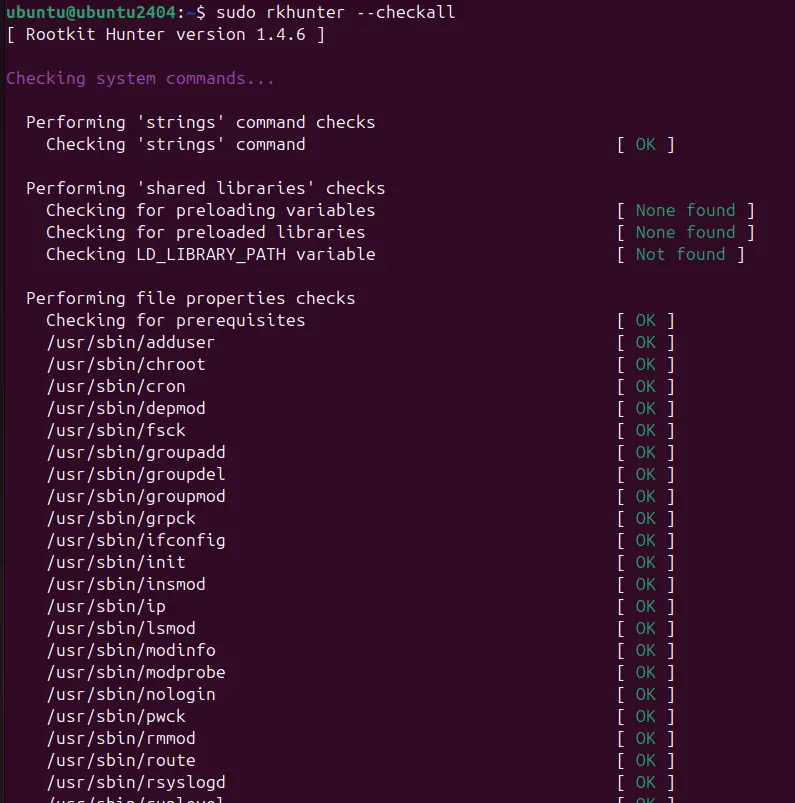
We are ready to scan our Ubuntu 24.04 system using the RootKit Hunter completely. Just run the given command, and it will check for rootkits, backdoors, and possible local exploits on your system.
sudo rkhunter --checkallWhile scanning, the Rootkit Hunter will provide detailed output on what is being checked during the scan. It’s normal to see a mix of “OK” and “Warning” statuses.
5. Automate Daily Checks & Scans
We can create a cron job to run the Rootkit Hunter automatically, scanning the system and emailing the results.
Open the crontab file for editing:
sudo crontab -eAdd the following line to schedule a daily scan at 2 AM (adjust the time as needed):
0 2 * * * /usr/bin/rkhunter --cronjob --report-warnings-only --append-logThis command schedules Rootkit Hunter to run as a cron job and appends the log file while reporting only warnings.
6. Reset warnings and Clear History
Rootkit Hunter might generate warnings for legitimate reasons (e.g., software updates or new installations). After reviewing the warnings and confirming them as safe, we can clear them using the command. It will update the properties database after verifying that the system is clean.
To clear the history of known suitable files and reset warnings, run the following:
sudo rkhunter --propupd7. View the Detailed Log of Scan Results
After the scanning is completed, Rootkit Hunter summarizes potential issues for reviewing the results and determining if any warnings require action is essential. To view the detailed log of the scan, we can open the log file:
sudo less /var/log/rkhunter.logSearch for warnings in the log by typing:
/WarningThis command allows you to cycle through the warnings in the log file.
8. Uninstalling Rootkit Hunter
Although the Rootkit Hunter is an indispensable tool for system administrators and security experts, we can remove it using the following command from Ubuntu 24.04 if it is no longer required.
sudo apt remove rkhunter -yOther Articles: