Learn the steps to install WordPress CMS on Ubuntu 22.04 LTS Jammy JellyFish using LAMP server- Apache, MariaDB, and PHP.
If you want to run your blog, you will quickly come across WordPress software. What WordPress is and what possibilities it offers, we will tell you in this practical tip.
WordPress is the world’s most popular software that allows you to create a website. The special thing about it is that you have an innovative interface at your disposal.
Its plugin system is an additional feature for WordPress. There are thousands of free and also paid plugins. With a plugin, you extend the functions of your website. We can install, configure and of course delete plugins via the dashboard. A theme is an outfit, i.e. the design of your website. There are thousands of free and paid themes here. We can change a theme with just a few mouse clicks and thereby change the look of your website. Plugins & themes help you build your WordPress website.
WordPress is suitable for pretty much all websites such as Private Websites, Blogs, Company Websites, Company websites, Online shops, and Member Pages.
Steps to install WordPress on Ubuntu 22.04 LTS Linux
The steps given here in this tutorial can be used for other Ubuntu server versions such as 20.04/18.04. Whereas to follow this guide the user should have Ubuntu 22.04 LTS, access to a non-root user with sudo rights, and a LAMP stack (will install here).
1. Perform Ubuntu 22.04 update
First, of all, run the system update command to ensure all the packages on our system are up to date and also the APT package index cache is in its latest state.
sudo apt update && sudo apt upgrade2. Install Apache & PHP for WordPress
We need an Apache web server and PHP programing language for setting WordPress CMS, let’s install both in this step.
sudo apt install apache2Once the Apache installation is completed, enable and start its service.
sudo systemctl enable apache2Check status:
systemctl status apache2We can also check the working of the Apache webserver by accessing its default page. For that open your local system browser that can access the IP address of the Ubuntu 22.04 server where you have installed Apache.
Note: server-IP-address with your actual address
http://server-ip-address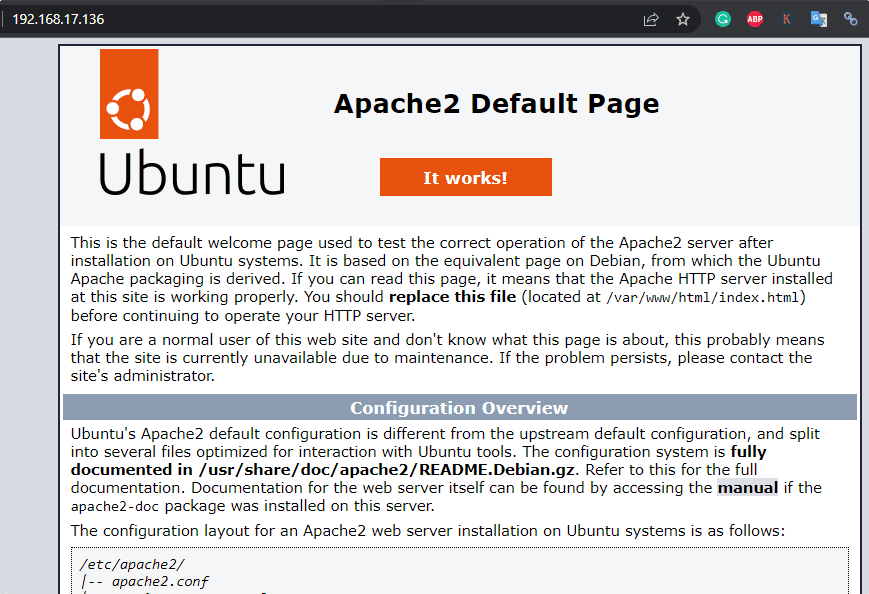
Install PHP version 8
The default version of PHP is available to install using the standard Ubuntu 22.04 LTS repository. Hence, simply run the given command to install the PHP and the required extensions on your system.
sudo apt install -y php php-{common,mysql,xml,xmlrpc,curl,gd,imagick,cli,dev,imap,mbstring,opcache,soap,zip,intl}To check the version after completing the above command, use:
php -v3. Install MariaDB or MySQL
We can either use MariaDB or MySQL Database Server on Ubuntu 22.04 to store the data generated by the WordPress CMS. Here we are using MariaDB Server.
sudo apt install mariadb-server mariadb-clientEnable, Start and check service status:
sudo systemctl enable --now mariadbCheck:
systemctl status mariadbCtrl+C to exit.
Secure your Database Installation:
To secure our Database instance, run the given command:
sudo mysql_secure_installationOutput
The given questions will ask by the system, the example of answers is also given below:
Enter current password for root (enter for none): Press ENTER
Set root password? [Y/n]: Y
New password: Set-your-new-password
Re-enter new password: Set-your-new-password
Remove anonymous users? [Y/n] Y
Disallow root login remotely? [Y/n] Y
Remove test database and access to it? [Y/n] Y
Reload privilege tables now? [Y/n] Y
4. Create Database for WordPress
Login to your Database server by using the password you have set for the root user of it.
sudo mysql -u root -pFollow the command to create a new DB. However, don’t forget to replace new_user with whatever name you want to give to your Database user and in the same way- new_db with a name for Database and your_password for the password.
CREATE USER 'new_user'@'localhost' IDENTIFIED BY 'your_password';CREATE DATABASE new_db;GRANT ALL PRIVILEGES ON new_db.* TO 'new_user'@'localhost';FLUSH PRIVILEGES;Exit;5. Install WordPress on Ubuntu 22.04
Files to set up WordPress need to download manually and we can do that using the command terminal. Here are the commands to follow:
sudo apt install wget unzipDownload WordPress:
wget https://wordpress.org/latest.zipExtract file:
sudo unzip latest.zipMove it to the web folder:
sudo mv wordpress/ /var/www/html/Remove the downloaded files to free space:
sudo rm latest.zipChange file permission
sudo chown www-data:www-data -R /var/www/html/wordpress/

sudo chmod -R 755 /var/www/html/wordpress/
6. Configure Apache on Ubuntu 22.04
Next, enable modules and the Vhost configuration file of your Apache webserver to ensure it serves the PorcessWire CMS files without any error.
Create a configuration file for WordPress
sudo nano /etc/apache2/sites-available/wordpress.confCopy-Paste the following lines:
<VirtualHost *:80>

ServerAdmin [email protected]

DocumentRoot /var/www/html/wordpress
ServerName example.com
ServerAlias www.example.com

<Directory /var/www/html/wordpress/>

Options FollowSymLinks
AllowOverride All
Require all granted

</Directory>

ErrorLog ${APACHE_LOG_DIR}/error.log
CustomLog ${APACHE_LOG_DIR}/access.log combined

</VirtualHost>
Save the file by pressing Ctlr+O, hitting the Enter key, and then exiting using Ctrl+X.
Enable virtual host
sudo a2ensite wordpress.confEnable rewrite module
sudo a2enmod rewriteDisable the default Apache test page
sudo a2dissite 000-default.confRestart the Apache webserver to apply the changes:
sudo systemctl restart apache27. WordPress CMS web interface setup
After following the above steps, open your system browser that can access the server IP address of the system where you have installed the WordPress.
And point it to as following:
http://your-server-ip-addressStart Setting up:
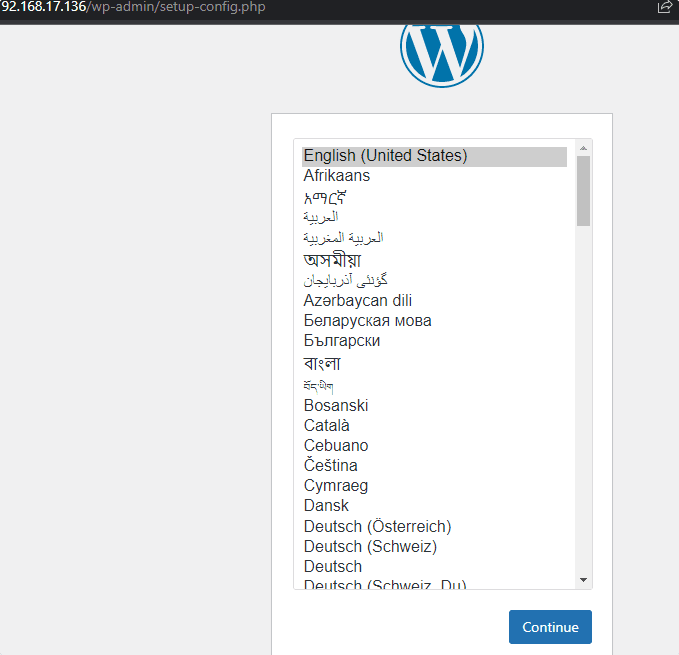
Select WordPress Language you want to use and then click on the Continue button.
8. Add Database information
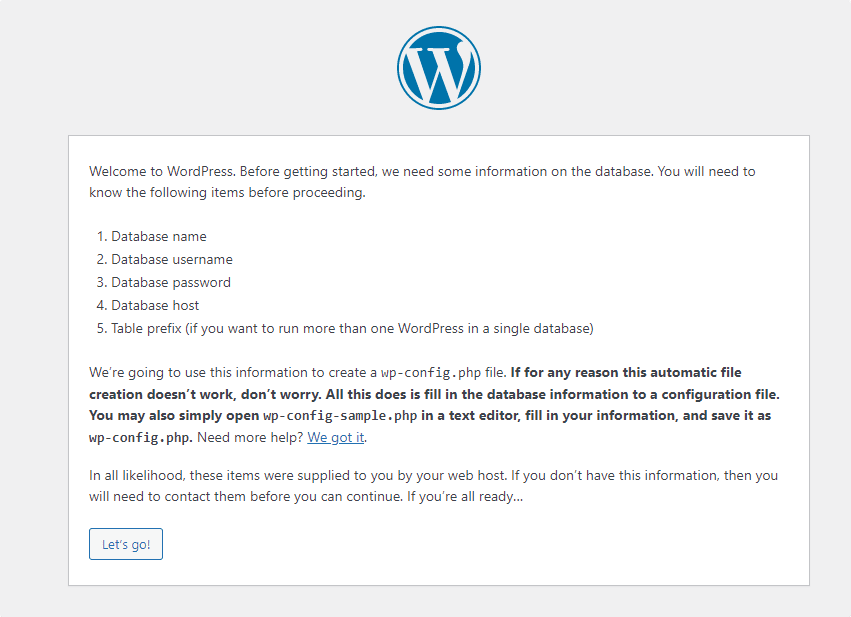
Next, click on the Let’s Go button that will create a wp-config file to store the database details.
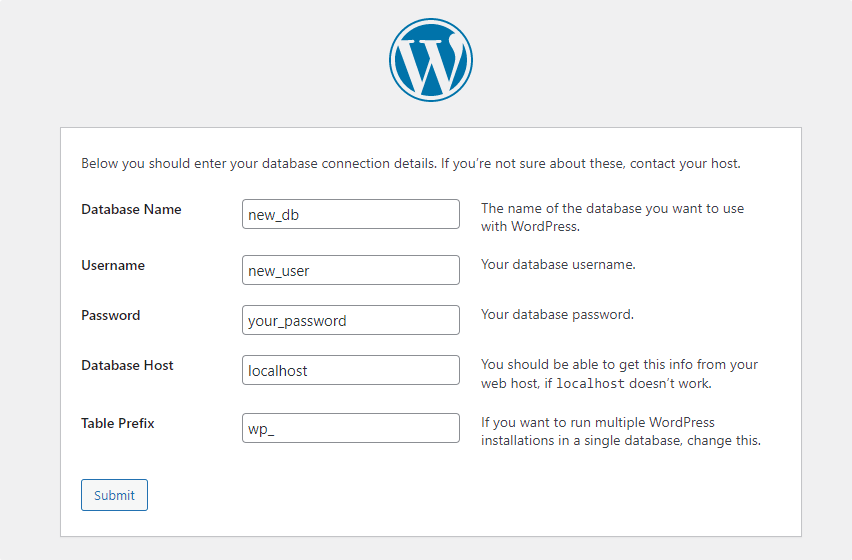
The Database, its user, and password we have created in this tutorial to store the data generated by WordPress; add its details in the WordPress setup wizard when it asks for, after that click on the “Submit” button.
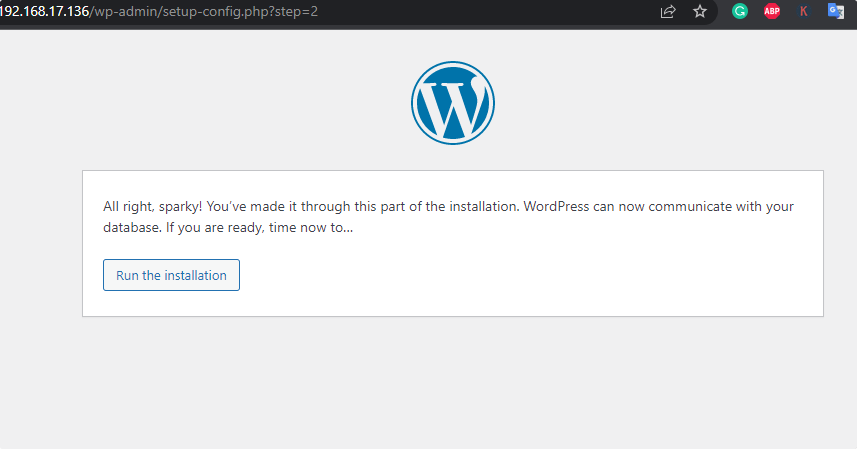
Finally, click on the “Run the installation” button.
9. Create Admin user and password
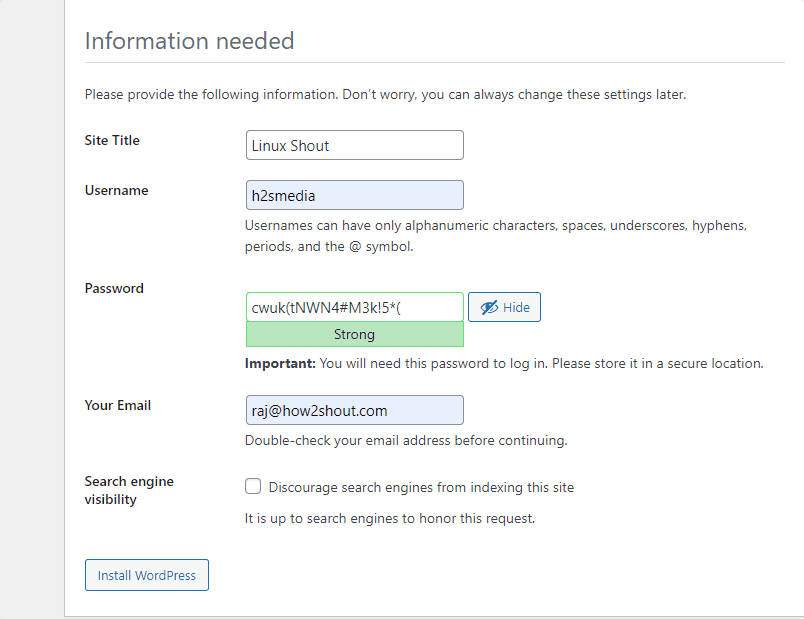
Add the Site Title you want to give to your website and then add the username along with a password to use for it. After that add the email address and then hit the “Install WordPress“.
10. Login to the backend
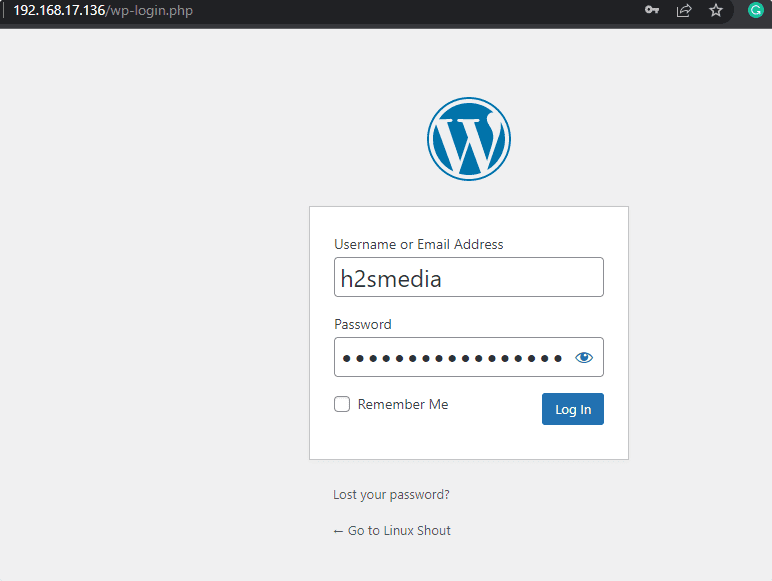
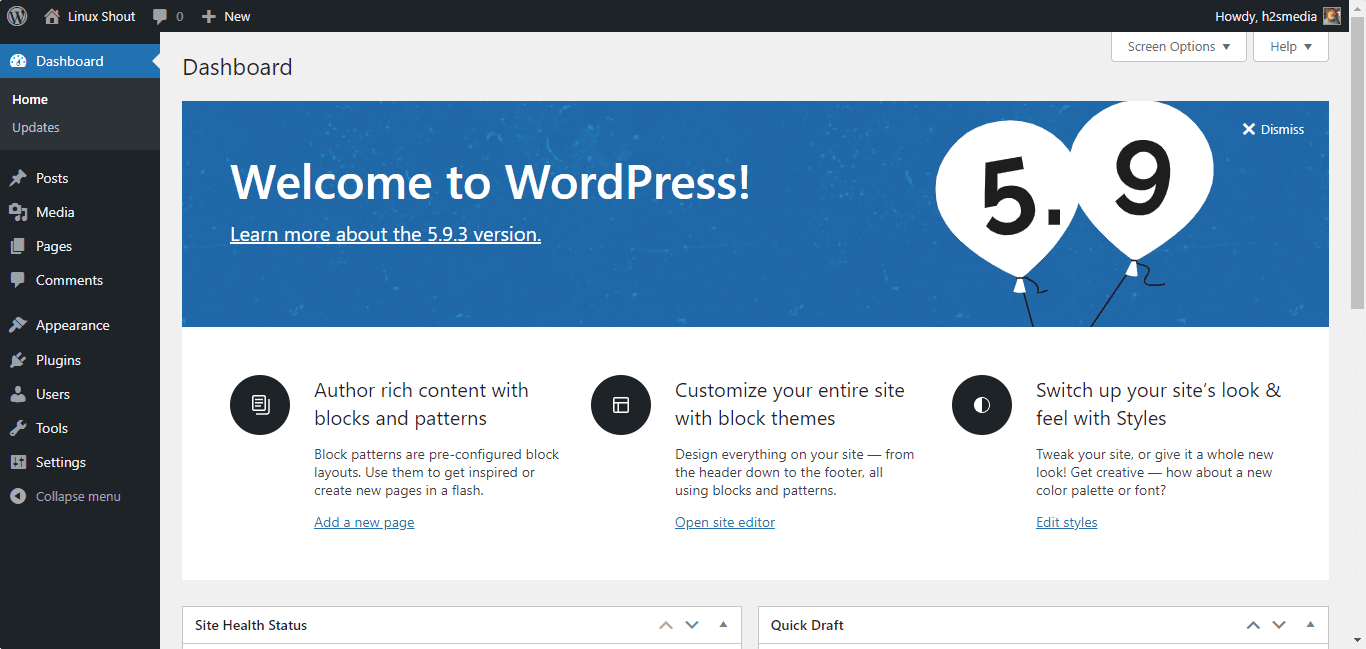
Finally, the Admin login page will appear; add the user and password you have created.
Other Articles:
How to install Backdrop CMS on Ubuntu 22.04 Jammy
How to install Umbraco CMS on Ubuntu 20.04 LTS
Check internet speed using a command in Ubuntu…
How to set DNS Nameserver on Ubuntu
How to install WordPress on Lighttpd web server- Ubuntu



A useful post for TemplateMonster.com customers.
in the wordpress.conf there is mistypo:
DocumentRoot /var/www/html/wordrpess
wordrpess -> wordpress
nice guide… i shared this with a friend who wanted to get started with wp and they had no issues..(newbie)
nice guide i gave you a shoutout on my youtube video i made.
Couldn’t be better. Thank you very much. I don’t remember any other time when completed the whole process at first atempt.
Sweet. Very helpful. I was able to install WP on my VM running Ubuntu 22.04. Thanks a bunch.
I followed the guide and the installation worked like a charm. After setting up the SSL, I’m facing issues with CSS and JS files loading in HTTP and admin dashboard not loading. How do I access phpmyadmin and secure the CSS and JS files. or Is there a alternate solution? Can you write a blog about it?
Thanks!
I followed the guide and the installation went smoothly. After configuring SSL, I’m having issues with loading CSS and JS files over HTTP, and the admin dashboard is not loading. How can I access phpMyAdmin and secure CSS and JS files? Is there an alternative solution? Can you write an article about it?
After setting SSL, use HTTPS to access your website not HTTP. Also make sure in your WordPress General setting the URL is set with HTTPS not HTTP
Can you help a newbie out please. I used your guide, worked great. I need to increase upload file size. Its at 2 mb. From using your guide, what steps excatly do I need to do to increase it. I have tried everything, but nothing seems to work.
You need to edit PHP.ini file and increase the Memory Limit there.
You can find where is PHP.ini is located, using this command –
php -ini | grep php.iniAfter that, edit the php.ini file using nano or vim.
In the file find these two lines and change there value as per you want…
upload_max_filesize = 2M
post_max_size = 8M
Thanks man.
I’ve looked for hours, if not days, on the web to find a simple script to make it work. Only yours is simple enough and straight forward to make it work.
Thanks again.
And it work on 23.04!
After trying several guides that left me with broken WordPress sites, this worked perfect the first time. Thank you for presenting this.
Thank you very much for the post, very well prepared!!!
what about ssl?
Thanks for the detailed and easy to follow guide.
Amazing guide, worked flawless on a brand new ubuntu 23.10 server on RPI5 8gb version.