Managing command-line servers becomes easy with the help of graphical user interface-based server control panels, such as Webmin. This tutorial teaches how to install and access Webmin on Ubuntu 24.04 Server using a browser.
Webmin is not new to the server world; it has been around for quite a while and is used by system admins to manage servers worldwide. Its user-friendly interface and ability to expand the features with the help of plugins make this open-source web control panel a worthy tool. It can also manage users, configure web servers, set up firewalls, and much more. It also supports modules for managing Apache, DNS, MySQL, and many other services.
What do we need to follow this tutorial?
To start with Webmin installation, ensure that you have the following things:
- A Ubuntu 24.04 server or any other previous version such as 18.04, 20.04 or 22.04
- A user with sudo rights or direct root access.
- Internet access
Webmin Installation on Ubuntu 24.04 Linux
Step 1: Package Update
Access the command terminal of your locally or remotely installed Ubuntu 24.04 Linux server. After that, execute the system update command as shown below. It will install the latest package updates.
sudo apt update && sudo apt upgradeAlong with the system update command, also install the common dependencies using:
sudo apt install software-properties-common apt-transport-https
Step 2: Setup Webmin Repository on Ubuntu 24.04
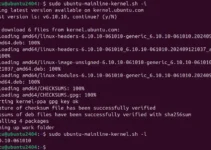
Webmin officially offers a script that automatically adds the GPG key and required repository on Ubuntu 24.04, as well as other supported Linux systems. So, first, use the given command and download the script:
curl -o setup-repos.sh https://raw.githubusercontent.com/webmin/webmin/master/setup-repos.shNow, run the script to add the repo:
sudo sh setup-repos.sh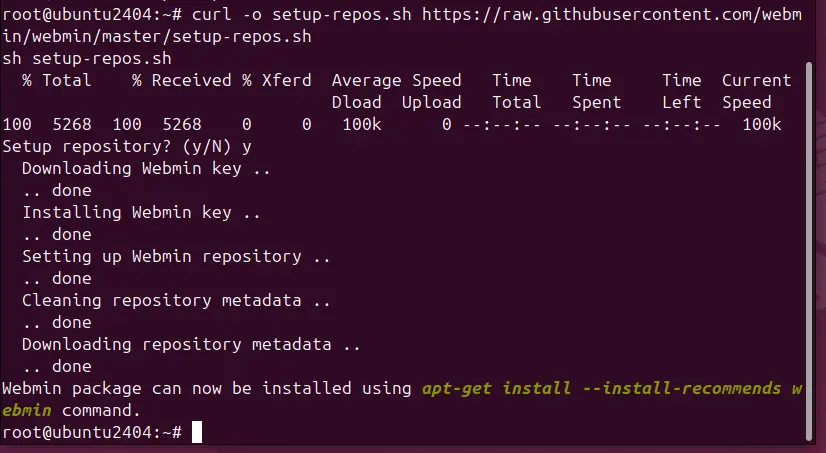
Step 3: Installing Webmin on Ubuntu 24.04
After having the Webmin repository, we can install it on Ubuntu 24.04 or previous versions using the default package manager – APT. So, in your command terminal, execute the given APT command along with the Webmin package name as shown below:
sudo apt install webmin --install-recommends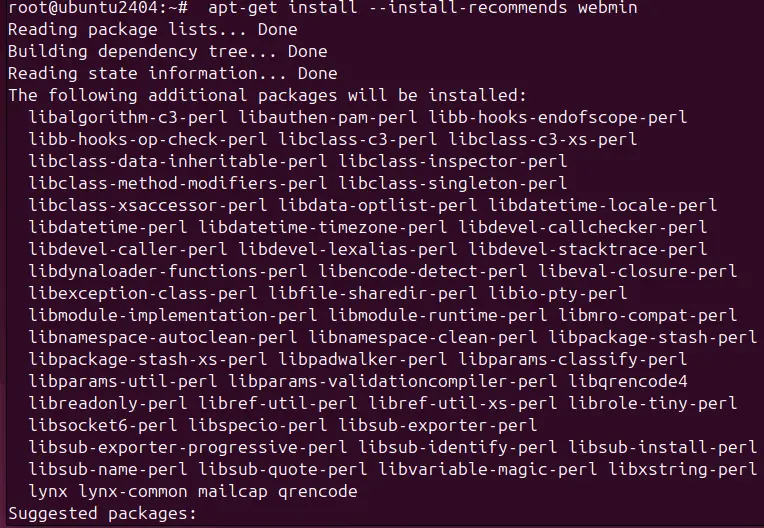
Step 4: Check the Service status
To confirm the installation has been done successfully and Webmin service is running in the background without producing any error, use the “systemctl” command:
sudo systemctl status webmin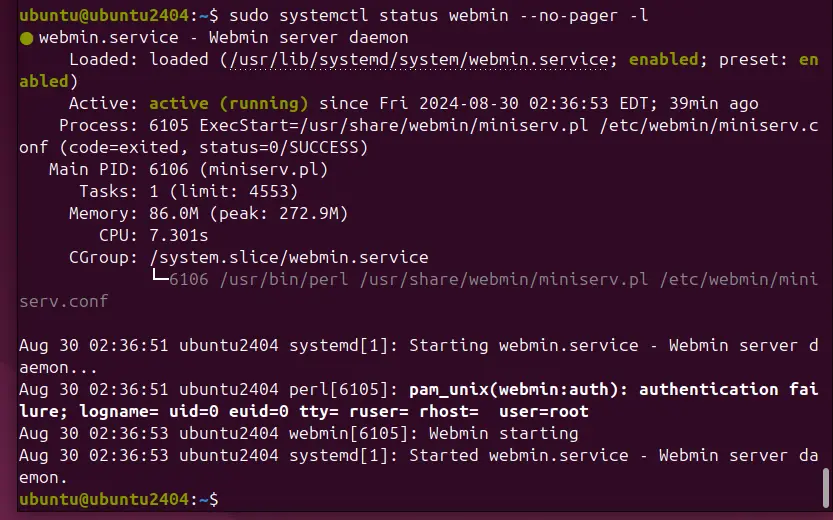
In case the service is not started yet, then run:
sudo systemctl start webmin
Step 5: Open the Webmin Port in the Firewall
Those using the Ubuntu server on some Cloud service must open the TCP port “10000” in their service provider firewall. Whereas, if you have an active UFW firewall, then use this command:
sudo ufw allow 10000/tcp
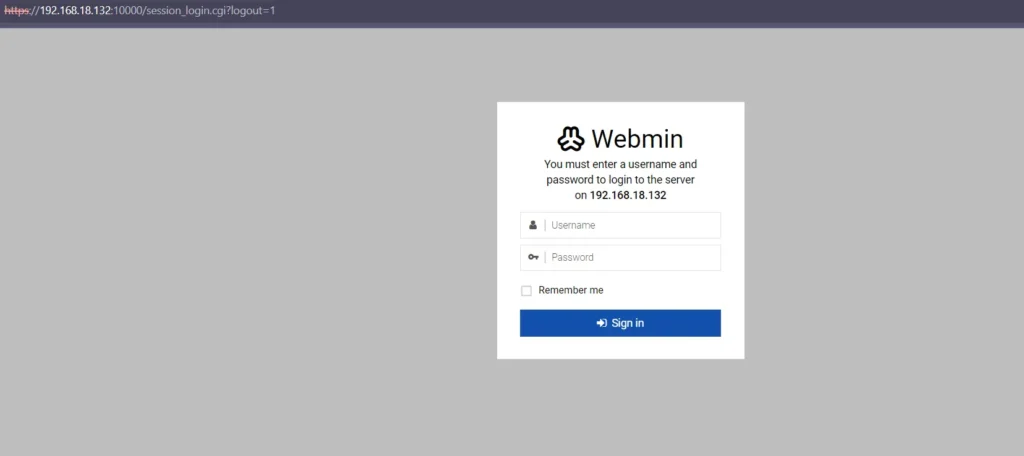
Step 6: Log in to the Webmin GUI control panel
Go to a Web browser on any system that can access your Ubuntu 24.04 server IP where Webmin is installed. After that, enter the IP address and port 1000 in the URL box to access the Webmin login page.
Point your browser to Webmin’s installed Ubuntu server in the following format:
https://server-ip-address:10000
You will have an SSL certificate error. To bypass that, click the Advanced button and “Continue to your server IP.”

Login Web UI
To log in and access the Webmin Dashboard, enter your Ubuntu 24.04 system user and password.
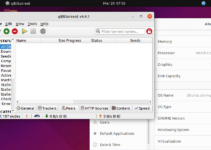
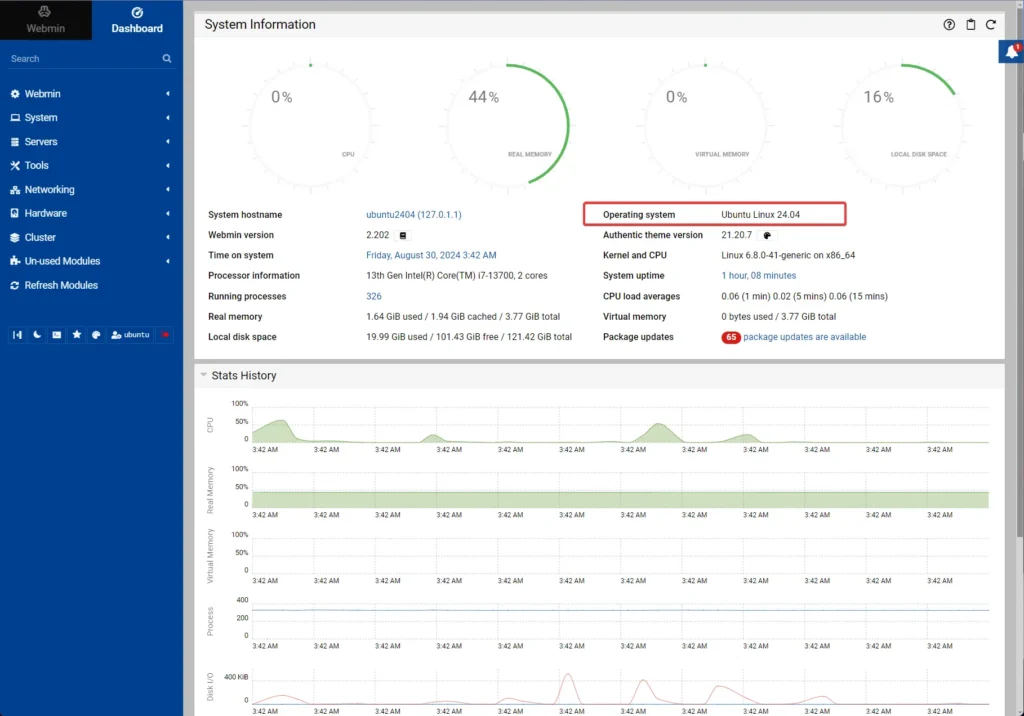
Step 7. Webmin Cpanel Dashboard
Soon, you will have the Webmin’s Dashboard with the server’s system information. Now, we can start managing various services, features, and other server settings using a web-based graphical user interface.
How to update
In the future, if you want to update Webmin to its latest available version, you only have to run the system update and upgrade command.
sudo apt update && sudo apt upgrade
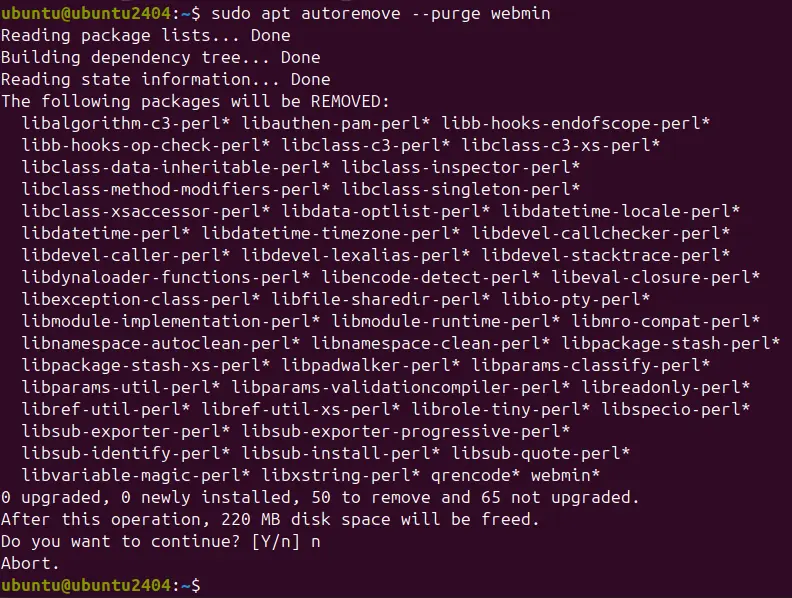
Uninstall or Remove (optional)
If you are running a crucial web application with Webmin, it’s recommended that you back it up before planning the uninstallation of Webmin. Removing it is not tricky; use the regular –remove option in the APT package manager.
sudo apt autoremove --purge webmin
If you don’t plan to install Webmin, remove the GPG key and repository.
sudo rm /etc/apt/sources.list.d/webmin.list
sudo rm /etc/apt/trusted.gpg.d/jcameron-key.asc
Other Articles: