Code Server is an open-source project to program on VS Code but using a web browser. Here we learn the command to install Code Server on Ubuntu 22.04 Jammy JellyFish or 20.04 Focal Fossa.
VS Code – short for Visual Studio Code is a popular source text editor from Microsoft. It is primarily used for the development of web applications; it enables developers to program or creation of source texts in C++, C#, CSS, Dockerfile, Go, HTML, JavaScript, JSON, Less, Markdown, PHP, Python, Sass, T- SQL and TypeScript.
Although VS Code is already available to install on Debian-based systems such as Ubuntu using ~.Deb binary, however, resides only on the local machine where it has been installed. This means we cannot access it remotely unless we are not using any remote desktop software. Those who are interested in installing VS code locally can go for 4 Ways to install VS Code Editor on Ubuntu 22.04 | 20.04 LTS.
Now, come to users those who don’t want to carry their desktops always or want a high-resource server for coding. They can install “Code-Server” which is a project offered by coder.com to provide a platform that allows running the latest VS Code on a remote machine but accessible through a modern web browser. The source of the project is available on Github.
Steps to install VS Code -Server on Ubuntu 22.04 | 20.04 LTS
The steps given here will be the same for other Linux systems such as Debian, Linux Mint, POPOS, and similar Linux systems.
1. Requirements:
There is no unique requirement to install Code-Server, just the regular ones:
• Ubuntu 22.04| 20.04 |Debian server or desktop
• A non-root user with sudo rights
• 1 GB of RAM coupled with 2 CPU cores
2. Run APT update
First, run the system update command to ensure all the installed system packages are up to date. This will also refresh the repository cache.
sudo apt update
3. Install Code-Editor on Ubuntu 22.04 | 20.04
There are two ways to install the Code-editor on Linux systems one is via Script which is the same for all Linux whether it is RedHat or Debian-based. Another way is to download the RPM or Deb package of Code-editor and install it manually as per our Linux system. Here we will show you both.
Using Script: #1st method
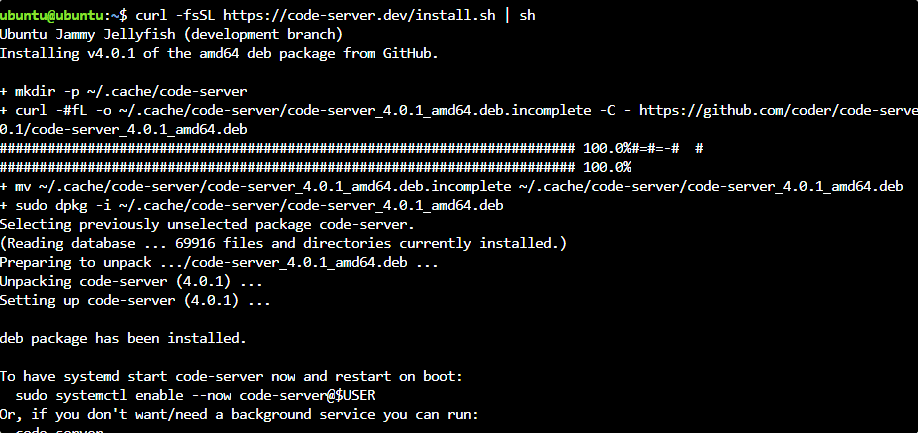
Code editor packages are not available through the default Ubuntu Jammy or Focal repositories, hence we need a third way. Therefore, on your command terminal run the given command that will fetch the required packages to configure on your Linux using the system package manager.
curl -fsSL https://code-server.dev/install.sh | sh
Using Deb Package: # 2nd method
Open your browser and go to the GitHub Release page, scroll down and then download the Debian package.
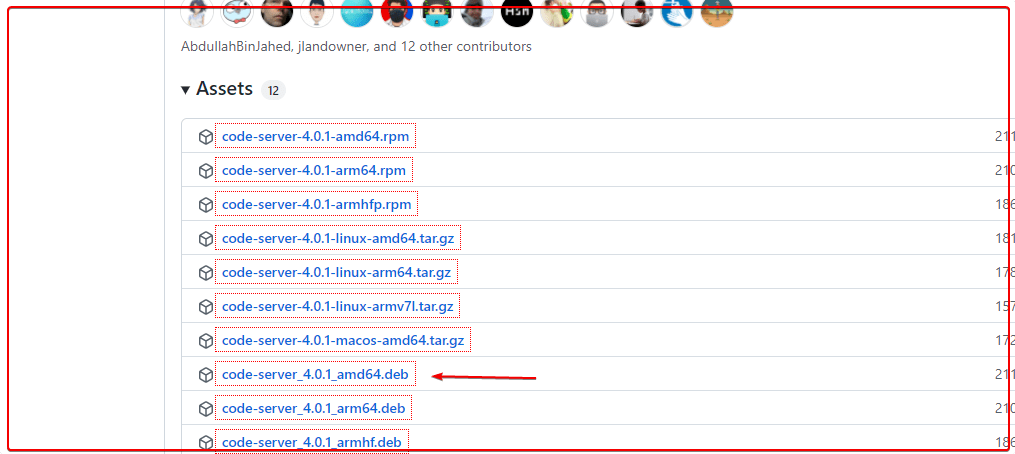
After that on your command terminal and switch to the Downloads directory because whatever we download from the browser goes into that.
cd Downloads
Check the downloaded files are there or not.
ls
Install it:
sudo apt install ./code-server_*_amd64.deb
4. Start and Enable Code-Editor Service
Once the installation is completed, start the service, whereas if you want Code-Editor to start automatically with system boot or in case of a system crash.
sudo systemctl start code-server@$USER
To enable, the service:
sudo systemctl enable --now code-server@$USER
Note: $USER will start the service for your current user only:
5. Nginx Proxy on Ubuntu 22.04 | 20.04
By default the Code-editor will only allow you to access the web interface at localhost i.e, hence to access it using any remote machine securely, we either can open an SSH Tunnel or install an Nginx proxy. Here we are going for Nginx lightweight server.
Note: If you don’t want to use Nginx Proxy, then simply edit the YML file nano ~/.config/code-server/config.yaml and change the bind-address from 127.0.0.1 to 0.0.0.0 to access the web interface from any IP address.
sudo apt install nginx -y
Start and enable its service:
sudo systemctl start nginx
sudo systemctl enable nginx
Check status:
sudo systemctl status nginx
6. Create Nginx Configuration file for Code-Server
Now, we create a file to proxy local running Code Server instance and deliver it using the main system IP-address over HTTP or HTTPS, when called by any user using the browser.
sudo apt install nano -y
sudo nano /etc/nginx/sites-available/code-server
Add the following lines:
Note: If you want to access the Code-Server using some domain name then replace yourdomain.com with the actual FQDN you want to use. Whereas those who don’t have a domain then simply remove the # tag and replace “system-IP-address” with the Ip-address of the server where Code-Editor has been installed.
server {
listen 80;
listen [::]:80;
server_name yourdomain.com;
#server_name system-ip-addres;
location / {
proxy_pass http://localhost:8080/;
proxy_set_header Host $host;
proxy_set_header Upgrade $http_upgrade;
proxy_set_header Connection upgrade;
proxy_set_header Accept-Encoding gzip;
}
}
Save the file- Ctrl+O; hit the Enter key and then exit- Ctrl+X.
Enable site configuration file:
sudo ln -s ../sites-available/code-server /etc/nginx/sites-enabled/code-server
Restart servers:
sudo systemctl restart nginx
sudo systemctl restart code-server
Open port 80 and 443 in the firewall:
sudo ufw allow 80
sudo ufw allow 443
7. Access VS code web interface
Now, open any browser that can access the IP address of the remote server where the Code server has been installed. And point to that.
http:server-ip-address

or

http://your-domain
8. Login- Code Editor Password
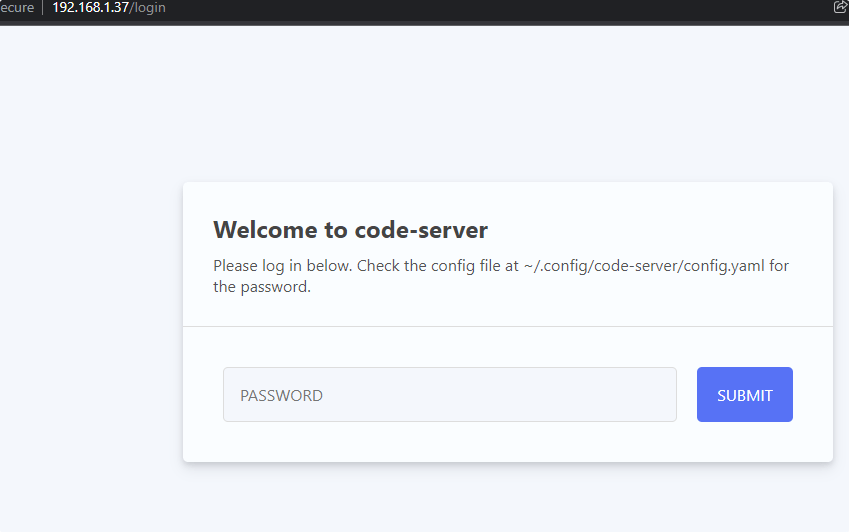
When we try to log in to the Code-editor web interface, it requires a password, that is saved in the YML file. Here is the command to retrieve it.
On your command terminal, run:
nano ~/.config/code-server/config.yaml
Copy or note down the password mentioned in the file.
9. VS code using Web Interface on Ubuntu
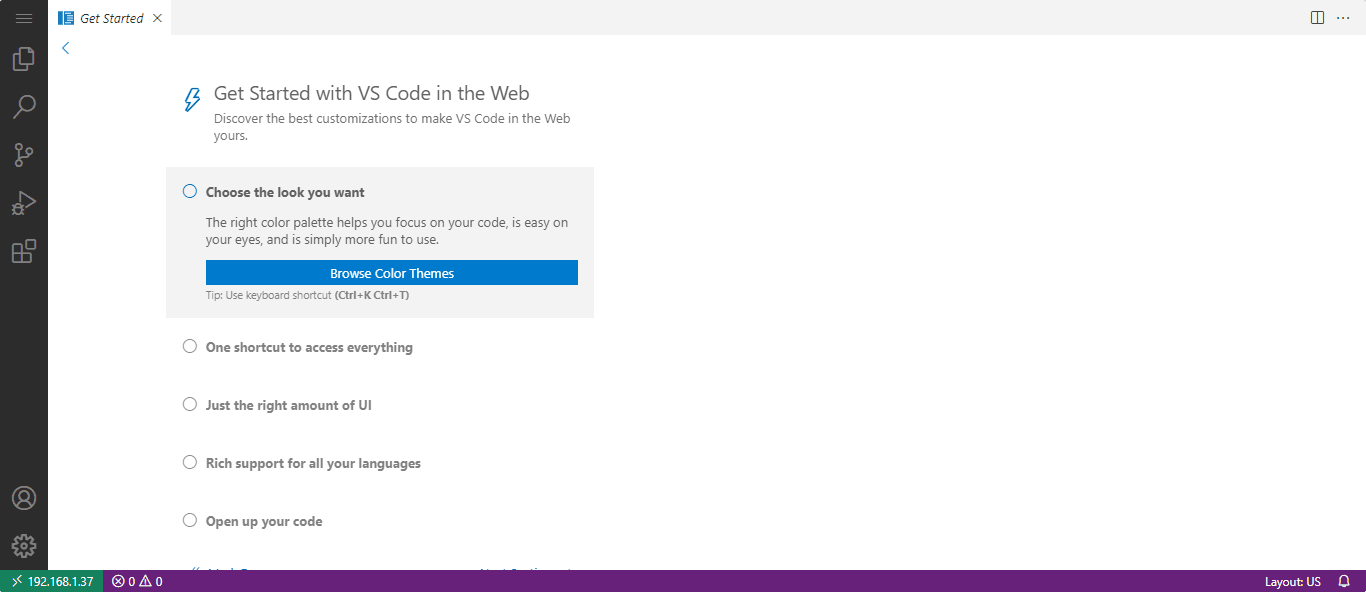
Now, we can start closing using the VS Code web interface directly in the browser without visiting the remote machine physically.
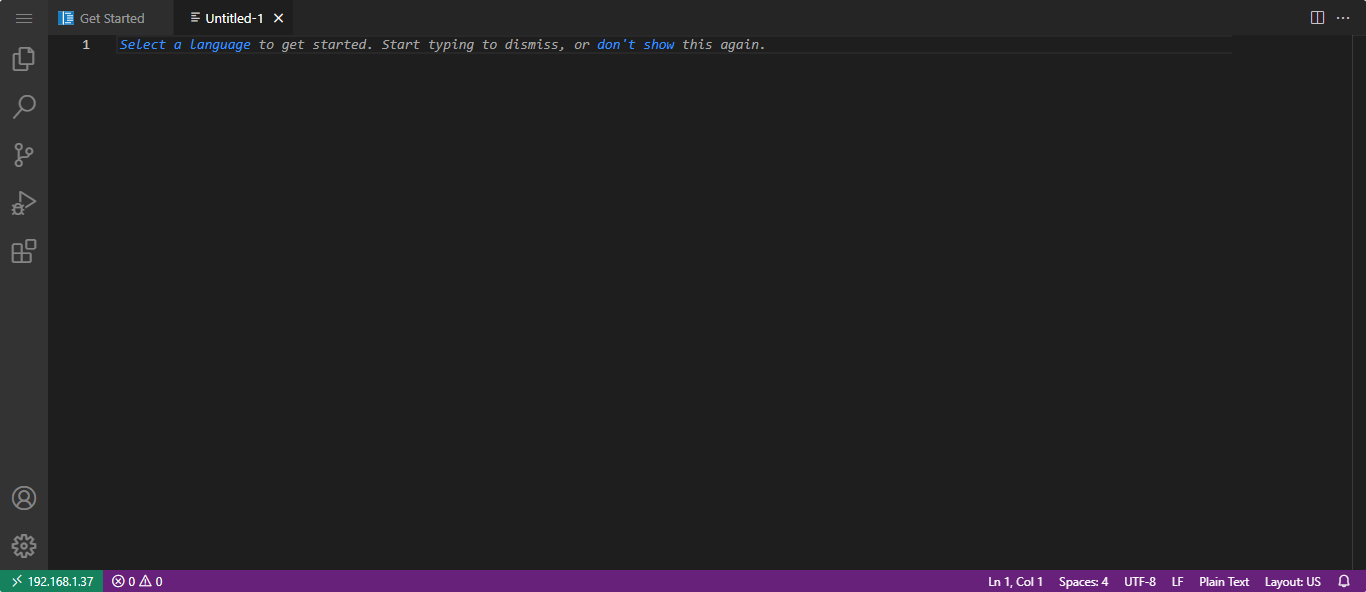
9. To use the Let’s Encrypt SSL certificate
Run given commands to access Code-Server over HTTPS instead of plain HTTP.
sudo apt install -y certbot python3-certbot-nginx
sudo certbot --non-interactive --redirect --agree-tos --nginx -d yourdomain.com -m [email protected]
Be sure to replace [email protected] with your actual email and yourdomain.com with the domain you used in the Nginx configuration file.
Restart Nginx:
sudo systemctl restart nginx -y
After that, you should be able to access code-server via https://yourdomain.com
Uninstallation or remove Code Server
To remove the Code server in the future, if you don’t like then run the following command:
Stop service:
sudo systemctl stop nginx
sudo systemctl stop code-serverf@$USER
To delete settings and data:
sudo apt remove code-server
If you also don’t need Nginx then:
sudo apt remove nginx
Delete data:
rm -rf ~/.local/share/code-server ~/.config/code-server

rm -rf ~/.local/lib/code-server-*
Conclusion:
In this way, we can start editing our code on some remote machine using a local or internet network with the help of a web browser. This means whether we are using Android, iOS, Windows, Linux, or macOS, all can be used for programming using VS Code. Also, our all data will be in one central place.
Other Articles:
• 2 Ways to install VS code on Debian 11 Bullseye Linux
• Linux Mint, Ubuntu, Manjaro, and Debian Desktop GUI differences
• How to install GitEye GUI Git client on Ubuntu 22.04 | 20.04
• How to install Kibana Dashboard on Ubuntu 22.04 or 20.04


This was really helpful ty
great page. thanks.
ps… search for “clod” on the page… unfortunate typo 😉
Thanks…
Really excellent and fully explained, I used it, thank you.