p7Zip is an open-source tool to highly compress files and folders on Linux and FreeBSD systems such as Ubuntu, Debian, RedHat, and more. It is the best alternative to Winrar software which is meant for Windows platforms.
Being an open-source doesn’t mean that it is not available for Win systems. p7Zip is a fork of 7Zip that is originally available for Windows. With the help of it, we not only compress but also can decompress the files available in other formats such as rar. This free compression tool offers many mainstream functions such as AES-256 encryption, hyper-threading, and fast speed. Apart from the Graphical version, the 7Zip is also available in the command-line suitable for Servers or Desktops running without a Desktop environment.
p7Zip installation on Ubuntu 20.04 LTS Linux
Here we will see the steps to install and use the 7Zip GUI on Ubuntu 20.04 LTS focal fossa to compress files and folders. The commands are also applicable for older Ubuntu versions such as 19.10/19.04;18.10/18.04 including Linux Mint.
Step 1: Access Command Terminal
Well, if you are already a Ubuntu user then, I don’t have any need to tell you how to access the command terminal. However, those who are new to Linux can open it by searching in Applications or using a simple keyboard shortcut that is: Ctrl+Alt+T.
Step 2: Update the system to the latest packages
Although this command is not necessary because we are going to use the SNAP command here for 7Zip installation. Yet, run it to make sure all the available packages on your system are up to date.
sudo apt update
Step 3: Download and install p7ZIp
With SNAP: All the modern operating systems of Ubuntu come with a universal package manager called SNAP out of the box. Thus, we don’t need to install it. The benefit of using it is you can install the same snap package on other Linux systems such as CentOS, Fedora, Manjaro, and more without adding any repository. So, simply run the below command with sudo to install 7ZIP GUI,
sudo snap install p7zip-desktop
Wait for a few seconds depending on our internet connection speed, this free Linux file compression tool will be on your system.

With Repository: If you don’t want to use SNAP then it can be downloaded directly. This compression tool is available in the Universe repo of ubuntu. Therefore, add it, if it is not on your system.
sudo add-apt-repository universe
sudo apt update
sudo apt install p7zip-full p7zip-rar
Step 4: Run p7Zip GUI
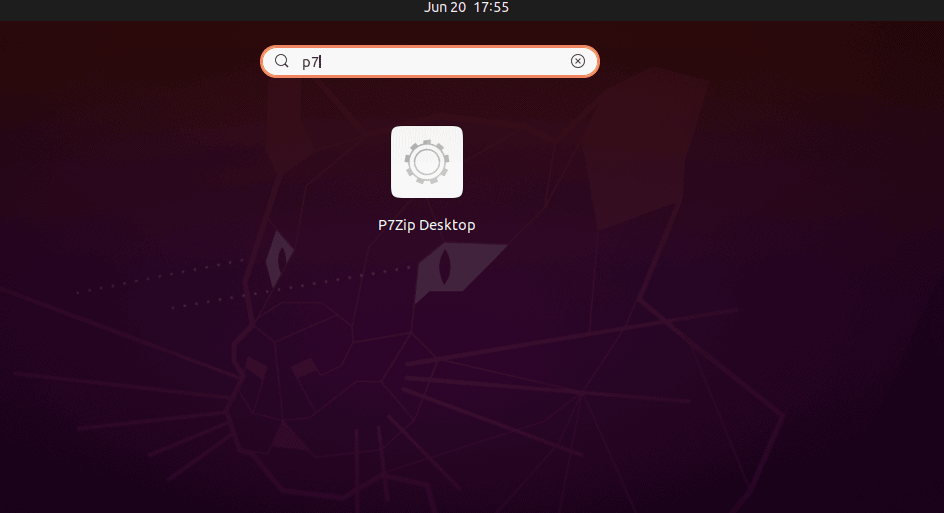
Once the installation is completed, go to Applications and search for this application. As its icon appears, click to open it.
Step 5: Use 7Zip on Ubuntu to compress files
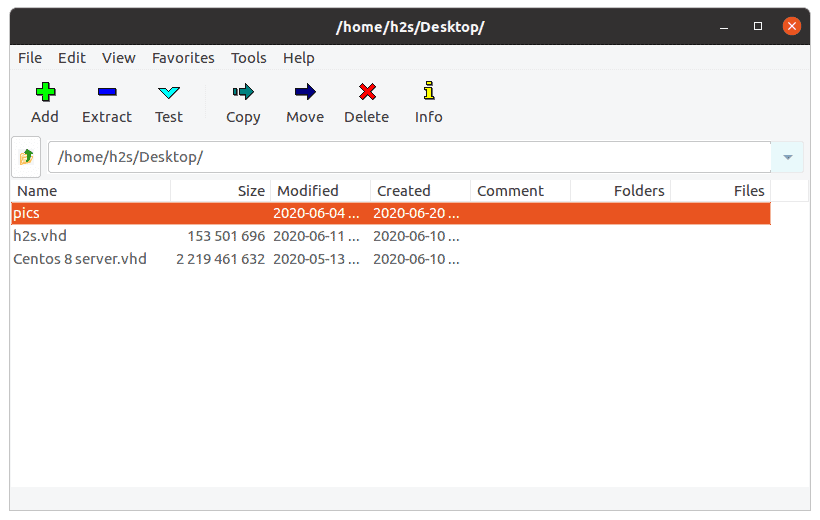
To use the p7Zip through the Graphical user interface is very easy, after opening it on Ubuntu. You will get a file explorer inside this tool. Navigate to the file or folder that you want to compress and then select & click on the “Add” button. For example, in the below screenshot we have a folder called “pics“, so we have selected to compress.
Step 6: Add to Archive
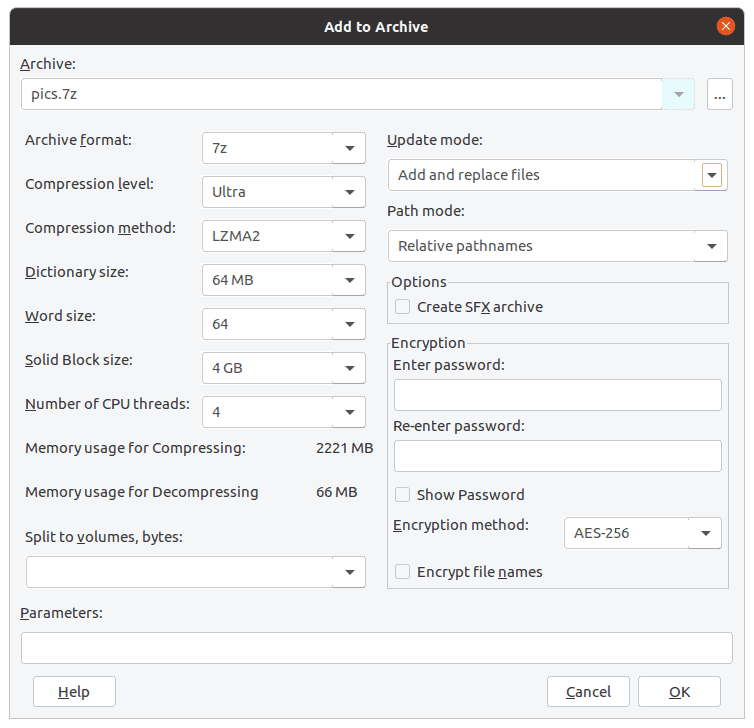
The moment you select and add a file to archive it, the settings of the 7Zip will get opened. From here we can opt for various settings to compress the files as per requirement.
Archive format: Select the various available formats such as 7z, bzip2, gzip, tar, swim, xz, and zip.
Compression level: Depending on how well compressed you want the archive, for that the level can be chosen. By default, it will be Normal.
Compression method: It offers LZMA2, LZMA, PPMd, and BZip2. These are encoding methods if you know what are you doing then change it otherwise leave it as default.
Several CPU threads: As the app supports hyperthreading, to process large files you can increase or decrease the assigned threads.
Encryption: As I told above, the p7Zip offers encryption, thus, under “Encryption” one can create a password for their compressed files. So, only they could open it.
Finally, click on the OK button to start the compression process.
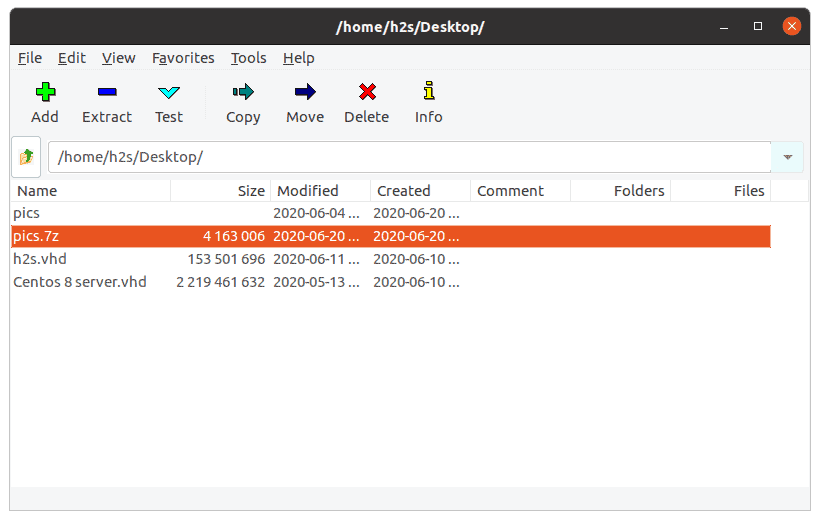
Once it is done, the compressed file will appear on the software files explorer as well as on the location, where the original uncompressed file is located.
Quick process to compress
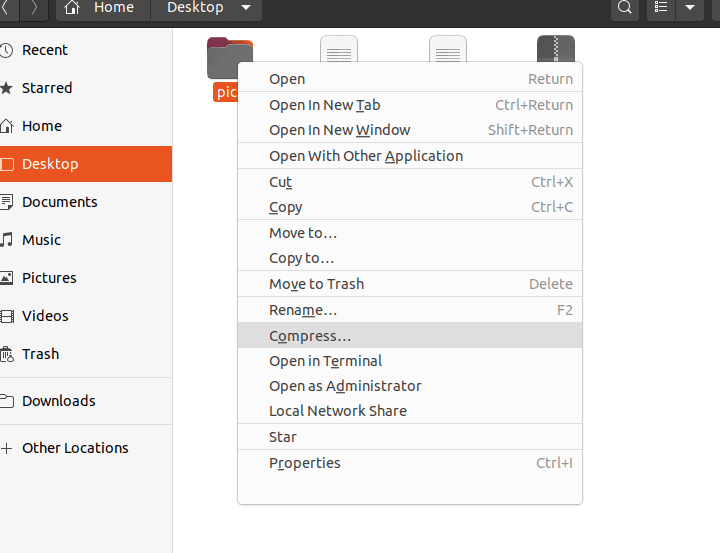
Apart from the p7ZIP GUI, it also integrates itself into the contextual menu of Ubuntu. It means you can directly archive files and folders without opening the software itself. For that, simply right-click on the file and select the “Compress..” option. This will open a small quick window from which you can select the type of Archive format you want to use. Then simply hit the “Create” button. That’s it.
Decompression
If already have an archive file then either right-click and select the decompress option or in the p7ZIP GUI file explorer select that file and click on the “Extract” option given in the menu.
p7Zip Command line to compress files
Another quick method is for those who are familiar with the command line and prefer to use that only. For that the structure of the command to create archive files in the terminal using 7Zip will be:
7z a folder-name.7z folder-name
Therefore, for example, if we say the folder name is “pics” then the command will be like this
7z a pics.7z pics
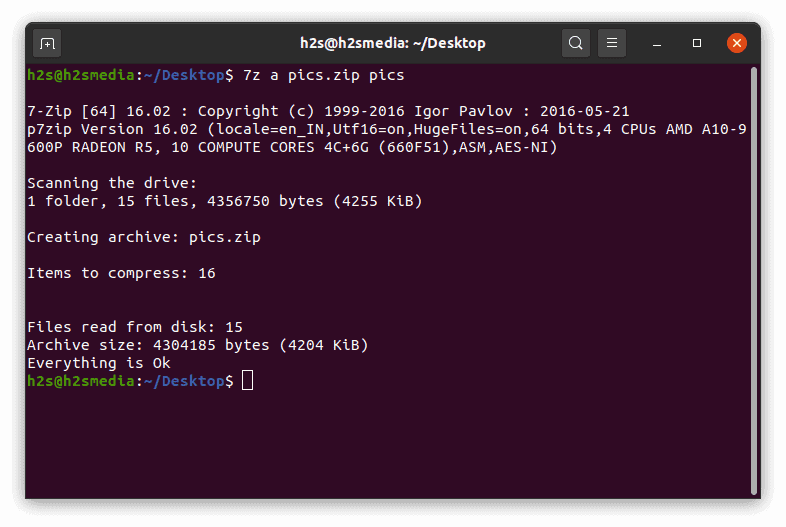
To use any other archive format use that extension, for example, to get the archive in zipped format, the command will be like this way:
7z a pics.zip pics
Here is the output:
I hope you would have now an idea to use p7ZIP on Ubuntu 20.04 or earlier systems to create archive files and folders easily via both GUI and CLI.


Good and easy to ready article. Great thanx from Poland!