Manage your command line or graphical desktop Linux system remotely using browser by installing Cockpit on Ubuntu 22.04 Jammy Jellyfish or 20.04 Focal Fossa.
Cockpit is a popular tool that comes with a web-based graphical interface for providing remote management for Linux users. RHEL based Linux distros out of the box offer this tool, and the user just need to access it. Where other users can install Cockpit directly using their system package manager.
Well, Cockpit is open-source software and light in weight offers web GUI to manage Linux systems, beneficial especially to those who are running a command-line interface Linux such as CentOS and Ubuntu minimal servers. It helps advance users in quickly updating, enabling services, restarting the system, accessing Docker containers, Network, storage management, and all above the web-based terminal to issue commands remotely on a server.
Steps to install Cockpit on Ubuntu 22.04 for Server management
Although we have performed this tutorial on Ubuntu 22.04 LTS, the steps will be the same for Ubuntu 20.04 or 18.04 including Debian, Linux Mint, POP OS, MX Linux, and other similar Linux systems.
1. Requirements
To install Cockpit you must have flowing things:
- Ubuntu 20.04/22.04 Linux Server
- A non-root sudo user
- Internet connection
2. Apt Cache Update
Many times after setting up a new server, the APT package manager won’t recognize the latest packages available to install through the repositories. Hence, first, run the update command before moving further.
sudo apt update
3. Command to Install Cockpit on Ubuntu 22.04 | 20.04
Once your system is up to date, we can use the APT package manager to install Cockpit on Ubuntu 22.04 or 20.04 Linux without adding any additional repository; as its packages are already available in the base repo.
sudo apt install cockpit -y
4. Start and Enable Cockpit service
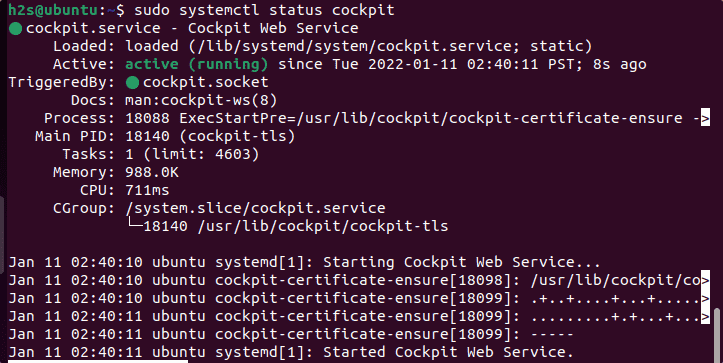
With successful installation, this web-based server management will be on your system. However, we have to start its service manually to access it. Also, at the same time enable it to start automatically in case of crash or system reboot.
sudo systemctl start cockpit cockpit.socket
sudo systemctl enable cockpit cockpit.socket
5. Open Cockpit port in Firewall
If your system is using an active firewall, then ensure the port number 9090 used by the Cockpit to communicate is opened in the Firewall. The command for it is:
sudo ufw allow 9090
6. Enable Docker/Podman container support
If you already have Docker installed on your Ubuntu 22.04 or 20.04, then simply run the given command to enable docker support for Cockpit.
sudo apt install cockpit-podman -y
To know how to use it, refer to this tutorial- How to install and use Docker container via Cockpit
7. Access Web GUI to manage Ubuntu 20.04 | 22.04
Everything is done and up correctly, it’s time to access your Linux Server or Desktop remotely using a web browser and this web management interface.
Open a browser in a system that can access the IP address where you have installed the Cockpit, in the URL section enter the address in the following format:
https://server-ip-address:9090
Note: Replace the server-IP address with your actual one.
8. Your connection is not private: Warning
As you try to connect the Cockpit web interface, you will have an HTTPS error.
Your connection is not private
Attackers might be trying to steal your information from 192.168.17.144 (for example, passwords, messages, or credit cards). Learn more
NET::ERR_CERT_AUTHORITY_INVALID
To bypass it, simply click on the “Advanced” button and then hit the link “Proceed to your-ip (unsafe)“. This will give you the Login interface.
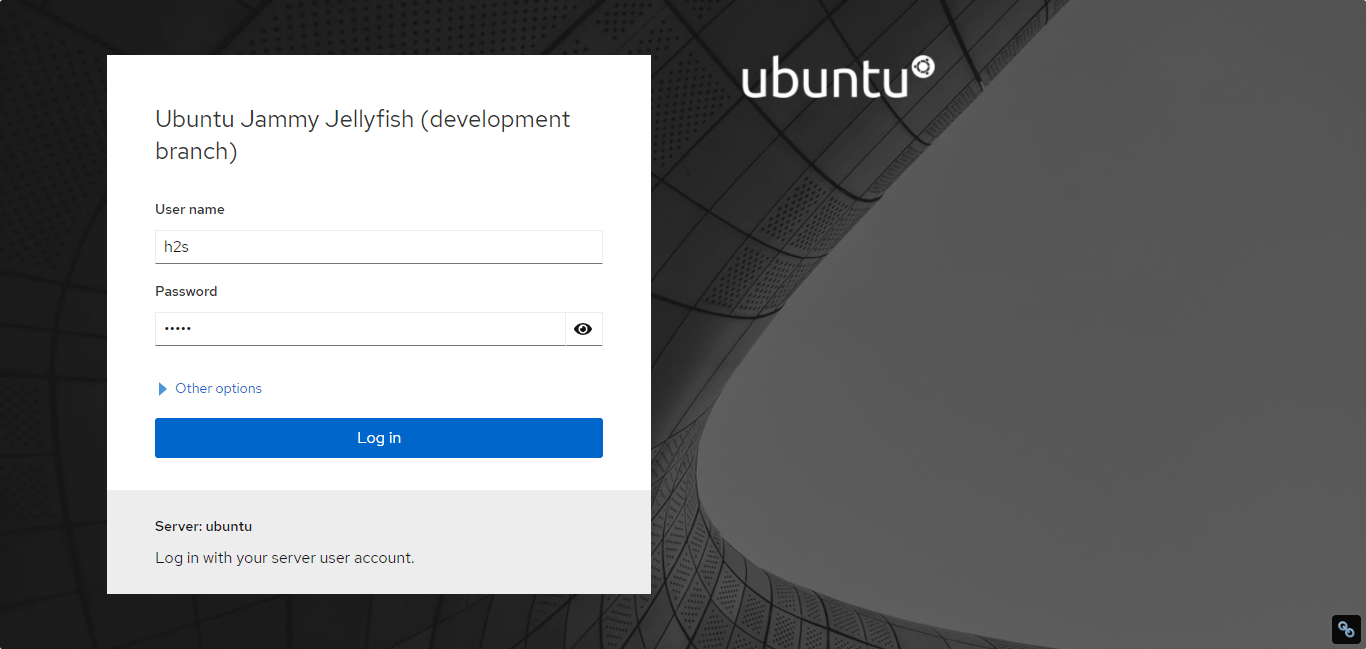
9. Login Cockpit web management interface
We can use any user available on your system, however, it must be at least a non-root user with sudo access; so that you can manage various services directly using the Cockpit Interface. Alternatively, you go for the root user as well.
10. Monitoring Dashboard
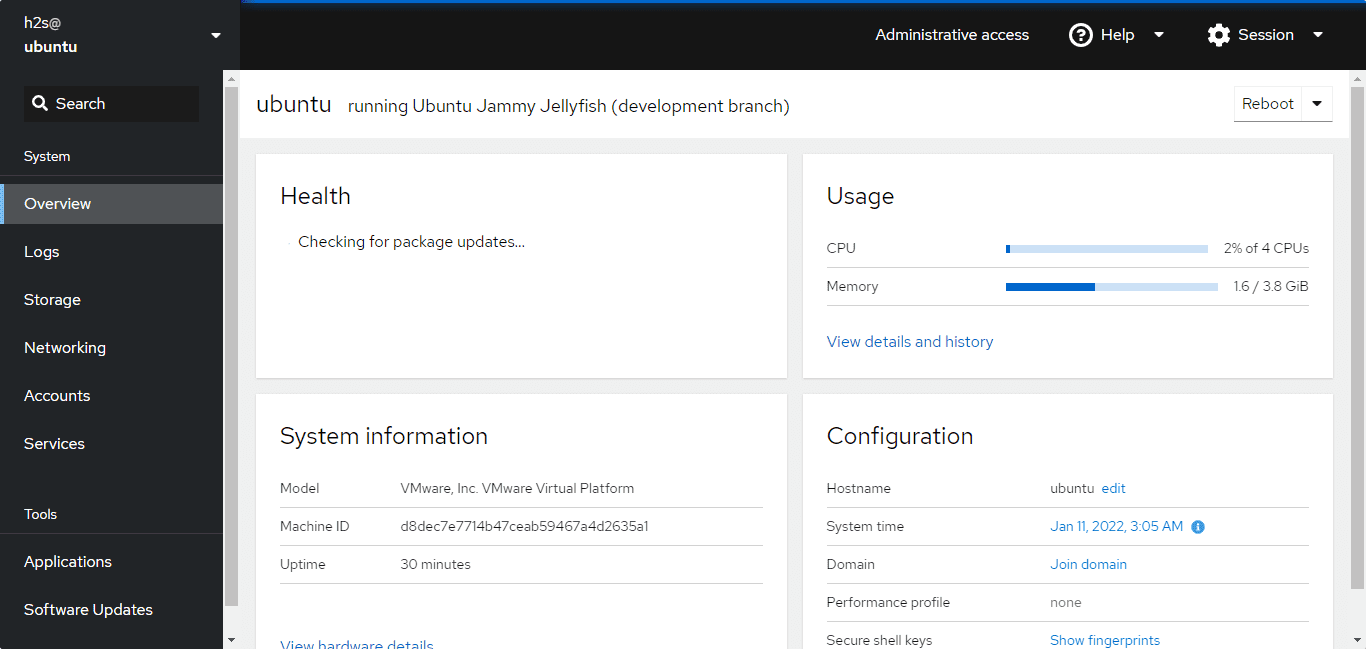
The first screen that comes is Overview– for showing various information such as CPU and Memory Usage; System health and configuration; hardware information.
11. Logs
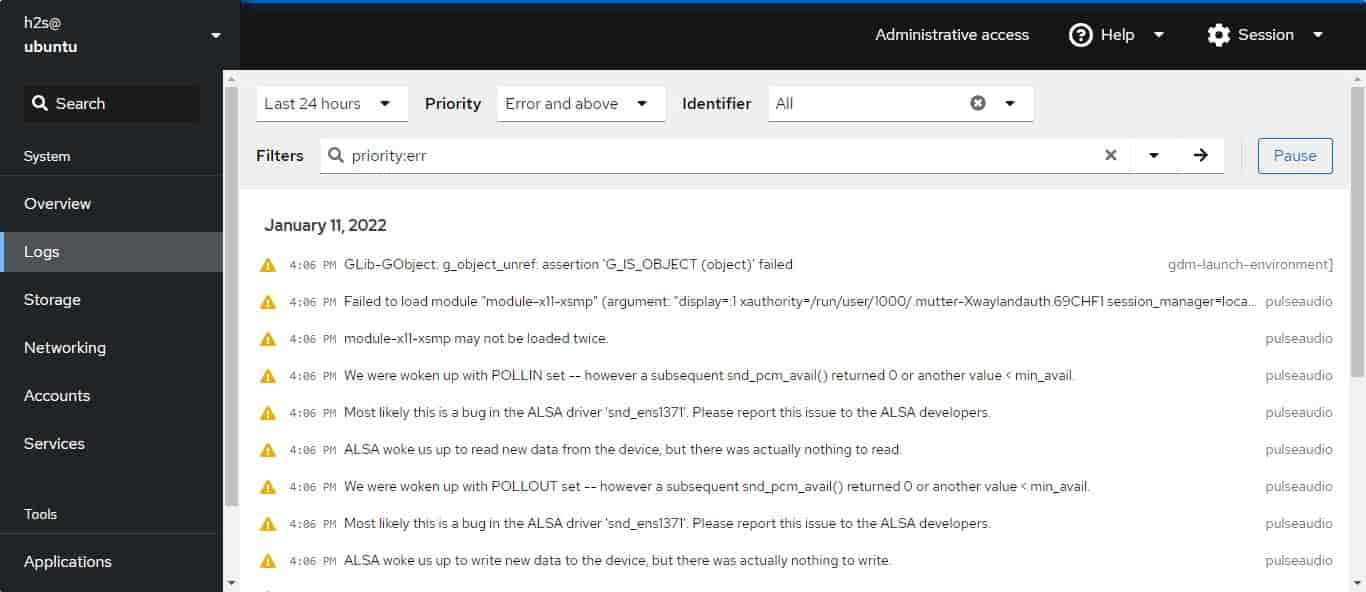
To solve problems that appear due to some errors, logs help a lot to resolve them and find out what exactly causes issues. On Cockpit, there is a dedicated section to accumulate and easily access the same using its web GUI.
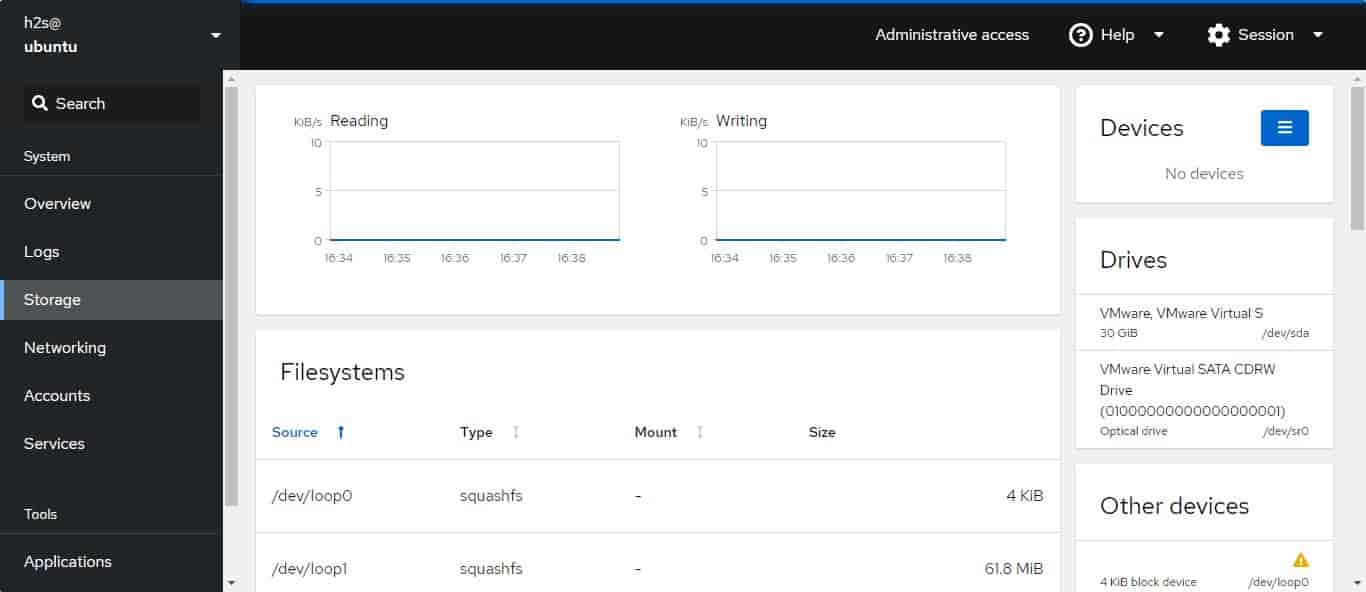
12. Storage
Just like CPU and Memory usage, users can have a view of Reading and Writing speed under the “Storage” tab of Cockpit. Along with other filesystem and storage drives information.
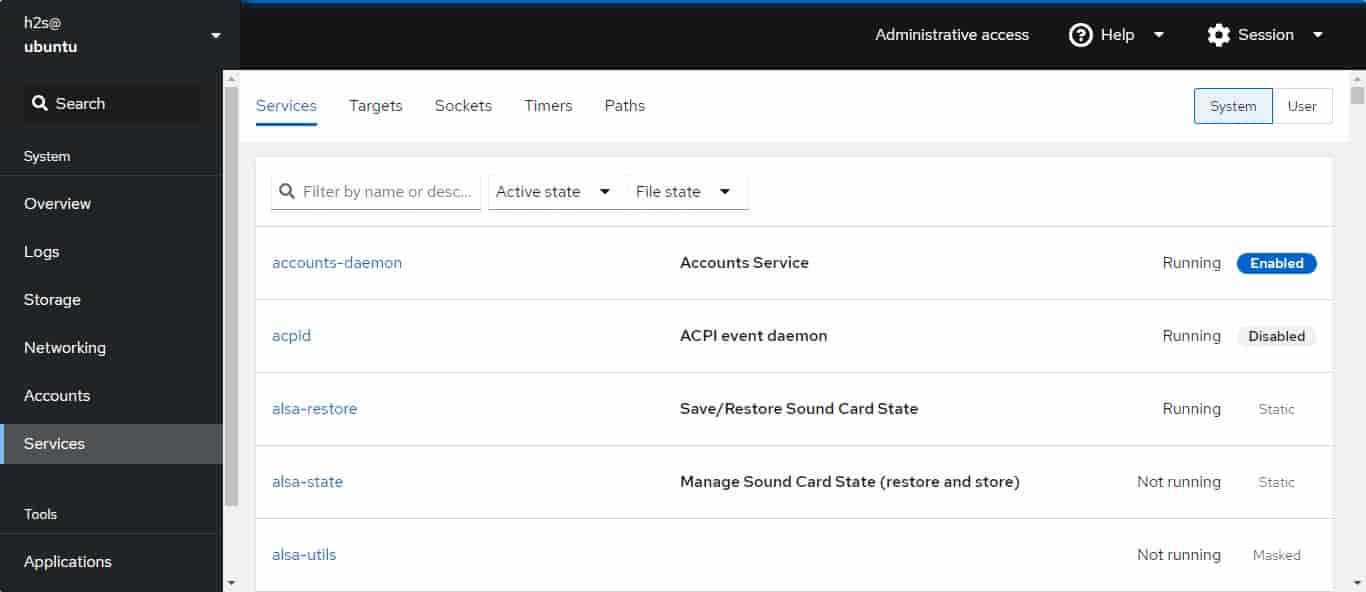
13. Manage Ubuntu 22.04 or 20.04 Services
Well, disabling, enabling, or restarting services with one click is not possible on the command-line interface, but on this web-based management interface, it is straightforward along with the whole list.
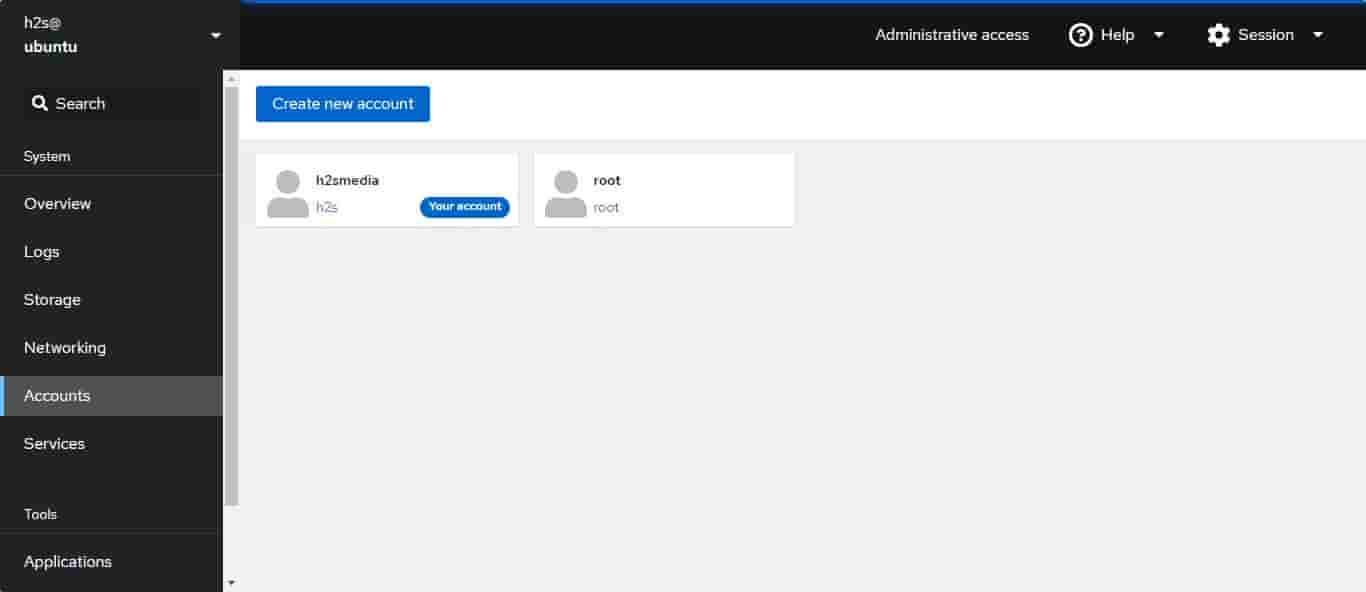
14. Account
No need to use the command line for creating and deleting system accounts; or changing the rights.
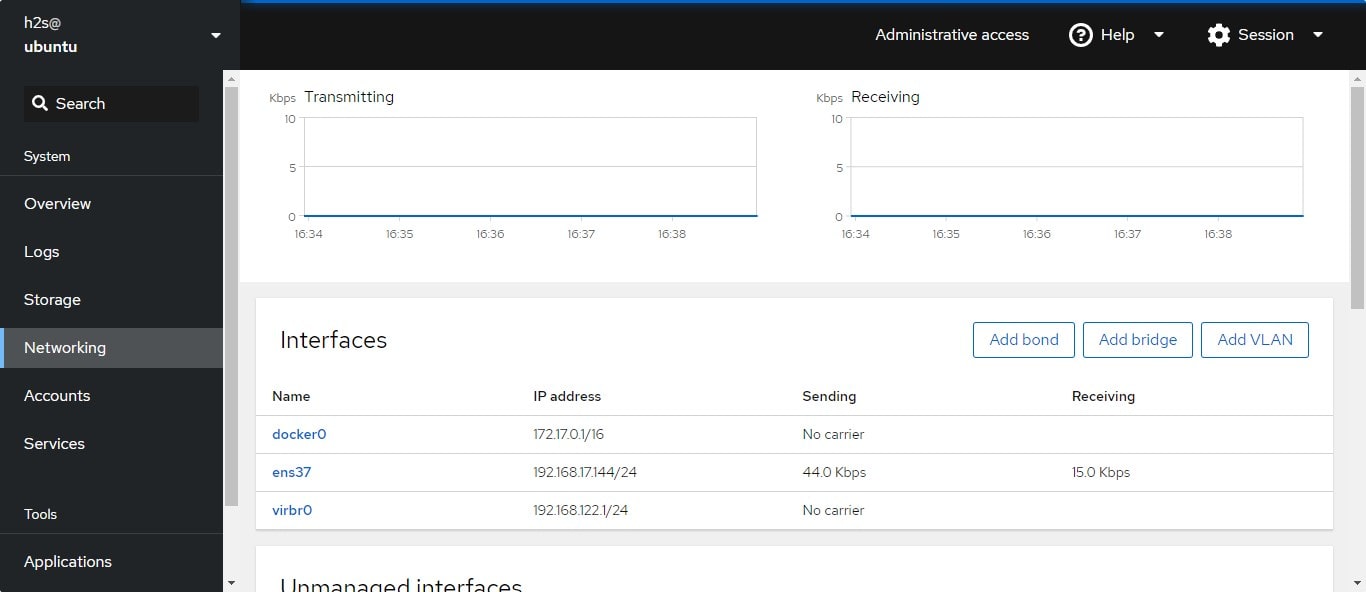
15. Networking
Create bridge, add virtual network while getting other important ethernet Interface information related to network adapters.
Other Articles:
• How to Install Cockpit Web Console on Debian 11 Bullseye
• Unable to search for images in Cockpit Podman Container
• How to Install or Enable Cockpit on AlmaLinux 8




There is no package cockpit-podman for 20.04 lts