Download and install QOwnNotes on Ubuntu 22.04 or 20.04 to store your all notes in a plain text markdown file. Here we learn how to install and start using it
What is QOwnNotes Linux?
QOwnNotes is an open-source application that we can install on Linux such as Ubuntu. The USP of it is the users can jot down their notes in a plain-text markdown file on a PC or laptop. The best part it not only comes with markdown support but also offers a to-do list manager and can work with Nextcloud and OwnCloud personal clouds for syncing notes across multiple devices. It supports spellchecking as well.
It is available for Linux macOS and Windows operating systems. Those who have coding knowledge can customize to work with notes as they want. Written in C++ and the source code of this app is available on GitHub.
Steps for installing QOwnNotes on Ubuntu 22.04 or 20.04
Estimated reading time: 4 minutes
The commands and steps given here are not just limited to Ubuntu Linux, users can use them on POP OS, Linux Mint, Elementary, and more…
#1st method using PPA
1. Add QownNotes PPA repository
This note-taking application is cannot be downloaded using the official Ubuntu repo. Therefore, here is the command that will help us to add extra PPA repo to supply the packages of this note-taking application.
sudo add-apt-repository ppa:pbek/qownnotes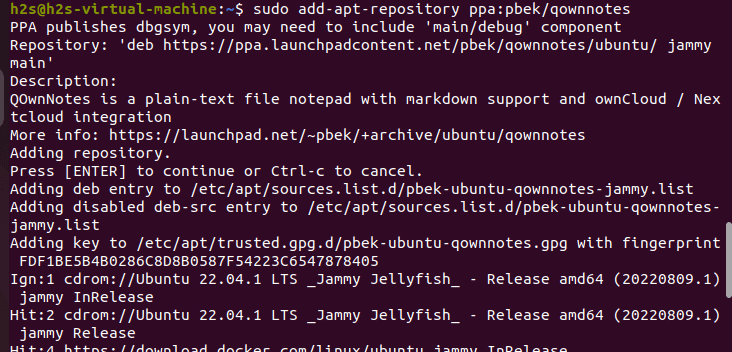
2. Rebuild the APT cache
Although in modern systems after adding the PPA it will automatically rebuild the APT cache, yet, to assure, run the given command.
sudo apt update3. Install Qownnotes on Ubuntu 22.04 or 20.04
Once the integration of the PPA repository of this open-source note-taking application is completed. Use the APT package manager to install QownNotes on Ubuntu 22.04 or 20.04. Here is the command to follow:
sudo apt-get install qownnotes#2nd method using Snap
4. Use Snap to install QownNotes
Well, those who don’t want to add an extra repository to their Ubuntu system can use the default SNAP package manager. On Ubuntu, it comes by default, therefore we just need to run the given command:
sudo snap install qownnotes5. Run QownNotes
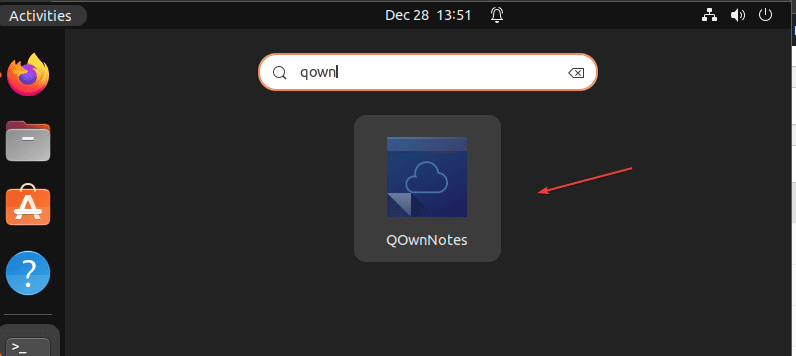
It doesn’t matter which of the method you have used to install this application. The way of running it will be the same. Go to Applications or simply click on the Activities link given in the Task Bar. And in the search box, type Qownnotes, and as its icon appears click the same to run.
6. How to Update
Well, depending upon the method you have used to install the QownNote, use the command given below to update, whenever its latest versions will be available.
For PPA and APT users:
Those who have used the PPA repository to install QownNotes, just need to run the system update command.
sudo apt update && sudo apt upgrade
For Snap users:
Snap users can use the given command:
sudo snap refresh qownnotes7. Setup the Application
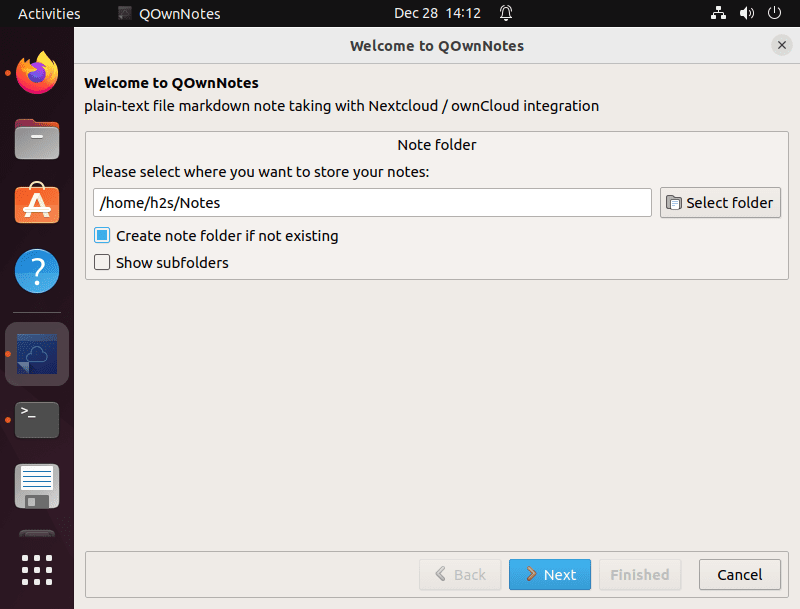
The first time when you run the application it will ask you to choose the path where you want to save the created Notes. Leave the default set path, if it is good for you, and click the Next button.
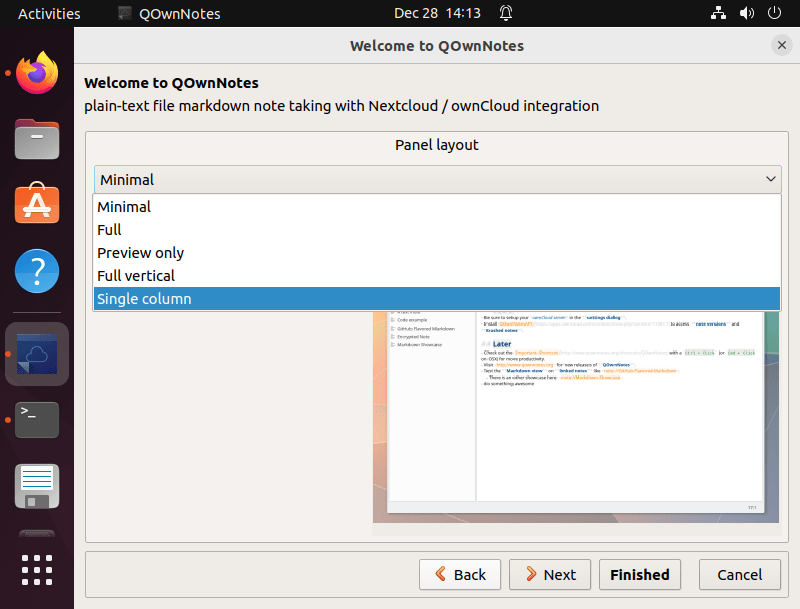
After that select the Panel layout you would like to start with. You can start with Minimal or Full and click on the Finished button. You can also change it later as well.
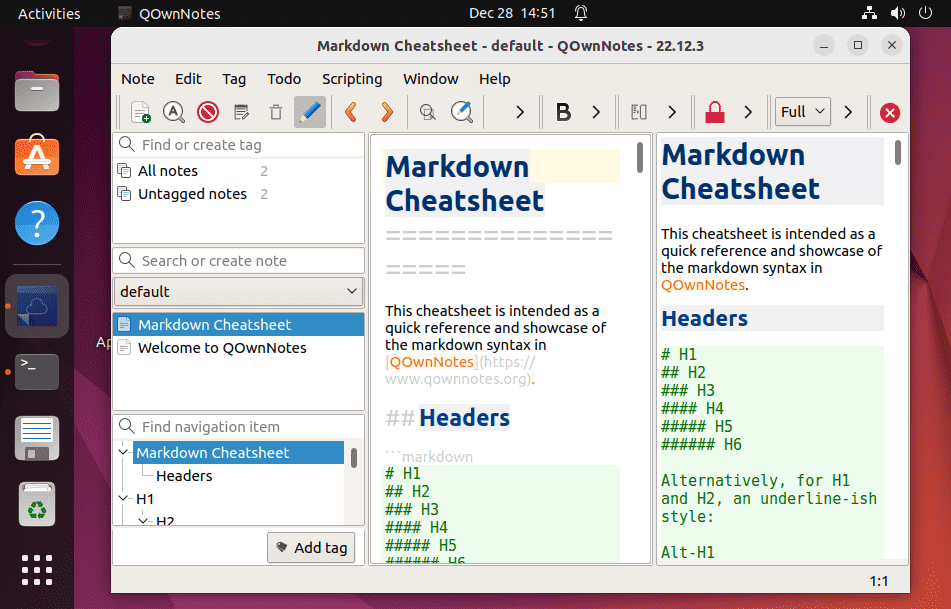
Final Interface:
8. Uninstall QownNotes from Ubuntu
Those who didn’t like this Note-taking application on their Linux and want to uninstall QownNotes completely from their Ubuntu 22.04 or 20.04, follow the given command.
To remove the app:
sudo apt autoremove qownnotesFor Snap:
sudo snap remove qownnotesTo remove PPA as well:
sudo add-apt-repository --remove ppa:pbek/qownnotesThese were two simple ways to configure QownNotes either on Ubuntu 20.04 or 22.04. Not only common users but even developers can have benefits from this note-taking application.
Other Articles:
