Node.js along with its package manager called NPM can easily be installed on Ubuntu 24.04 or any other version, here in this article we learn how to get it.
Node.js is a platform for developing standalone JavaScript programs that run independently of host applications such as web browsers. Among other things, it can be used to program server-side scripts, network tools, and web apps. Node.js is based on Google’s JavaScript engine V8, which is also used in the Chrome web browser. V8 is a process-based virtual machine that uses a JIT compiler to translate the JavaScript code into the machine language of the underlying hardware at run time.
What do we need to perform this tutorial?
We need Ubuntu 24.04 or any previous version of it such as Ubuntu 22.04 or 20.04. Along with it a user account with sudo rights and an internet connection to download the required packages.
Method 1: Using Ubuntu 24.04’s Official Repository
The packages to install Node.js and NPM are already present through the default system repository of Ubuntu 24.04. However, the only long-term version you will have to install is 18.x. Therefore, those who some other Node version can opt for the other two given methods in this tutorial.
Step 1: Update Package Index
Before installing packages on your Ubuntu, once run the system update command that updates the cache of the repository, so that the users can have the latest available packages to install.
sudo apt update && sudo apt upgrade Step 2: Install Node.js and npm
After updating the package list, we can execute the given command using APT which will install both Nodejs and NPM
sudo apt install nodejs npm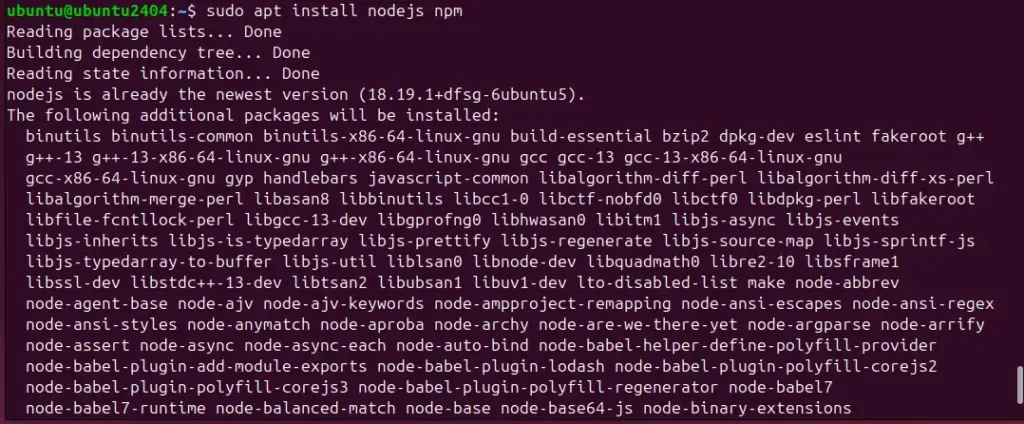
Step 3: Confirm the Installation
As we are done with the previous step’s command, let’s confirm that both Node and NPM are on our system by verifying their versions.
nodejs -v
or
node -v

npm -v
If the command Nodejs returns the version, but not the one with “node” then create a symlink:
sudo ln -s /usr/bin/nodejs /usr/bin/nodeNow you can verify again with:
node -vMethod 2: Using the official NodeSource Repository
As we have seen in the previous method the version we will have of Nodejs using the default system repository of Ubuntu 24.04 is 18.x. So, to get a more recent version of Node.js, we can add the NodeSource repository manually either for the latest LTS (Long Term Support) or current releases.
Step 1: Add NodeSource Repository
Now, as per your requirement use the given command. Those who want the latest current version of Node can add the repository given for that.
Choose only one current or LTS:
For the latest current version:
This command will not install the LTS instead the latest current version.
curl -fsSL https://deb.nodesource.com/setup_current.x -o nodesource_setup.shsudo -E bash nodesource_setup.shFor the LTS version:
The following command will add the repository for the latest LTS version. After adding this repository, when we run the Nodejs installation command, whatever the latest LTS version is available will be installed on our Ubuntu system
curl -fsSL https://deb.nodesource.com/setup_lts.x -o nodesource_setup.sh sudo -E bash -sudo -E bash nodesource_setup.shFor some particular older or latest LTS versions:
Note: If you want some particular LTS version then mention that version in the given command. For example, we need to 20.x then replace setup_20.x with the desired version if you need a different one.
curl -fsSL https://deb.nodesource.com/setup_20.x | sudo -E bash -Step 2: Install Node.js and npm
After adding the repository like any other software we can use the APT package manager to install the Node.js and NPM.
sudo apt install nodejsStep 3: Verifying the Installation
Check the installed versions of Node.js and npm:
node -v
npm -v
Method 3: Using NVM (Node Version Manager)
NVM is the best way to install Node.js and NVM because it can manage multiple versions of Node and also allows users to switch between them easily as per the project requirement. Hence, NVM can be quite useful if you need to work on different projects requiring different Node.js versions.
Step 1: Installing NVM on Ubuntu 24.04
Unlike Nodejs, NVM is not available to install using the default system repository of Ubuntu, therefore execute the given curl command to run a script for installing NVM.
curl -o- https://raw.githubusercontent.com/nvm-sh/nvm/master/install.sh | bashTo apply the changes to your current terminal session, source your profile:
source ~/.bashrcStep 2: Installing Node.js Using NVM
With NVM installed, you can now install Node.js. To install the LTS version without specifying any version, means you want whatever the latest version of Node.js in LTS available to be installed. For that, the NVM command will be:
nvm install --ltsYou can also install a specific version by specifying it:
nvm install 18.16.0After completing the installation of Node.js using the NVM, check the version:
node -v
npm -v
Step 3: Use Specific Node.js Version
You can switch between installed Node.js versions by using the “use” option and the Nodejs version number in the NVM command:
nvm use 18.20.03Step 4: Check other available versions
We can list all installed versions of Node.js with:
nvm lsAnd list all available versions you can install with:
nvm ls-remoteOther Articles: