Creating bootable USB drives is common on Windows and Linux distros such as Ubuntu. So, here are the steps for installing the popular open-source BalenaEtcher on Ubuntu 24.04 Noble Linux.
BalenEthcer is a widely used tool for quickly flashing images on USB drives to create a bootable pen drive or SD card for running Live Linux distros, installing them, or recovering corrupted systems. One of the reasons behind its popularity is the minimal interface, which lets even new users quickly understand and use the software.
Why Use Balena Etcher?
- It supports popular platforms like Windows, macOS, and Linux.
- Simple and intuitive interface.
- Validates the flashing process to avoid corrupted drives.
- Protection from writing system drives accidentally.
Step 1: Download BalenaEtcher on Ubuntu 24.04
BalenaEtcher is not available to install directly using the Ubuntu 24.04 system repository. However, its Debian binary is available on Github, but when we tried to install the same, we got this error:
The following packages have unmet dependencies:
 balena-etcher : Depends: gconf-service but it is not installable
                 Depends: gconf2 but it is not installable
                 Depends: libgconf-2-4 but it is not installable
E: Unable to correct problems, you have held broken packages.
So, we dropped the Debian Binary method and tried the APP Image of Etcher, but running it will also create a problem for new users on Ubuntu. Advanced users can solve that, but that’s not the point of a tutorial when everybody cannot use it.
Therefore, we decided to go to its Zipped file package that contains the BalenaEthcer executable binary.
To download the latest Zipped package of Balen Etcher, execute the given command in the terminal:
curl -s https://api.github.com/repos/balena-io/etcher/releases/latest | \
jq -r '.assets[] | select(.name | contains("x64") and endswith(".zip")) | .browser_download_url' | \
xargs wget
Step 2: Extract the Zipped File
The file we downloaded in the previous step is in Zip format; hence, it must be extracted. However, your PC may not have “unzip” tool to extract it, therefore first install it:
sudo apt-get install unzipExtract the Archive: This command will extract the files into a balenaEtcher directory.
unzip balenaEtcher-linux-x64-*.zip -d balenaEtcherStep 3: Install in /opt Directory
Let’s move the extracted folder to a secure place, such as “/opt,” to ensure we won’t accidentally delete the BalenaEtcher directory we just extracted.
sudo mv balenaEtcher /optStep 4: Create a Desktop and Launcher Shortcut
To access the BalenaEtcher quickly, we can create Desktop and launcher shortcuts. For that, follow the given commands:
Download balenEtcher icon:
wget -O /opt/balenaEtcher/balenaEtcher.png https://linux.how2shout.com/wp-content/uploads/2024/08/etcher.pngCreate Shortcuts:
For Desktop
nano ~/Desktop/balenaEtcher.desktopPaste the following lines and save the files by pressing Ctrl+X, typing Y, and then hitting the Enter key.
[Desktop Entry]
Name=Balena Etcher
Comment=Flash OS images to SD cards & USB drives safely and easily
Exec=/opt/balenaEtcher/./balena-etcher --no-sandbox
Icon=/opt/balenaEtcher/balenaEtcher.png
Terminal=false
Type=Application
Categories=Utility;DiskUtility;
For Launcher:
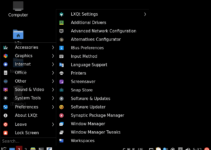
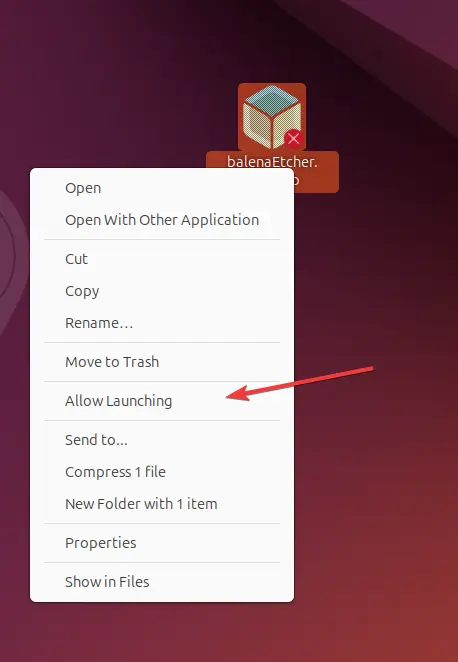
sudo cp ~/Desktop/balenaEtcher.desktop ~/.local/share/applications/balenaEtcher.desktopLog out and Log in again to reflect the changes we made by creating the shortcut. Also, right-click the Desktop shortcut and select the “Allow Launching” option to make it executable on Ubuntu Desktop.
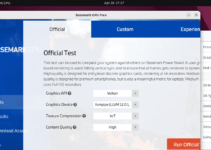
Step 5: Create a Bootable USB Drive with Balena Etcher
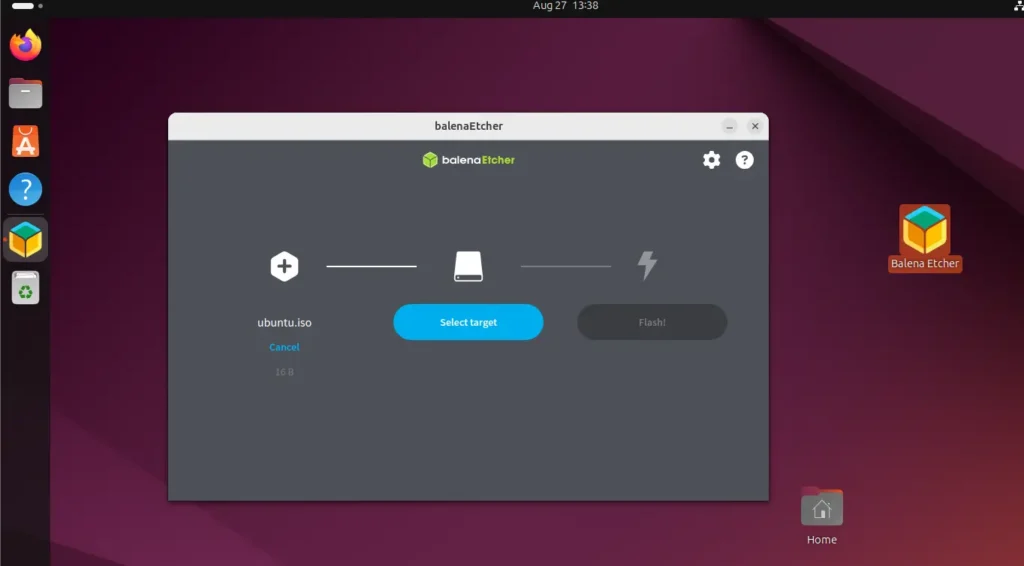
Now that Balena Etcher is up and running let’s create a bootable USB drive:
- Plug the USB drive into your computer with enough space to copy the downloaded ISO image file. The flashing process will delete all existing data on the USB drive, so ensure nothing is essential on it.
- Click the “Flash from file” button on BalenaEtcher to select your downloaded ISO file.
- Click “Select target” and choose your USB drive from the list.
- Finally, click “Flash!” to begin the process. The USB bootable maker Balena Etcher software will copy the ISO file to the USB drive.
- Wait for Completion, once the process is done safely remove th USB drive.
Step 6: Boot from the USB Drive
Now, we have the bootable USB drive created using BalenaEtcher on Ubuntu 24.04, so to use it for running the LIVE Linux distro or install it, follow the given steps:
- Insert the USB drive into the computer where you want to install the OS.
- Restart the desktop or laptop system.
- Depending on the motherboard manufacturer of the system, you can enter the Boot menu using the Esc key or function keys such as F2, F10, and F12.
- Select your plug-in USB drive from the list when you have the boot menu.
- Start following the on-screen instructions to install the OS or use the live environment.
Conclusion
Although installing balenaEtcher could be tricky for new users, it is one of the best ways to create USB drives on Linux. Hence, follow this guide correctly, and you will have this minimalistic software and its robust error-handling features.
Other Articles: