The “VirtualBox Guest Additions” package is crucial for a smooth experience while running a guest operating system on Oracle VirtualBox. It not only improves the overall performance and stability of virtual machines but also helps provide better graphics and enables clipboard and drag-and-drop functionality, time synchronization, and better integration of attached peripheral devices. The command-line server OS running virtual machines can also benefit from shared folders and improved network performance.
What do we need to perform this tutorial?
- Ubuntu 24.04 is running on VirtualBox; however, Ubuntu 22.04, 20.04, 18.04.. can also be used.
- Root or Sudo Access
- Internet access, if you are planning to install Guest additions only using the command line
In this tutorial, we will learn the commands to install VirtualBox Guest Additions on the Ubuntu server VM and the GUI steps to configure it on the Ubuntu VM running with the desktop environment.
On Ubuntu Server, using the command line
Apart from the Ubuntu server, the given steps can also be applied to Ubuntu GUI Desktop machines.
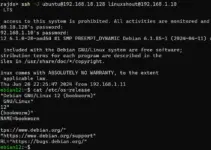
Step 1: Update your Ubuntu 24.04 server
Access the command terminal of the Ubuntu 24.04 running server on VirtualBox using SSH or directly from the VirtualBox window. After that, run the system update command to install the security updates and refresh the repository’s package cache.
sudo apt update && sudo apt upgradeStep 2: Install Required Packages
Before installing the Guest Additions, let’s get some development tools and Linux headers required by the VM.
sudo apt install build-essential dkms linux-headers-$(uname -r)Step 3: Download Guest Additions ISO Image
Here, we will not use any graphical interface to install the Guest Additions; therefore, use the given command to download the ISO image containing the required packages and other essential tools.
sudo apt install virtualbox-guest-additions-isoStep 4: Mount Guest Additions CD image
After completing the previous step command, the system will store an ISO image under “/user/share/virtualbox.” We will mount that under “/mnt/cdrom” to get the files inside the ISO image.
sudo mkdir /mnt/cdromcd /usr/share/virtualboxsudo mount VBoxGuestAdditions.iso /mnt/cdromStep 5: Install Guest Additions in Ubuntu 24.04
Finally, switch to the directory where we have mounted the ISO image and run the executable file “VboxLinuxAddtions.run” to install the Guest Additions on Ubuntu 24.04 running virtual machine.
cd /mnt/cdromsudo ./VBoxLinuxAdditions.run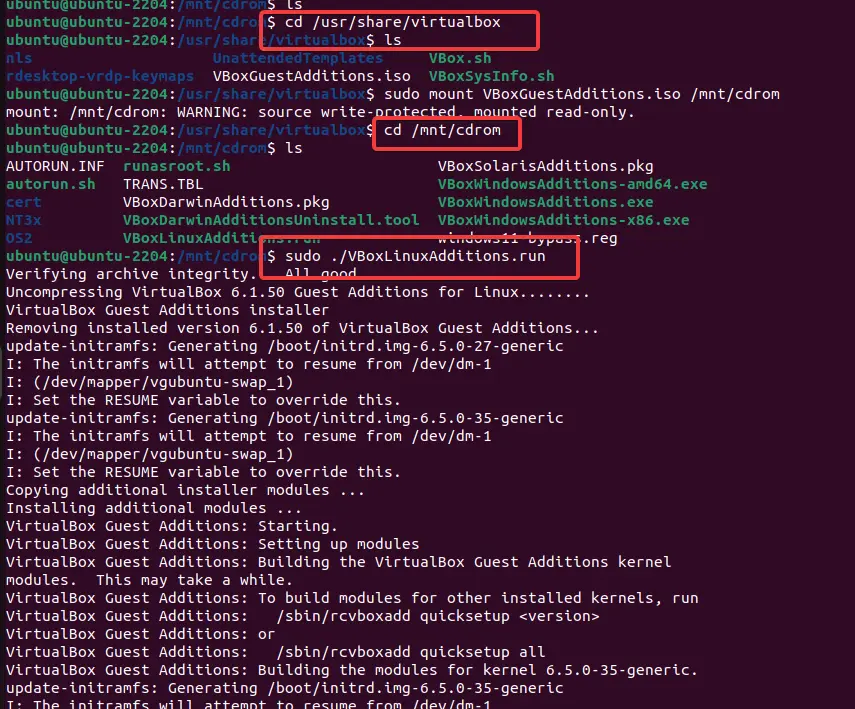
Step 7: Verify Installation
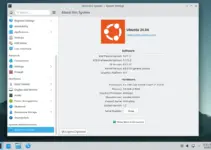
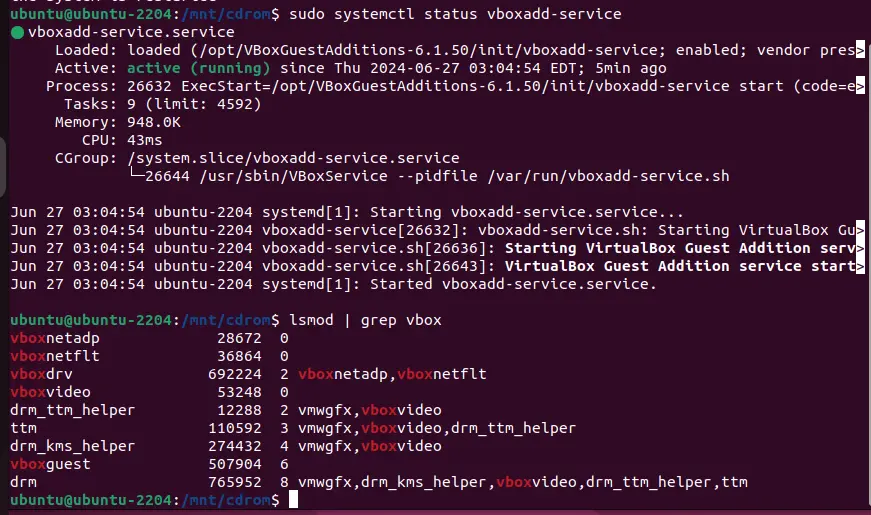
You can check the VirtualBox service status and the modules to verify that Guest Additions have been installed correctly.
sudo systemctl status vboxadd-serviceGuest Additions can improve network performance. Check if the “vboxnet” drivers are loaded:
lsmod | grep vboxYou should see modules like vboxsf, vboxguest, and vboxvideo listed.
On Ubuntu 24.04 Desktop using GUI
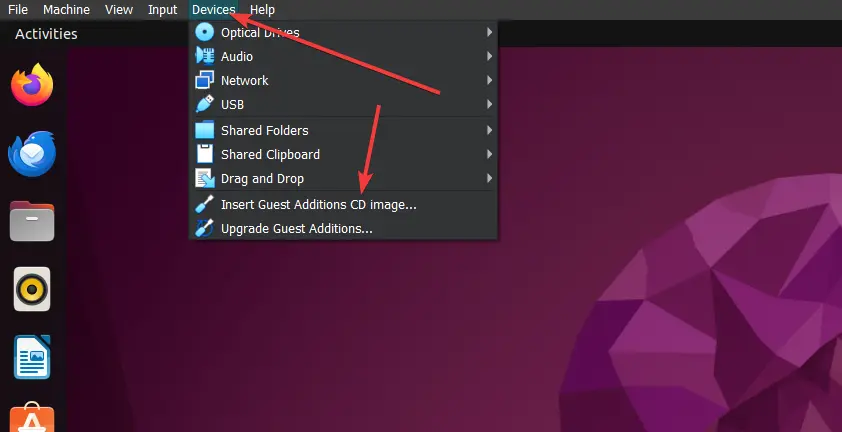
Step 1: Insert Guest Additions CD Image
If you use Ubuntu 24.04 with a graphical environment such as Gnome, installing Guest Additions is relatively easy. Just insert the Guest Additions CD Image. Attach the ISO to your VM. Go to the VirtualBox menu and navigate to Devices -> Insert Guest Additions CD Image…
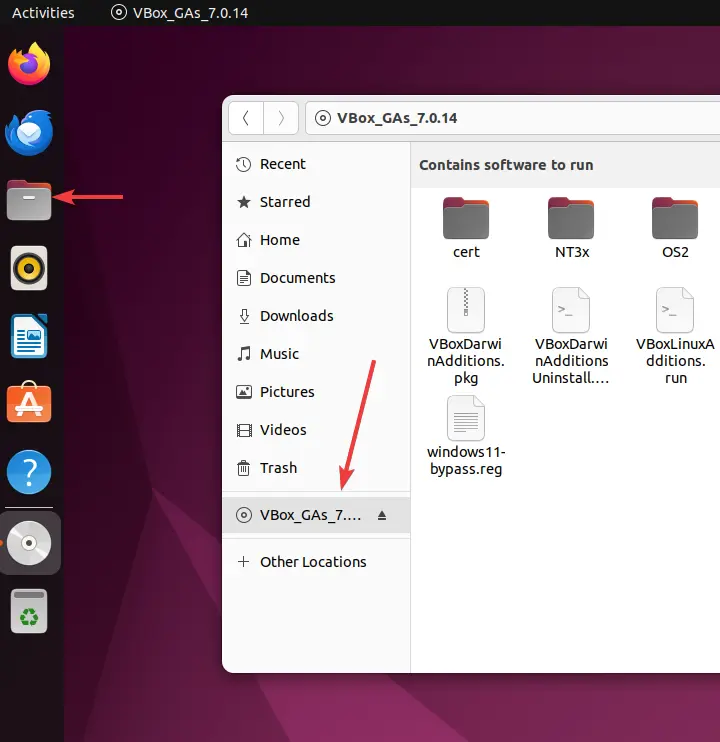
Step 2: Open File Manager
Click the Folder icon on the Ubuntu Dock to open the File Manager. After that, click on the inserted CDROM image of Guest Additions denoted with ” VBox_GAs_x.x.xx” on the left side panel.
Step 3: Install the VBoxLinuxAddtions
Now, right-click on the “Autorun.sh” file and select the “Run as Program” option to execute the script and start the installation process of Guest Additions on Ubuntu 24.04 Linux.
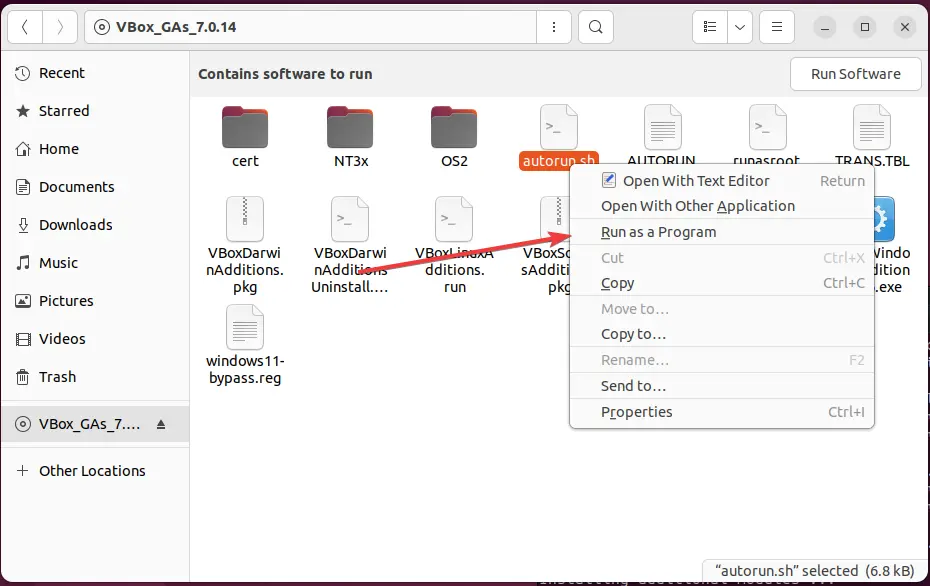
You will be asked for the user password to perform the installation, and you will enter that to complete this step.
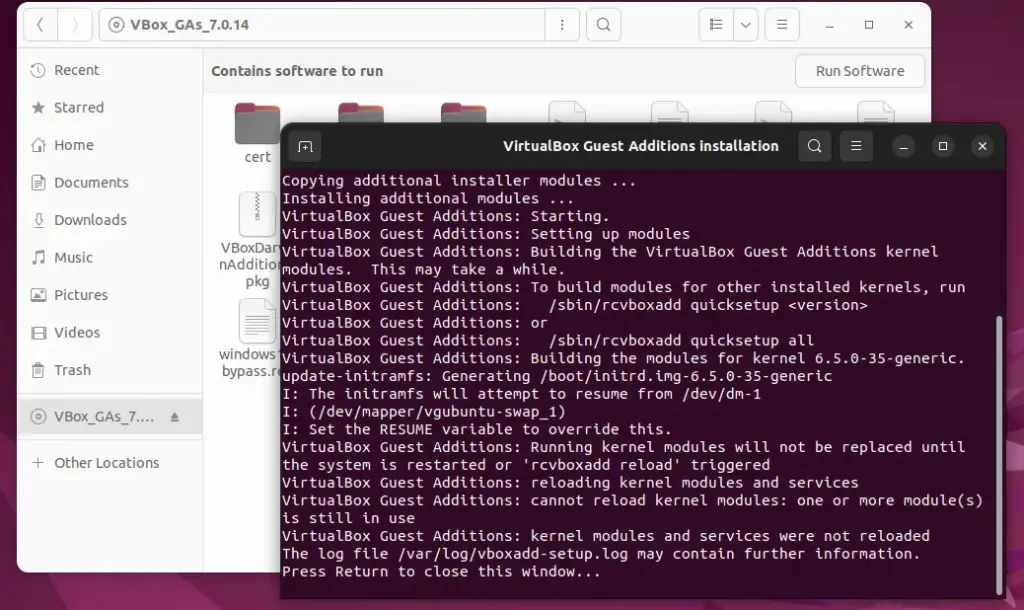
Finally, reboot the Ubuntu to complete the process:
sudo rebootThese two methods were used to easily install VirtualBox Guest Additions on Ubuntu Server or Desktop, improving the overall virtual machine performance and providing additional features to make managing our server VM easier.
Other Articles: