APT in Ubuntu is not the only way to install Debian packages that require external dependencies; we have one more, i.e., GDebi. This article discusses the steps to install GDebin on Ubuntu 24.04 and how to use it to install dependencies required by a .deb package.
What is Gdebi?
GDebi is a lightweight alternative to the default deb package installer, DPKG; however, unlike it, GDebi cannot only install the packages but also resolve and install dependencies required by them, which eventually reduces the chances of getting installation errors.
Why to use it?
- If you are installing some local Debian package, GDebi automatically resolves and installs the dependencies it requires.
- Less resource intensive
- Lightweight
- Offer both GUI and CLI to manage packages
Step 1. Start with System Update
To install GDebi, we can use the official repository of Ubuntu 24.04 and the APT package manager. However, before that, open your terminal and execute the system update command to refresh the repo cache and install security patches.
sudo apt update && sudo apt upgradeStep 2. Installing GDebi on Ubuntu 24.04 or 22.04
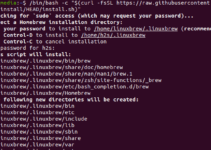
After completing the previous step’s command, we can easily install Gebi by running the given APT command with the Gdebi package name.
sudo apt install gdebi-core gdebi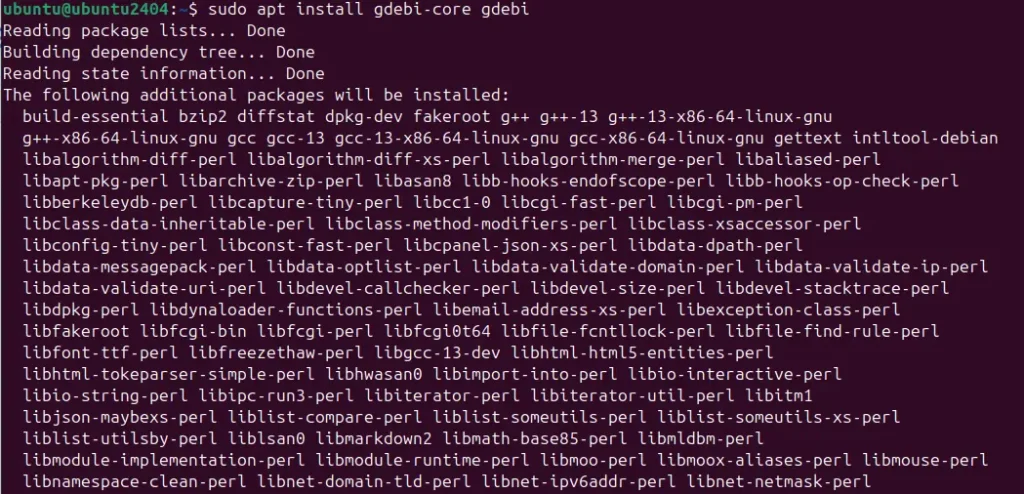
Step 3: Installing .deb Packages Using GDebi
We can install the package using the Gdebi graphical user interface or command line. Here, we will show how to use both.
Using GDebi GUI:
- First, download the .deb file of the application that you want to install using Gdebi.
- Now, go to the Application menu and search for Gdebi; as its icon appears, click to launch it.
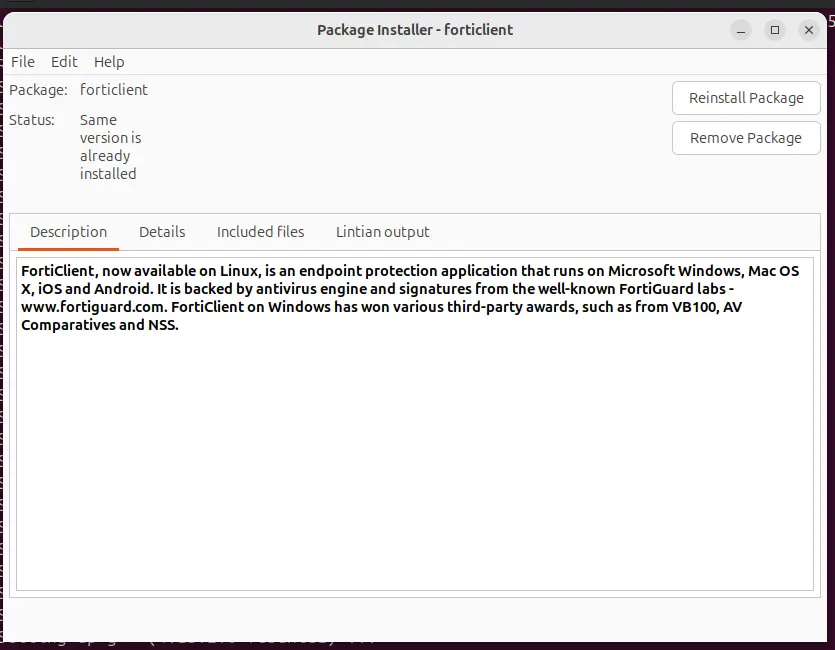
- Click on File -> Open, then navigate to the .Deb package you need to install.
- GDebi will display the package information and resolve dependencies. Click the “Install Package” button to proceed.
- Alternatively, users can directly right-click on the downloaded .deb file.
- Select “Open With Other Application” and choose “GDebi Package Installer.”
Using GDebi in the Terminal:
Those who prefer the command terminal for local or remote package installation using Gdebi need to open the command terminal. After that, first, navigate to the directory where you have downloaded the .deb package using the “CD” command:
Syntax:
cd /path/to/your/fileAfter that, use GDebi to install the package by running the given syntax:
sudo gdebi package-name.debNote: Replace the “package-name.deb” with the actual name of the .deb file.
Verifying the Installation
To confirm whether the package was installed successfully, we can check its version in our terminal.
your-application-name --versionExample:
vlc --version
Uninstalling a Package Installed with GDebi
The easiest way to remove the package on Ubuntu 24.04, even if GDebi installed it, is to use the APT package manager.
On your command terminal, use the given syntax. Remember to replace the “package-name” with the exact name of the package installed on your computer that you want to remove.
sudo apt remove package-name Conclusion
GDebi is not a necessary tool because we already have APT on our Ubuntu systems, but you can install it using the steps given in this tutorial. This will provide another way to deal with the package requiring external dependencies to work correctly.
Other Articles: