Bitwarden Desktop App on Ubuntu 24.04 Linux allows users to store and manage passwords and other sensitive information with high encryption. Although open source, it offers many features beyond password storage, such as end-to-end encryption, password generation, and secured data sharing. It is not merely meant to store sensitive data in a secure vault; it even allows users to access it across multiple devices, whether a desktop, laptop, smartphone, or devices with only browser capabilities.
Key features of Bitwarden:
- Cross-Platform Support
- End-to-End Encryption
- Password Generator
- Secure Sharing
- Two-factor authentication (2FA)
- Self-Hosting Option
- Free and Paid Plans
Prerequisites to follow this tutorial:
- Ubuntu 24.04, 22.04, 20.04 or later
- Internet Access
- A user with sudo or direct root access is needed to install packages.
Bitwarden Desktop App Installation on Ubuntu 24.04
Step 1: Get Package Updates
On your Ubuntu 24.04, open the command terminal and execute the system update command. You should run this command to refresh the system repositories cache and install the available update.
sudo apt update && sudo apt upgradeStep 2: Download Bitwarden
Ubuntu 24.04 official repositories don’t offer packages to install Bitwarden because of its propriety nature; therefore, we need to download its Debian-based binary directly from the official website of Bitwarden. However, we can do this with the help given command:
wget "https://vault.bitwarden.com/download/?app=desktop&platform=linux&variant=deb" -O bitwarden.deb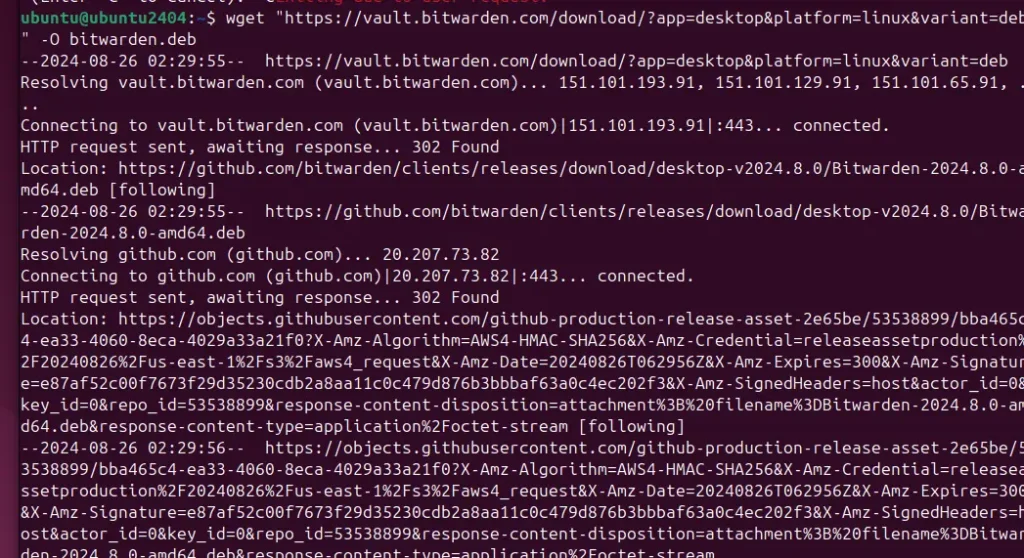
Step 3: Installing Bitwarden client on Ubuntu 24.04
When you download the binary file, use DPKG or APT to install it. We are using DPKG for this tutorial.
sudo dpkg -i bitwarden.debResolve Dependencies: If you encounter any dependency issues, you can fix them with:
sudo apt --fix-broken install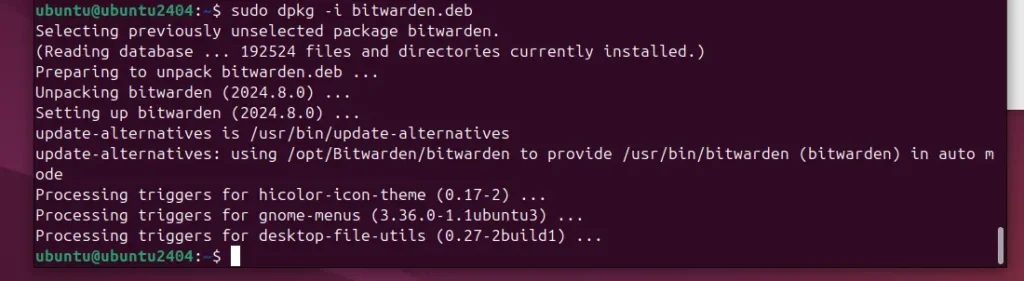
(optional) For Bitwarden Command line:
If anyone needs to use the command line for Bitwarden then to install it, we can use the given snap command:
sudo snap install bwStep 4: Launch Bitwarden
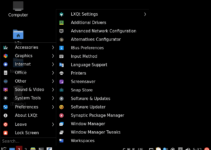
Launching any GUI application on Ubuntu is pretty easy, like any other system default app: visit the Application menu, search for “Bitwarden” as its icon appears, and click to run it.

Step 5: Set Up Bitwarden
We have only installed Bitwearden’s Client App; however, to use it, store the passwords, and use them across multiple devices, we need to log in to the Bitwarden server, either using the officially hosted one or the self-hosted one.
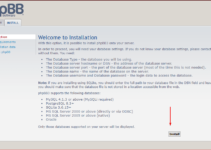
Those who want to know how we can install a Bitwarden server on Ubuntu 24.04 to create their server that contains the APIs, database, and other core infrastructure items needed for the “backend” of all Bitwarden client applications can look at this article: How to setup Bitwarden server on Ubuntu 24.04 Noble LTS Linux.
If you already have a Bitwarden account, you can add the credentials and log in on the app; otherwise, click the “Create Account” button.
If you’re using the CLI, you can log in with: bw login. To ensure you have the latest data, sync your vault by clicking on File and then “Sync Vault.” Alternatively, CLI users can use the following command:
bw sync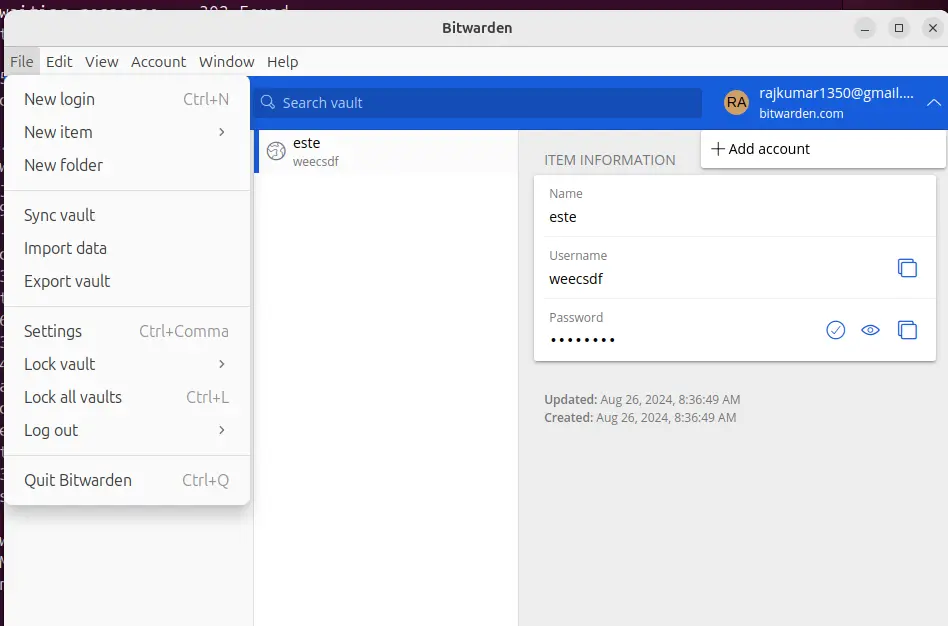
Step 6: Basic Usage of Bitwarden CLI
Here are a few basic commands to help you get started with Bitwarden CLI:
List Items in Vault:
bw list itemsCreate a New Item:
bw create item '{"name":"Example","login":{"username":"user","password":"pass"}}'Search for an Item:
bw get item example
Log Out:
bw logoutConclusion
The article has shown that installing and using Bitwarden on Ubuntu 24.04 is not difficult. Even advanced Linux server users can use the Bitwarden password vault directly on the command terminal and avail of its services without using the graphical user interface. Nevertheless, if you face any problems following this tutorial, let us know via the comment section.
Other Articles: