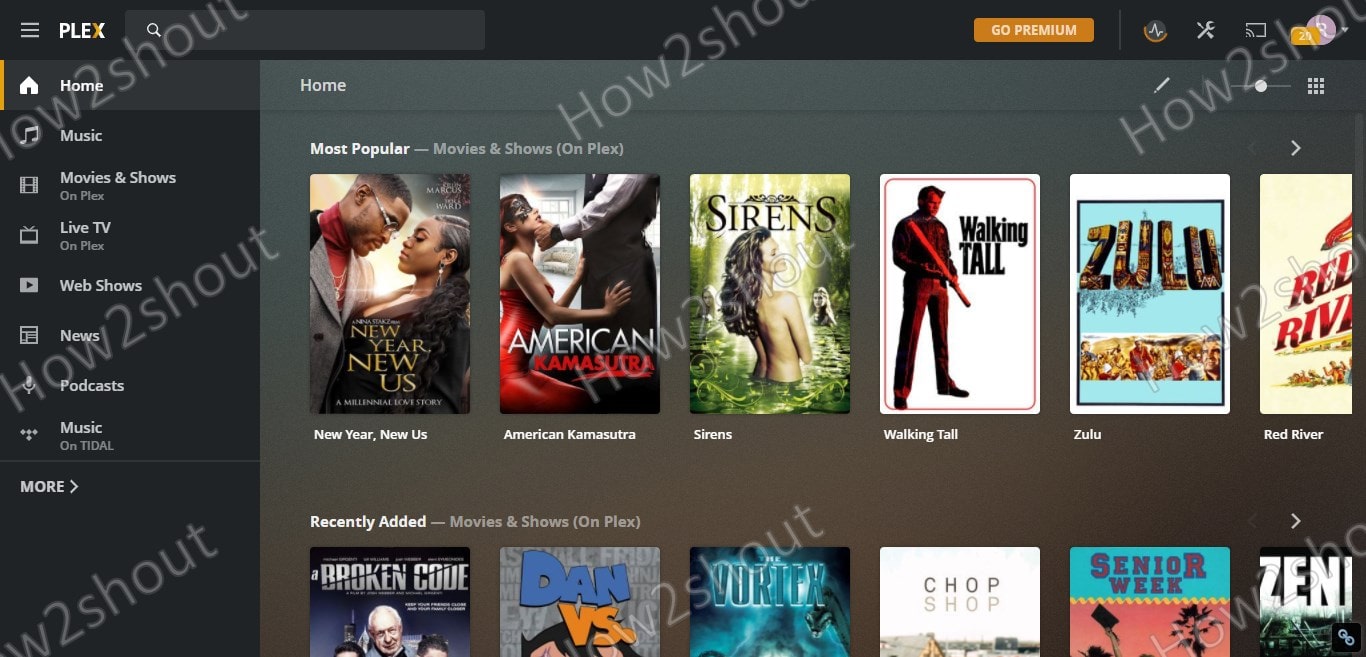
Plex Media Server (PMS) is a free media server, quite popular and used by many users to get their media files streamed anywhere at any time. This commercial all-around media server is available for various operating systems such as Linux, Windows, macOS, and various NAS boxes. We can catalog our own media library and at the same time, a dedicated web player is included in Plex that can play video and audio files as well as images via the browser. It offers freemium & premium features, the free one consists of all regular functions, extensions, however, special requests or features such as Plex Pass are premia.
This free media server offers both server and client components. There are numerous Plex client apps available for various systems such as Android, iOS, smart TVs, etc.
Snap command to install and run Plex Media Server on Ubuntu
Here we will learn the simple SNAP command to install Plex Media server on any popular Linux distro such as CentOS, Linux Mint, Ubuntu, Elementary OS, MX Linux, Debian, RHEL, and more…
1. Update Ubuntu 20.04 LTS
Open command terminal, if you are on graphical user interface and then issue the system update command:
sudo apt update
2. Check Snap is installed or not
Although on Ubuntu 20.04 or 18.04 LTS you will have SNAP package manager by default, however, if not then install it using the command:
sudo apt install snapd
You can also use the above command for Debian and other Ubuntu-based Linux distros. Learn: How to install SNAP on Linux Mint 20
3. Run Snap Plex Medis Server installation command
The benefit of using SNAP is that we don’t need to add the Plex official GPG key and repo on our system manually, this saves not our time but also removes the complexity of installing it.
sudo snap install plexmediaserver
4. Access Plex Media Server web interface
Yes, that’s everything we need to install and run Plex Server on our Ubuntu 20.04/18.04 Linux is ready to access. Thus, open a browser on any system that can access the server where you have instead of this free media server. In the URL box, type the IP-address of Plex Server along with port number 32400.
For example: 192.168.0.109:32400
You may see the XML configuration file, don’t worry simply type the /web at the end of the URL, in this way:
http://ip-address:32400/web
Note: Replace IP-address with your server address.
5. log in to Plex Account
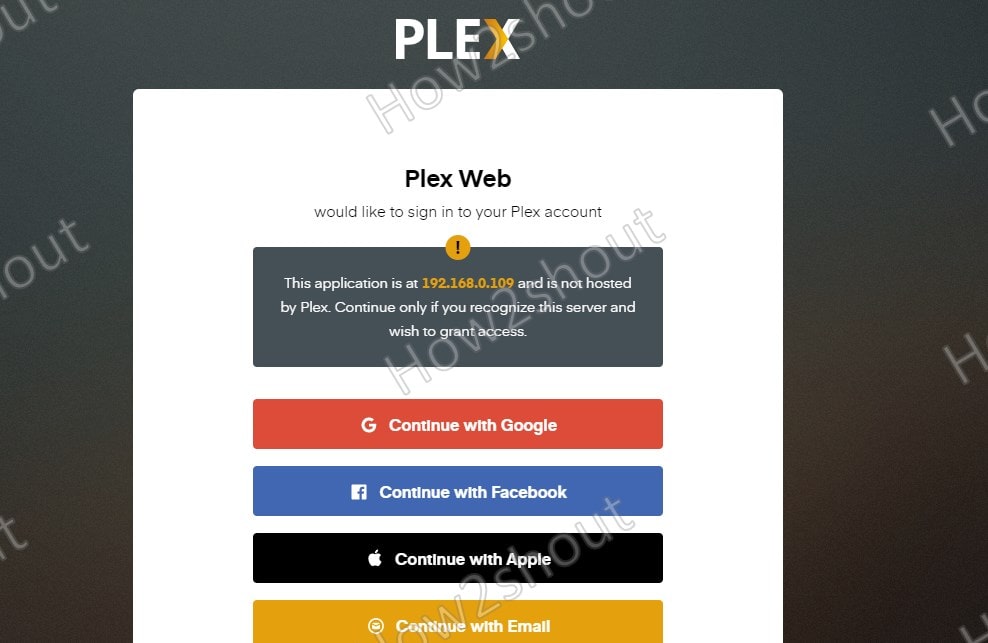
You will see multiple options to Login Plex Account to register the newly installed Server. However, even if you don’t have one then you can use the given options such as Google, Facebook, Email, and Apple to create a new account.
6. Setup Library
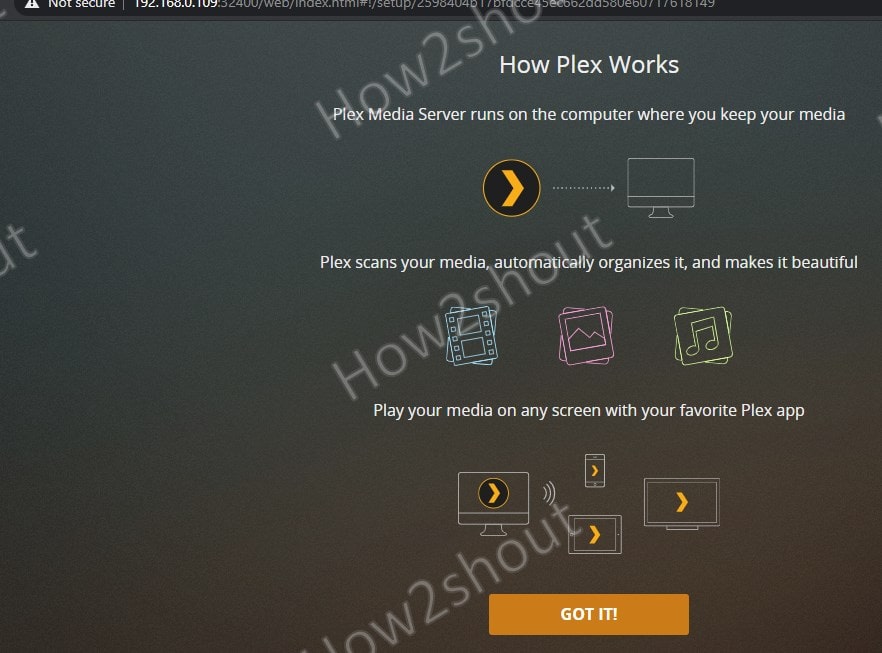
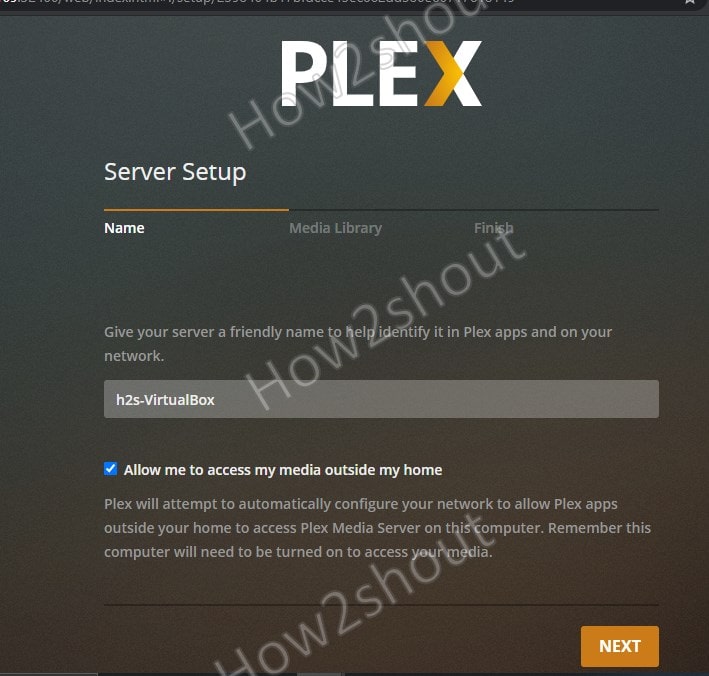
If everything goes well, then you will get the further setup screen.
Click on the Next button to move further.
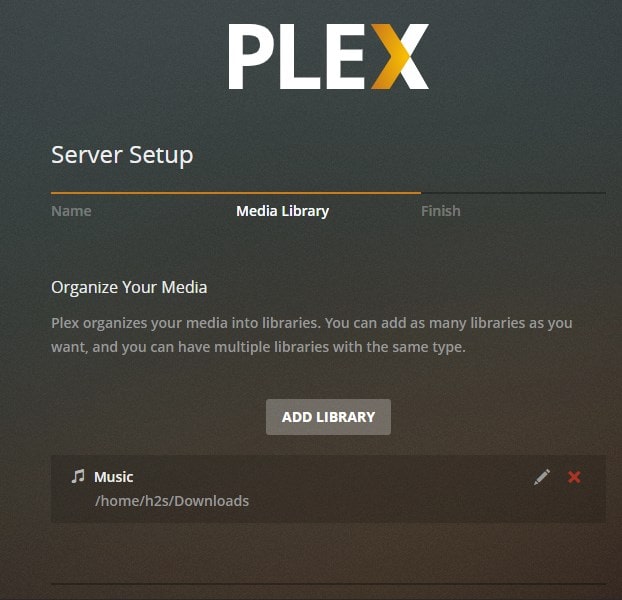
Select the Media Library category and then Add library button, and select the folder that has the corresponding type of media. For the Music library, I have selected the folder where all audio and music files are stored.
Once you are done, the main interface of Plex Server will be Live and in front of your eyes in the browser.
