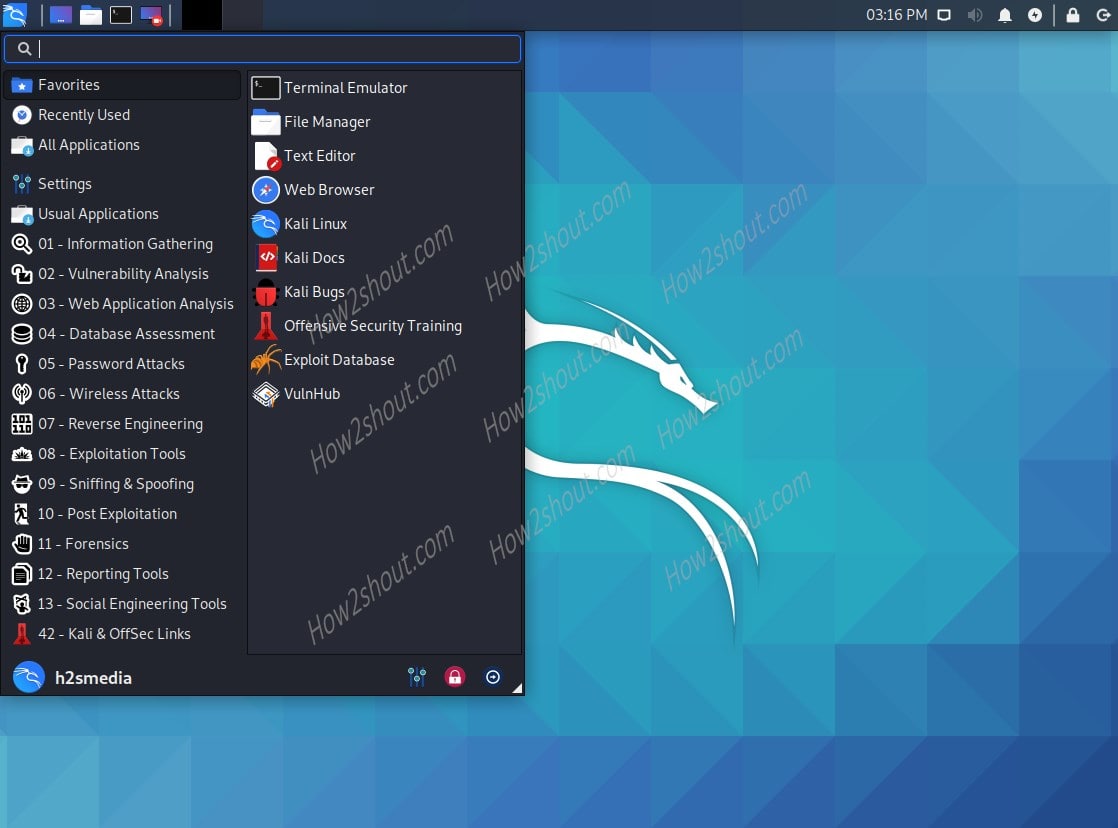
Lately, the KALI Linux developers have released its latest version that is KALI 2020.02 with a new UI update, additional software, and more… The new update comes with the dark and light theme along with the overhauled KDE plasma interface. Furthermore, now we can install the Microsoft Windows 10 open-source PowerShell command-line by default, the package has now been integrated into the kali-linux-large meta-package, which can be selected directly during installation… And those didn’t select it, can use the simple command to get it manually:
sudo apt install -y powershellHere are some key feature updates of the upgraded version of KALI 2020.1:
- Overhauled KDE Plasma
- Default availability of Powershell
- New Key Packages & Icons
- Kali on ARM Improvements
- Changes in Installer
To know more about, see the details on the official blog of this penetration testing distro…
Steps to install Kali Linux on Laptop or PC
This tutorial involves some simple steps to set up and configures KALI Linux on your computer, however, they will be almost the same for earlier versions of this hacking OS as well. The minor difference would be there only, for instance, the downloaded image and installer options.
-
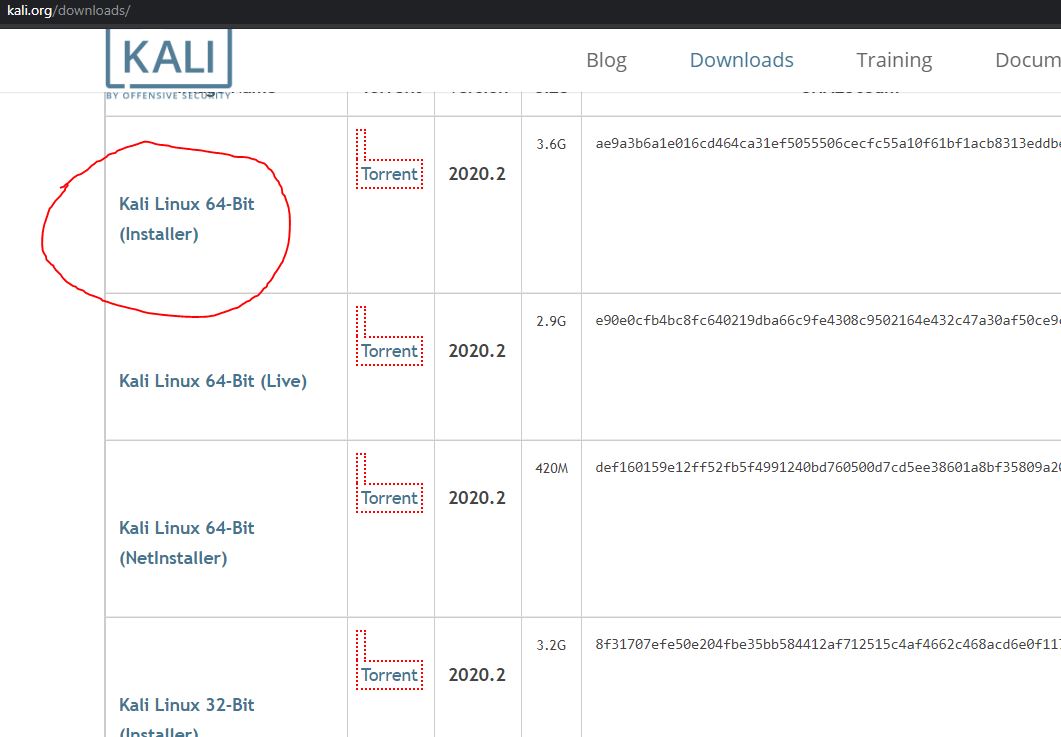
Download Kali 2020.2 Linux ISO image
The first thing we need is the installer image of the OS that should be bootable. We can find it easily on the official website of KALI, here is the link to get its ISO. There are few different versions for both 32-bit and 64-bit systems including Virtual Images. Yes, if you are using VMWARE or VirtualBox, then don’t need to install it using the ISO, just download pre-build VM image from the given link. However, here we are talking about PC or laptop, thus as per your CPU architecture grab the one. As most of the modern PCs are running on 64-bit, thus we are going for that “Kali Linux 64-Bit (Installer)” ISO image.
-
Create Kali Linux bootable USB drive
So, as we know now most of the systems are not coming with CD/DVD drives, thus we will create a bootable USB drive to easily install this Linux OS. However, if you want to use the optical media, then simply burn the KALI Linux ISO image on that.
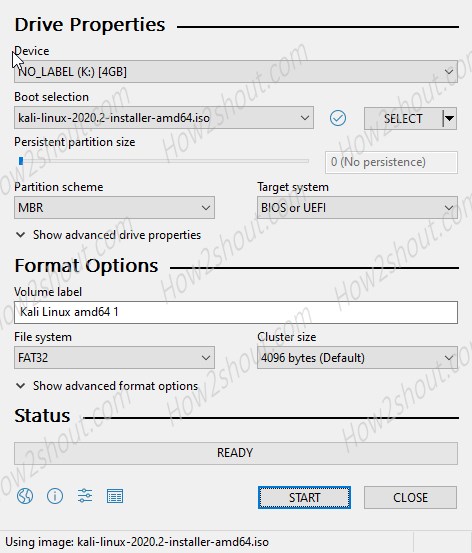
There are a couple of good bootable USB creator software available online. You can choose any of them as per your choice. However, if you are on Windows then use Rufus, whereas, for Linux, the Etcher would be a good option. So, I am assuming you are on Windows, download the Rufus and run this portable application.
- Select the connected USB device.
- Click on the SELECT button, file explorer will open.
- Find and use the download KALI ISO image.
- Leave the other settings on its default and hit the START button.
- In a few minutes, you will get a bootable USB drive to install KALI.
-
Boot PC or Laptop with a bootable USB drive
Insert the USB drive in your system and as per the BIOS supplied by your system manufacturer open the bootable menu. Generally, it would be del, F8, F9, F7, or Esc key which you have to press immediately after the system to boot and get the BIOS or Boot Menu. However, the particular key to access this would be flash on the system while booting. Once you set the preference of the boot to the attached USB drive, the system will show the Boot Menu of Kali Linux. As given below.
Select the default option i.e “Graphical Install” using the Enter key.

-
Select the Installer language
Choose the language which you want to be in the Installation process, by default it will be English.

-
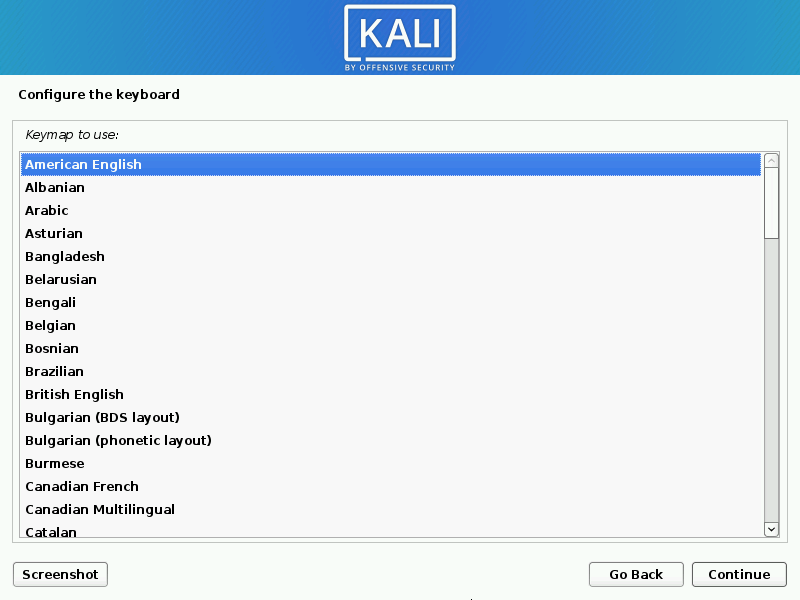
Configure the Keyboard
Select the type of keyboard you are using, normally it’s American English.
-
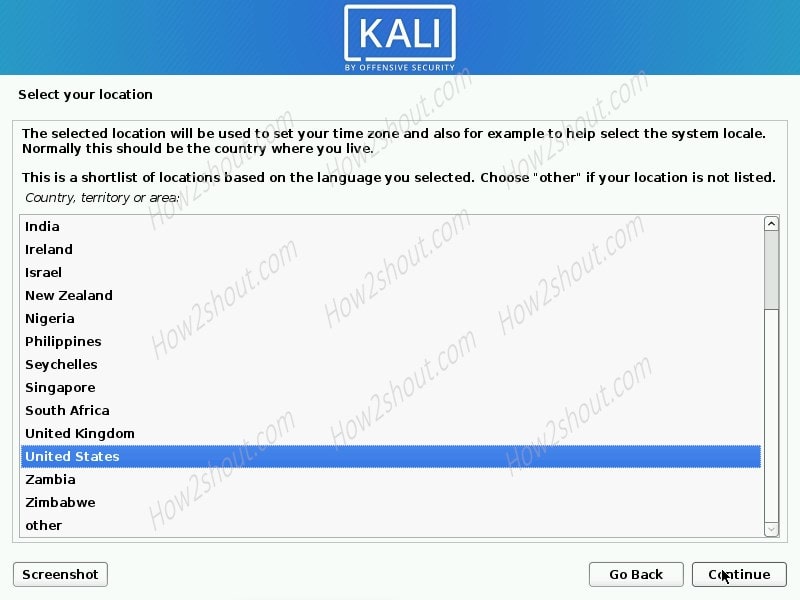
Select your location
After selecting the language, select the location where you live currently. This will help the Kali Linux to automatically find the time zone and configure the clock for you in the next step.
-
Configure the clock
The setup will itself select the Time zone based on your country selection.

-
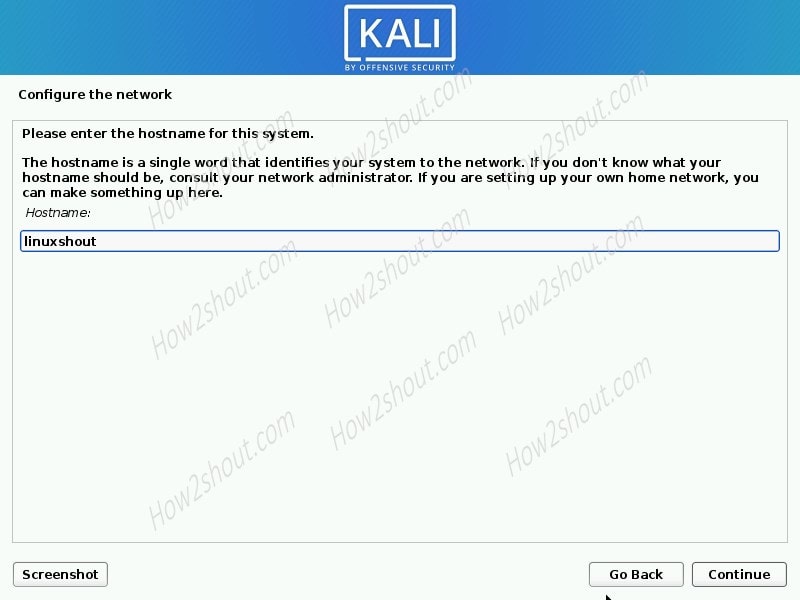
Configure the Hostname for the system
The hostname is an identification word that labeled on your system by the installer. It helps it to be recognized over the network by other computers. You can give whatever you want.
-
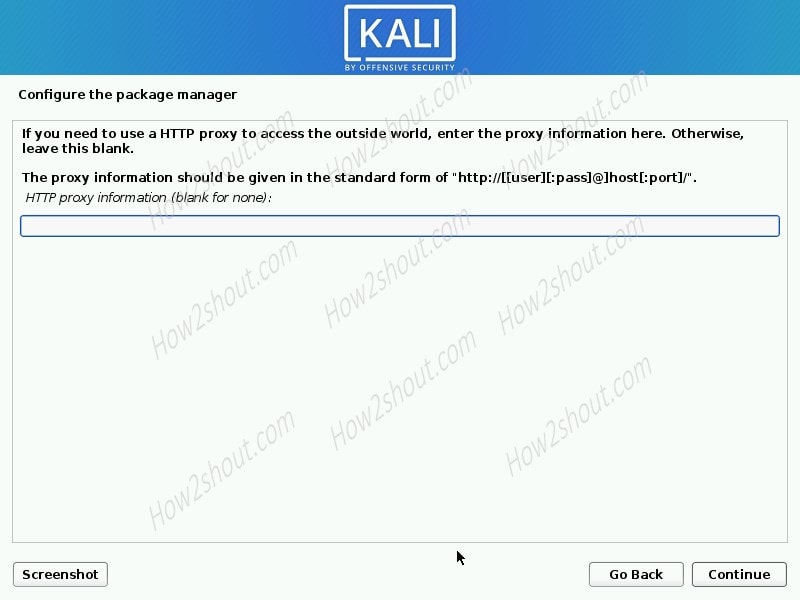
Configure the Package manager
If you want to use any proxy to access the outside world on your computer then you can configure it here. However, leave it default because that can be done later as well. Thus, the box empty box as it is and moves forward.
-
Partition disks
Well, if you want to use the whole disk used by the Kali, then select the “Guided- use entire disk” and the installer and it will set everything for you. However, if you have multiple portions with data then select the “Manual” option and perform partitioning of the partition where you want to install the Kali Linux by your self. That you can see here.
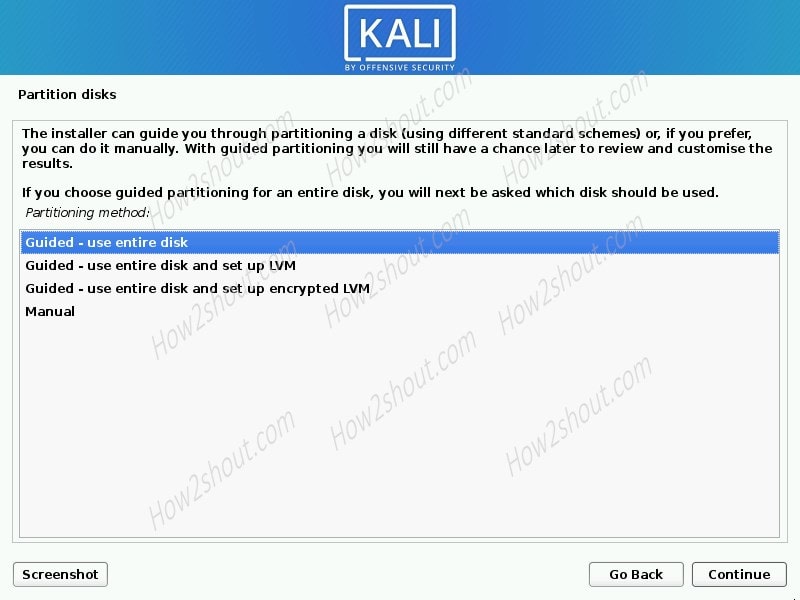
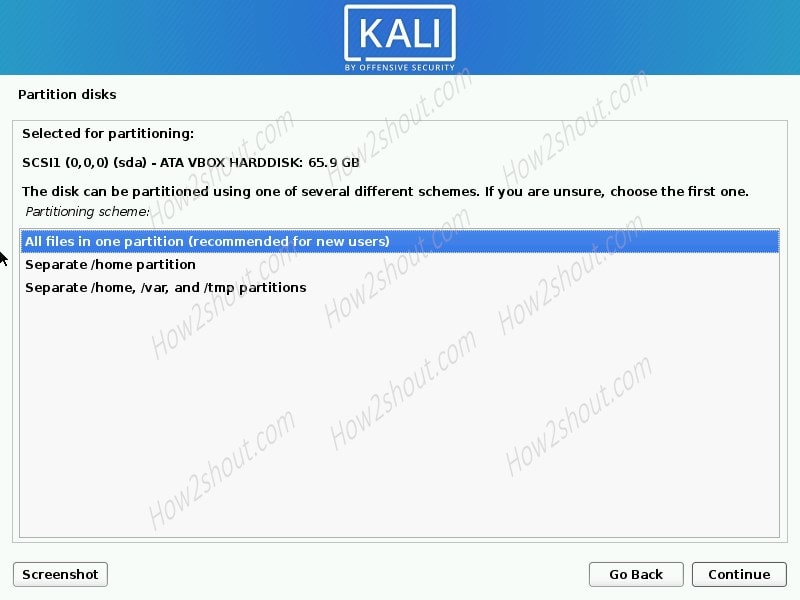
If you have selected the Guided partition, then in the next select “All files in one partition (recommended for new users)“.
-
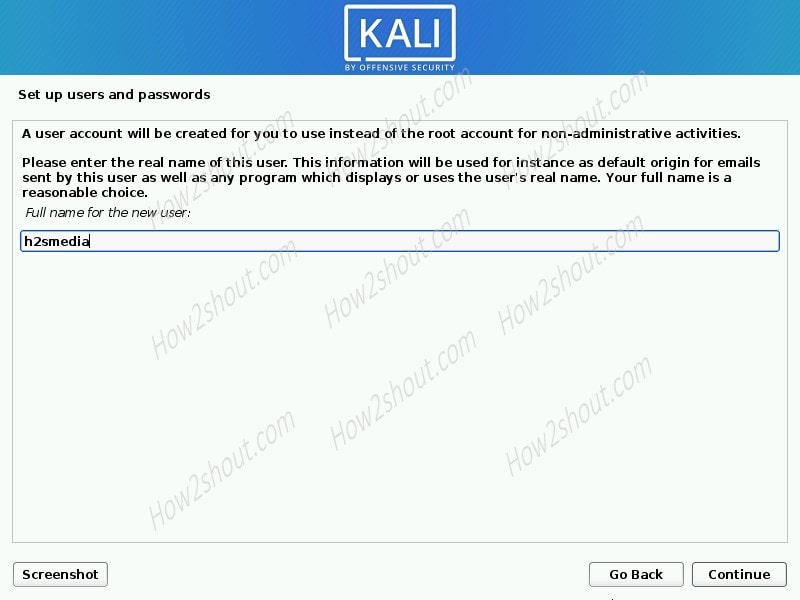
Set up users and passwords
Now, by default, there will not be an only root user as earlier. We can create a user for non-administrative commands. Give whatever name you want.
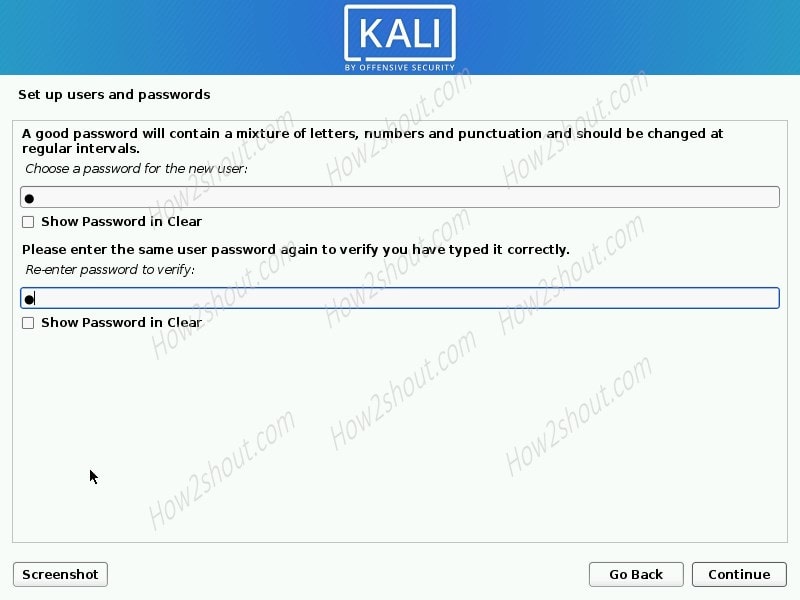
Type the password you want to be associated with the select username.
-
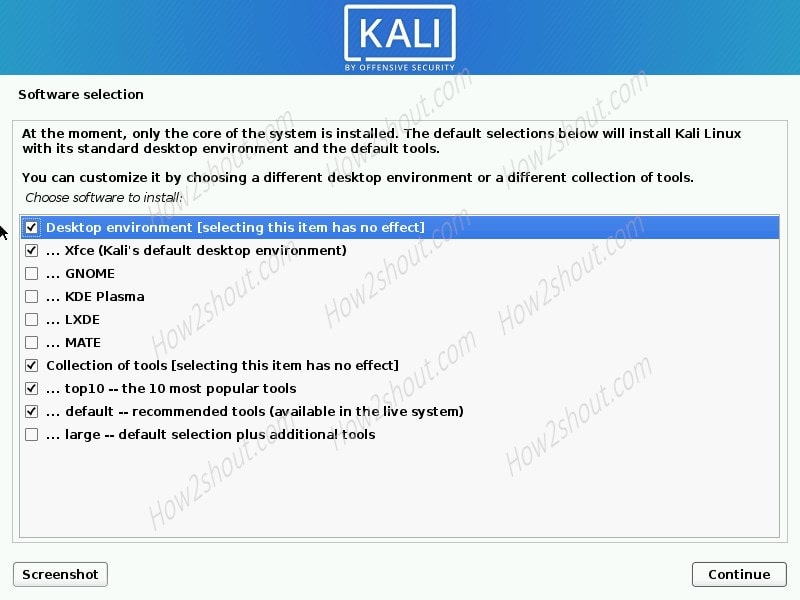
Kali 2020 Software selection
Well, this the interesting part that is available in the Kali 2020 versions, the Desktop environment, and Software & tools selection while installing the Linux system.
There are five Linux desktop environments are available out of which we can select any of them, however, by default, the Xfce will be the selection. Apart from that, the collection of tools will be there. If you want a bare installation of KALI without any software then unselect all except the Desktop environment to use it graphically. Of course, on bare installation, you can install the software manually later the one you want to use.
-
Install Grub boot loader
This is a very important step; if you want to make the Kali Linux OS bootable after the installation then don’t forget to install Grub, select the “Yes” option, then the entire hard disk or partition where you are installing the Kali 2020.2.

-
Remove the USB and start using the OS
Once the installation is complete. Remove the connection bootable USB drive and start using the KALI 2020.2 Linux on your PC or laptop.