Free VMware Workstation 17 Player for Ubuntu Linux is the latest version and upgrade of VMware 16 Player. If you are still using the older version then here in this guide we can learn how to upgrade that.
Apart from the free one for personal usage, VMware also offers a Workstation pro version with more features, however, it is paid. Although many Linux prefers to use open-source VirtualBox, VMPlayer has its own benefits. Good performance and ease to use are one of them.
With the latest release, Vmware can now support Windows 11 guest operating system to run without a TPM error. Hence, it fulfills the encryption requirement of Win 11. Apart from it, RedHat 9, Ubuntu 22.04, and other latest versions of Linux distros are now supported along with OpenGL 4.3 graphics support.
What do we need to perform this tutorial?
Ubuntu 22.04 Linux
Internet Connection
A non-root user with sudo access
VMware Workstation 17 Player Linux installation
The steps given in this guide are performed for Ubuntu 22.04 Jammy. But can also be used for other Linux based on it such as Linux Mint or POP OS.
Update APT cache
Here we are not using the APT to install the Vmware package directly but it is good practice to run the system update command. This will rebuild the Apt package index cache and make it aware of newer versions of applications available through it.
sudo apt update && sudo apt upgradeDownload VMware Workstation 17
We all know, unlike VirtualBox, Vmware is not an open-source application. This is the reason it is not available to install using the system’s APT package manager. So, now how to download free VMPlayer for Linux?
For that, we manually have to visit the official website of Vmware. Use the link and go there. Click on the Download for free button and save the file on your Ubuntu 22.04 desktop. Those who are looking for VMware Workstation 17 pro, can go for that. The steps of this article will remain the same.
It may take some time because of the file size. Once done, you can find it in your system’s Downloads folder.
Install build-essential
Let’s install some additional essential tools to ensure we won’t have any problems, if while installing, it needs to compile some packages. Open your command terminal and run:
sudo apt install build-essentialInstalling Vmware Workstation 17 or pro
This is the key step of the article where we run the downloaded Vmware bundle to install the Workstation player for Linux.
By default, the browser-downloaded files go to the Downloads folder of the system. Hence, first, switch to that.
cd DownloadsAfter that, let’s run the file to install it.
sudo bash VMware-Player-Full-*.x86_64.bundleThe process of extracting and installing the bundle will start on your command terminal. Wait for some time and the Workstation player 17 will be on your Ubuntu Linux.
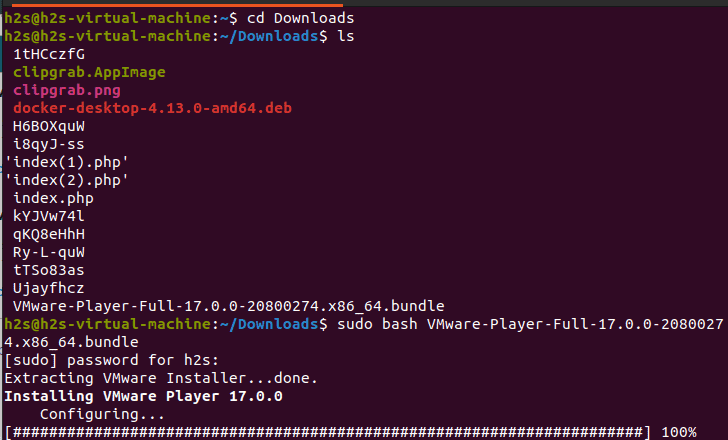
Install kernel modules
Also, for the proper working of the VMware player, install some extra Kernel modules using its command line tool.
sudo vmware-modconfig --console --install-allAs you run the Vmware command given above, it will start building the extra but essential required Kernel modules on your Ubuntu 22.04 system.
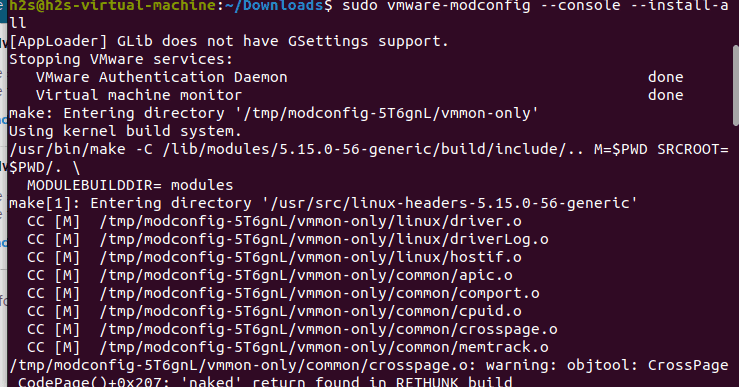
Run Vmware player on Ubuntu 22.04
Finally, click on the Activities link given in your Ubuntu’s taskbar, and in the search box type – Vmware.
As the icon of this virtualization platform appears on your Linux, click to run the same.
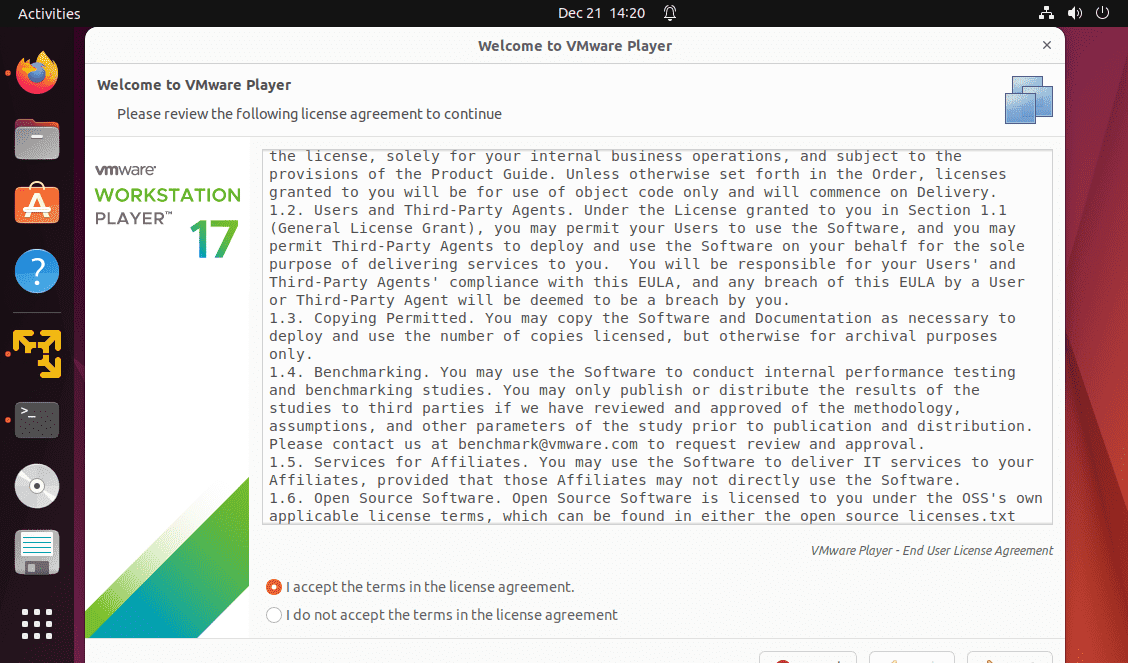
A GUI interface will open for the user license agreement, select the radio box given for “I accept the terms in the license agreement”. And click on the Next button.
If you want to join “VMware Customer Experience Improvement Program (CEIP)” then select Yes otherwise NO.
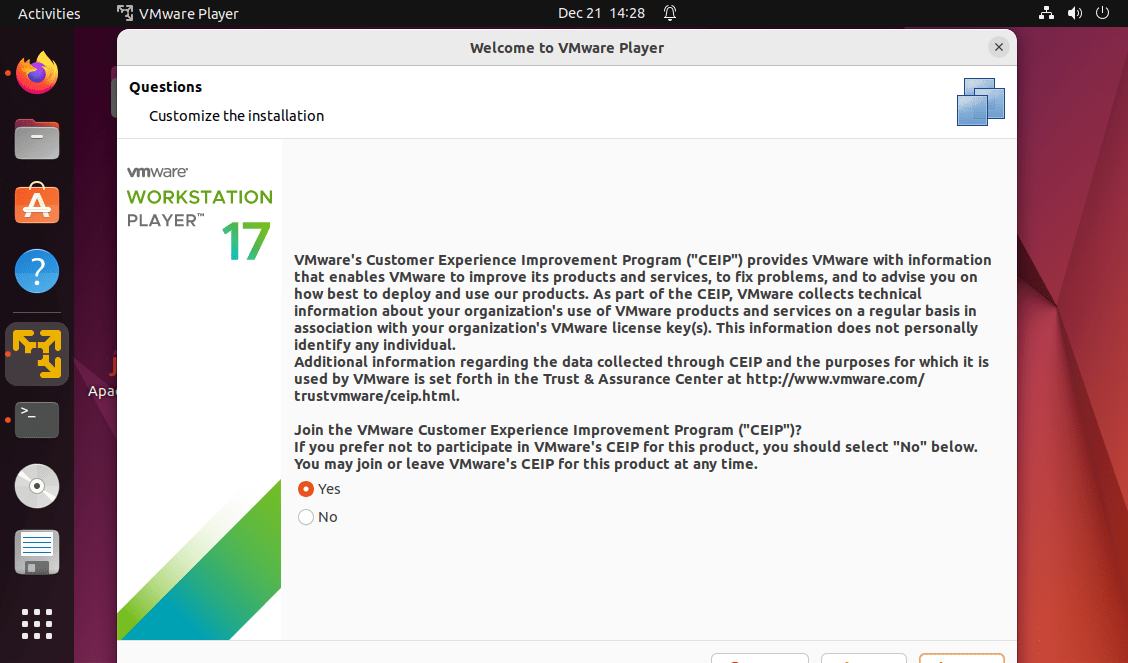
Next, the setup will ask- would you like to check for updates on every startup? Let the default option selected that is Yes. Follow the installation process by clicking on the Next button.
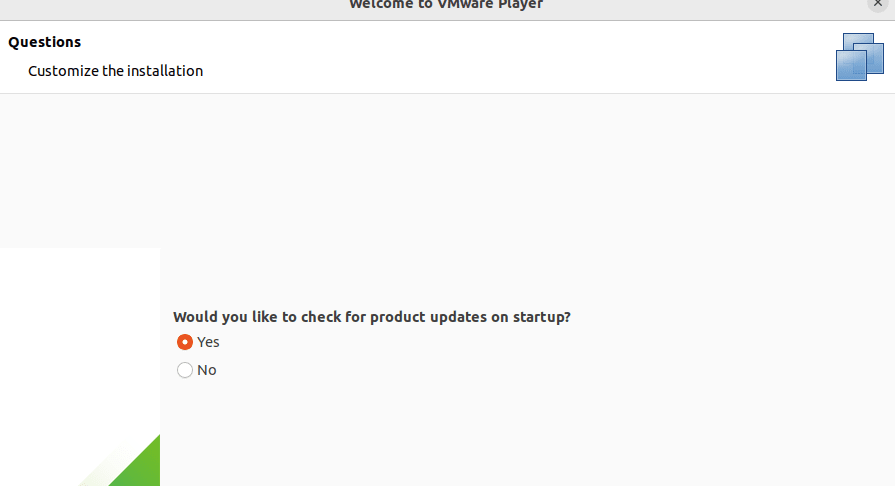
VMware player 17 License
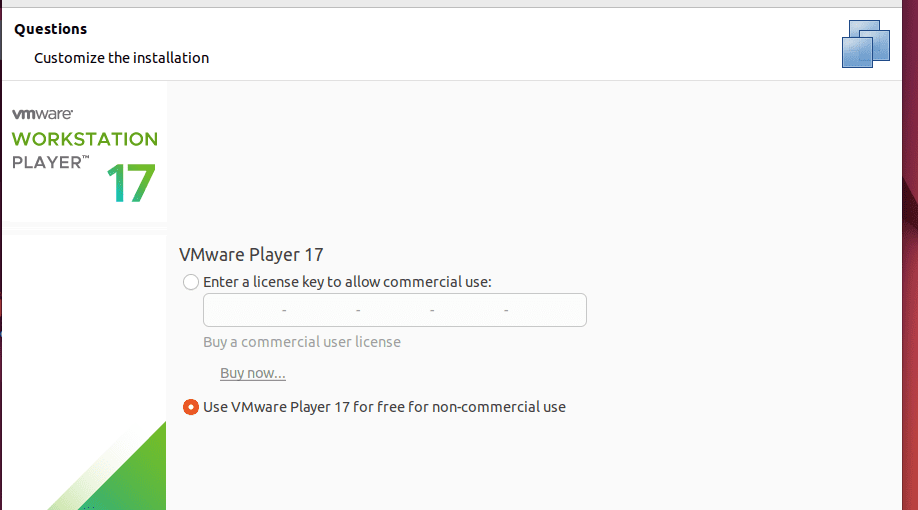
Soon the installation wizard will ask for the license key. As here we are not installing the Vmware player 17 on Ubuntu 22.04 for some commercial purpose; we can go for non-commercial use. So, just click on the Next button.
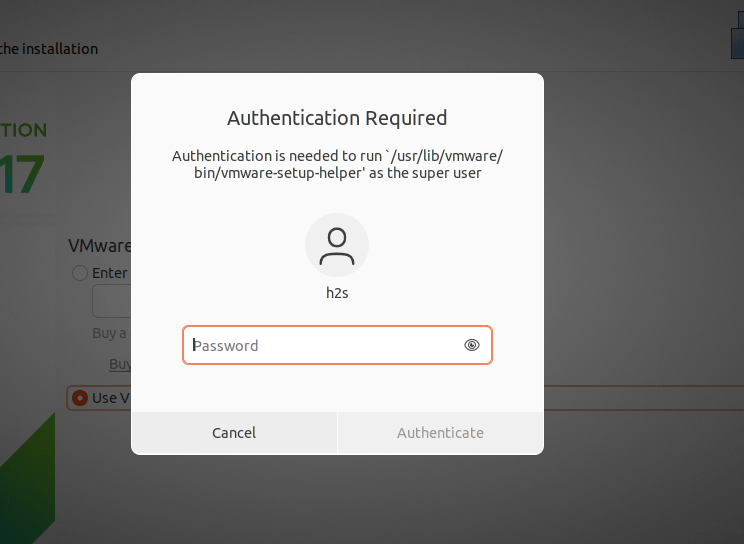
The system will ask for the user password to complete the installation, provide that.
Start Creating Virtual Machines
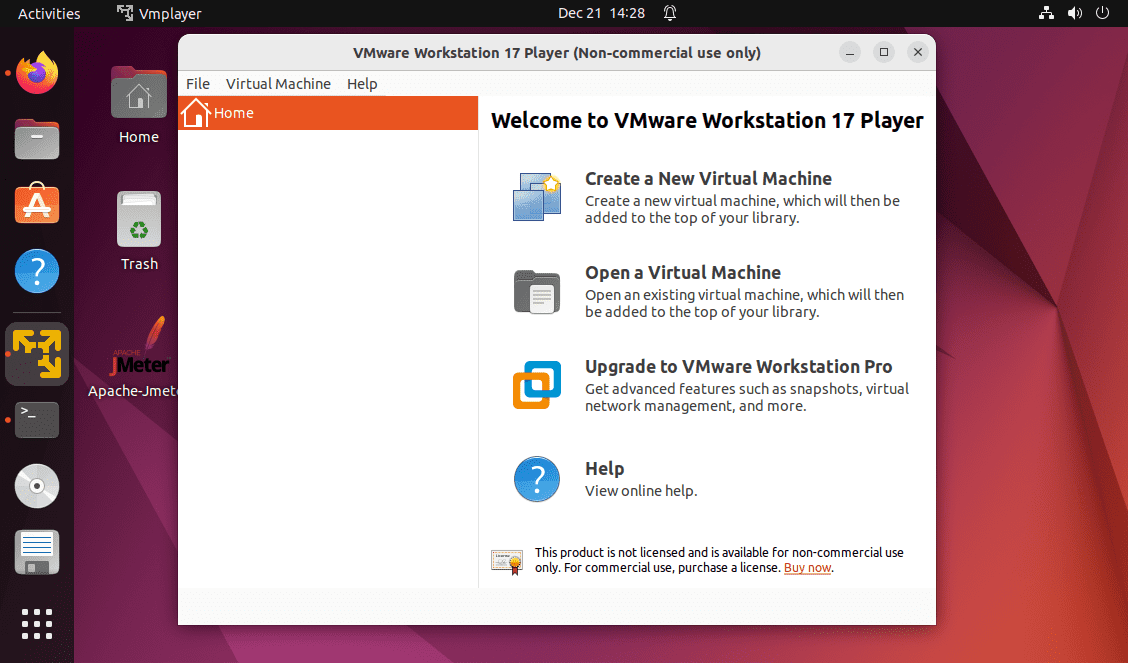
- Click on Create a New virtual machine on VMware Player 17
- Select the ISO Image option and click on the Browse button.
- Find Linux or Windows ISO file that you want to install.
- Select the Type of operating system you are installing.
- After that version of the same. For unknown Linux, you can just select the latest kernel version.
- Assign some name to your virtual machine to identify it later, easily.
- Select the amount of Virtual disk storage you want to create for the OS.
- Click on Next and Customize Hardware, if you want to assign the custom amount of RAM and configure virtual networking.
- Otherwise, simply press the Finish button and start your Virtual machine.
Uninstall or remove
If you are a VirtualBox lover and didn’t like the Vmware Player 17 on Ubuntu 22.04 then you are free to uninstall it.
Here is the command that will completely remove the Vmware from Ubuntu Linux. However, don’t forget to take a backup of your virtual machine, if you need them later.
sudo vmware-installer -u vmware-playerSo, you have seen it was not much difficult to have VMware player on Ubuntu using the command terminal. You can try it out, if you are facing some problems, the comment section is all yours.
FAQ
Once the installation of VMware Player is completed, go to the Activities link given in Ubuntu’s Taskbar. Click in the Search box and type Vmware, as its icon appears click to run it on Ubuntu Linux
Yes, Vmware Player works on all modern Linux such as Ubuntu, Redhat, Debian, etc. You just need to install it like any other application using the command terminal and its executable installation file.
Other Articles:


