If you want to utilize the spare power of your Debian 12 system using virtualization then KVM will be the best option to have a Type-1 hypervisor for running various virtual machines. KVM is easy to install, however, the management of virtual machines would not be smooth like virtual box for beginners, hence some learning curves will be there, especially when it comes to managing networking. Nevertheless, like any other hypervisor KVM on Debian can also be used to create isolated virtual machines, each running its operating system, independent of the host.
Here in this tutorial, we will learn the commands that can be used to install KVM on Debian 12 Bookworm.
Step 1: Ensure Virtualization support
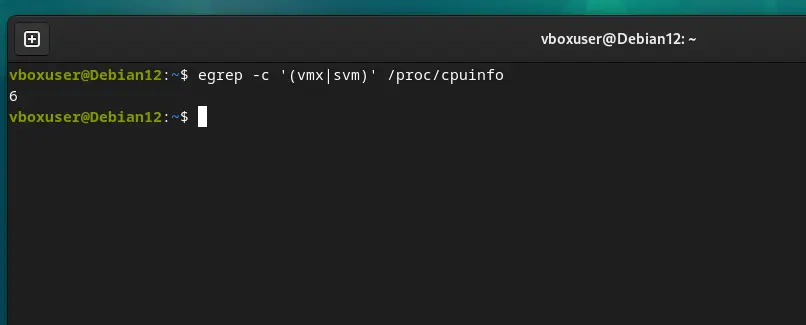
Ofcourse, we need the virtualization enabled in the system BIOS to run virtual machines using the KVM. But if you don’t know whether it is active or not, you can run the given command in the Debian 12 terminal.
egrep -c '(vmx|svm)' /proc/cpuinfoThe output of the above command must be greater than ‘0’, it can be any number such as 2, 6, etc, if you have that then it means the virtualization is enabled in your system BIOS and we can start the installation of KVM. Whereas, if it is zero then restart the system, open BIOS, and enable the virtualization that will be available in the CPU section.
Step 2: Perform Debian 12 Update
Once you have confirmed that the system supports the virtualization and is already enabled, run the system update and upgrade command. This will ensure our system is up to date and also the package index cache of added repositories is at its latest.
sudo apt update && sudo apt upgradeStep 3: Installing QEMU-KVM on Debian 12
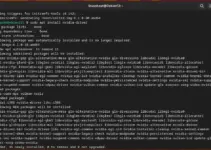
Qemu-Kvm is the package that will install and enable the Kernel Virtual Machine feature on our Debian Linux system. Apart from that, in this step, we will also install a few other required packages for the management of virtual machines. So, execute the given command in your terminal:
sudo apt install qemu-kvm libvirt-clients libvirt-daemon-system bridge-utils virtinst libvirt-daemon virt-top libguestfs-tools libosinfo-bin qemu-system Apart from the KVM module, to improve the performance of network data transfer and reduce the load of virtio-net, we can add vhost_net” kernel module in our Debian 12 Linux using the below-given command:
vhost-net is the backend (host side) whereas virtio-net (guest side) is the frontend running in the guest kernel space. To know more about them see: Vhost-net & Virtio-networking
sudo modprobe vhost_netTo check it has been enabled:
lsmod | grep vhost
Step 4: Create Bridge Network (optional)
Although the KVM comes with a bridge network interface called “virbr0″ out of the box, however, that won’t let us access the KVM virtual machine out of the host PC using some other computer in the network because of the IP range assigned by it. Therefore, we will create our full-bridge interface over the physical nic of the host system that will have the IP range of our network.
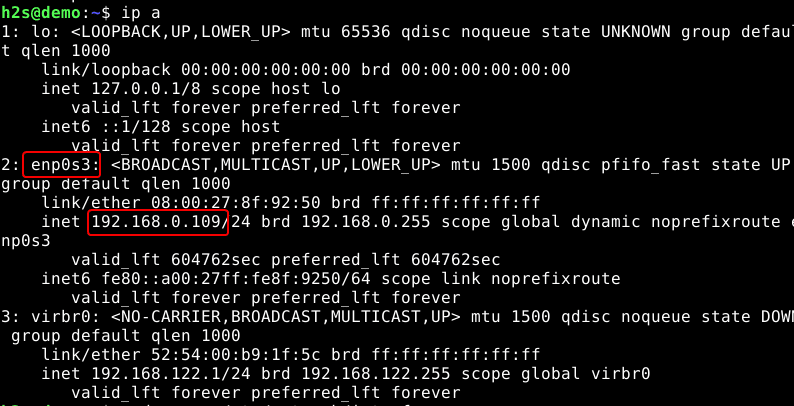
Find the physical network interface attached to your host system that you want to use for the bridge.
ip aYou will see all the attached network interfaces on your host machine. Now, note down the one that you want to use for the Bridge network.
For example, here we have enps03 the IP address is 192.168.0.109. Hence, the range is between 192.168.0.1-192.168.0.255
Now, Edit your Debian 12 Network interface file:
sudo nano /etc/network/interfacesAdd the following lines:
Note: Change the yellow values as per your network…
#Configure bridge and give it a static ip

auto br0
iface br0 inet static
  bridge_ports enp0s3
        address 192.168.1.100
        netmask 255.255.255.0
        broadcast 192.168.1.255
        gateway 192.168.1.1
        bridge_stp off
        bridge_maxwait 5
        dns-nameservers 192.168.1.1 8.8.8.8
Save the file by pressing Ctrl+O, hit the Enter key, and exit using Ctrl+X.
or
Note: If you want the bridge to get an IP address using DHCP:
Then instead of the above settings use this one:
## DHCP ip config file for br0 ##
auto br0

# Bridge setup
 iface br0 inet dhcp
    bridge_ports enp0s3
Restart the Network manager to apply the changes.
sudo systemctl restart networking.service
or
sudo /etc/init.d/networking restart
Check the Ip-address
ip athis time you will see your newly created br0 bridge interface along with other
Step 5. Create Virtual Machines using Virt-Manager GUI
Those who want to use the Virt command line to create virtual machines and run using KVM just follow the link.
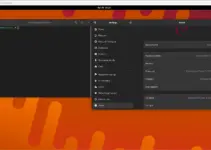
Whereas if you are using GUI Debian 12 Desktop can use the Virt-Manager. To give an idea here is a glimpse… Also, if you don’t want to use the VIrt-Manager or run the KVM on some CLI Debian server then use Cockpit to manage KVM virtual machines.
Run Virt-Manager
Go to the Application launcher, search for “Virtual machine manager” (VVM) and run it. Before it opens, the system will ask to provide the root password. This will allow it to create and manage virtual machines.
Create Virtual Machines:
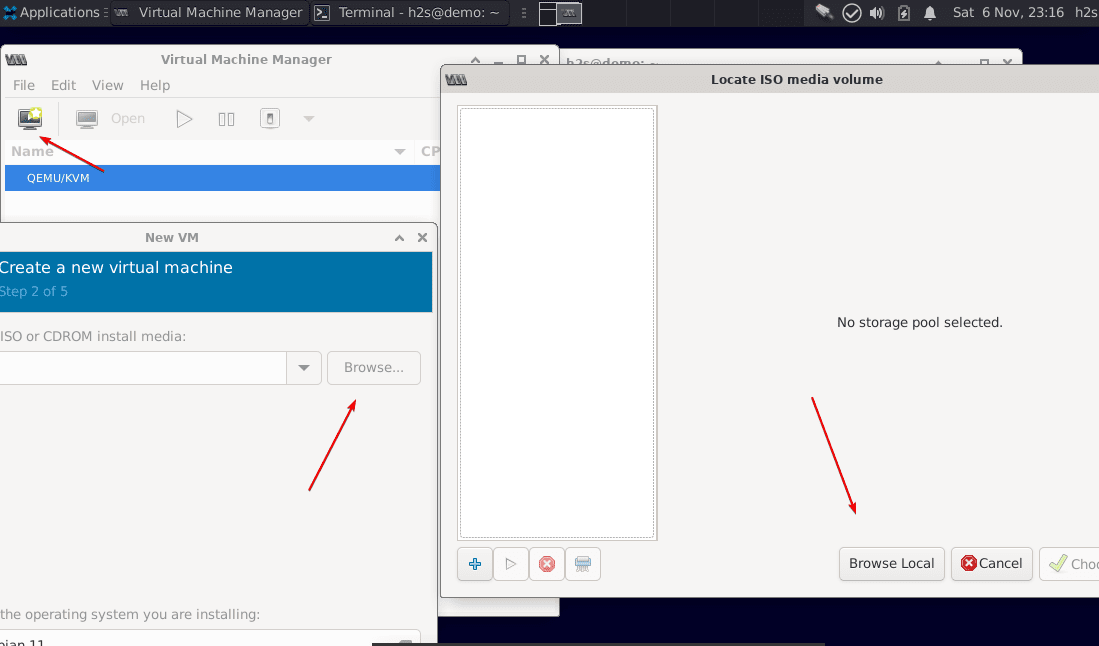
Click on the PC icon to create a new virtual machine on Virt-Manager using KVM.
Locate ISO Media Volume
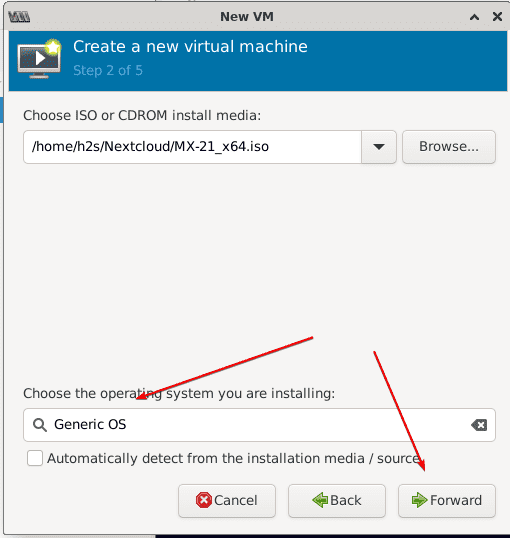
Click on the Browse button and then locate the ISO file you want to use for installing an operating system on your virtual machine as a guest OS.
After that uncheck the box is given for “Automatically detect from the installation media/source” and then click on the Forward button.
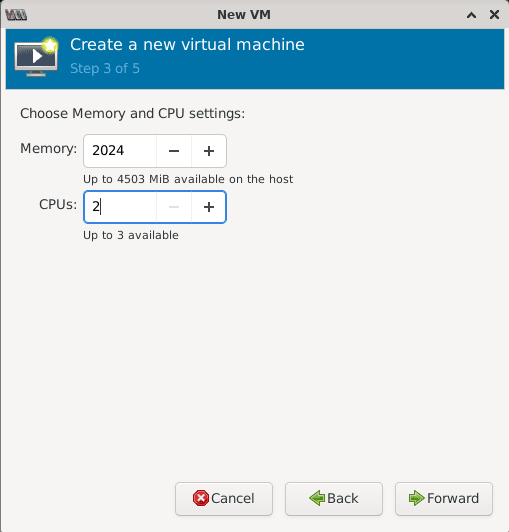
Choose Memory and CPU Settings
Set the amount of virtual memory you want to assign to VM and then the number of CPU cores.
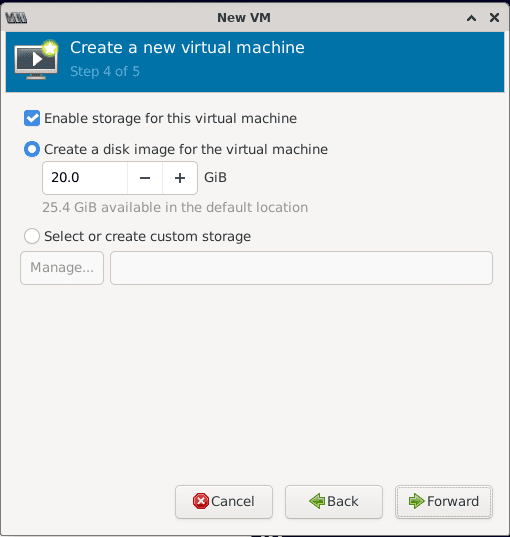
Create Qemu Virtual Disk Image
To install VM guest OS, we need some storage space and for that, we have to create a disk image file. Just enter the amount of hard disk space you want to assign and move forward.
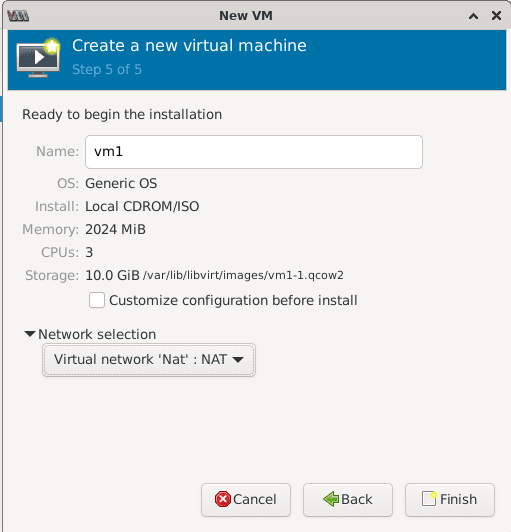
Network
Name your Virtual machine, here. Also, by default, the Virt-manager will use the NAT, however, you can select the Bridge interface either the default one i.e. vibr0, or the one you have created. If you don’t know about these settings let the default NAT be selected.
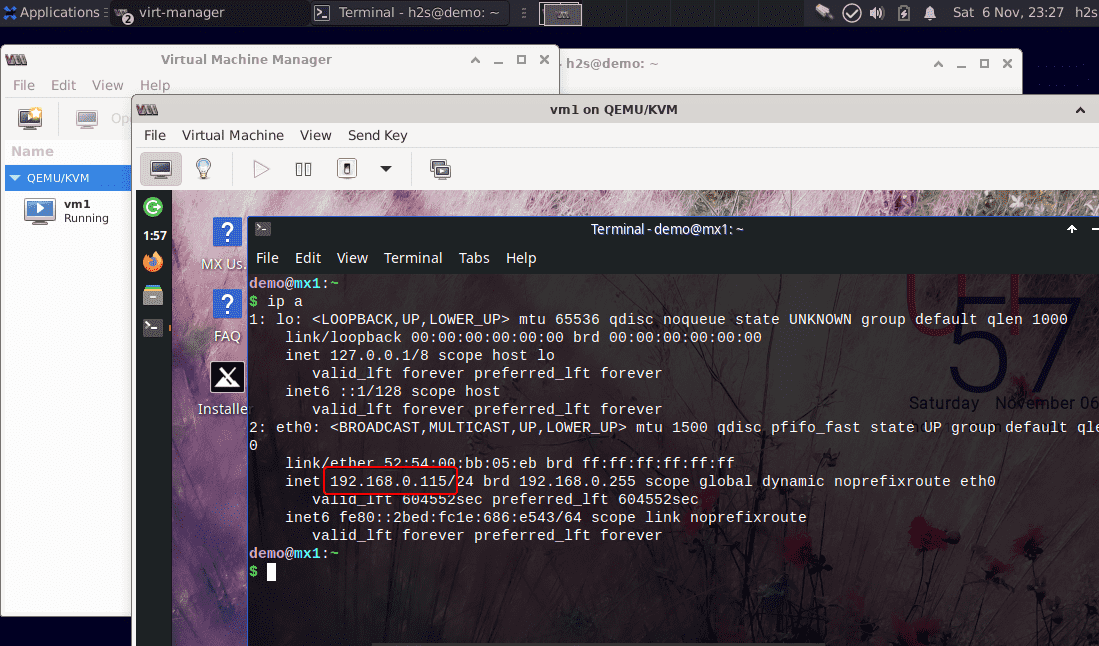
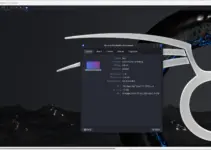
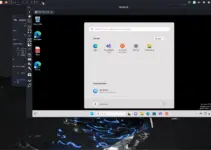
Qemu KVM Virtual Machine on Debian 12
Finally, you will have a booted virtual machine that can be controlled just like any physical computer using a keyboard and mouse.
Other Articles:

I am running Debian Bullseye on my Linux platform. Your How To was clear and easy to follow. I installed Windows 1022H2 without any problems.
I elected to not include Step 4: Create Bridge Network (optional). but installed the default NAT. Unfortunately, although Network IP settings indicated the network was connected. The IPv4 was set at 192.168.144.74. but pinging yshoo.com resulted in ‘Network unreachable’
I should add that I have successfully installed the same version of Windows 10 in Oracle VM VirtualBox, but am trying to covert my LAN to virt-manager for Linux and Hyper-V for my one windows platform.
I would appreciate any comments or suggestions.
Thanks in advance.