Those who are looking for a free web hosting control panel to manage their websites can install CyberPanel on the Ubuntu 22.04 LTS server using the steps given in this tutorial.
CyberPanel is a user-friendly control panel, although features-wise not so vast as WHM’s cPanel, however, what it offers at free of cost is way enough to manage websites, domains, databases, emails, user management, files, and more on a server. For serving websites, the users will have a fast OpenLiteSpeed webserver. However, enterprise users can upgrade to CyberPanel Enterprise edition (paid one) to get the benefits of LiteSpeed, if required. OneCLick installation of WordPress and SSL setup features are also there.
CyberPanel Installation on Ubuntu 22.04 Linux
Now, let’s learn the steps required to install CyberPanel on Ubuntu 22.04 Linux server.
CyberPanel Requirements
To follow this tutorial your Linux server should fulfill the listed things:
- A fresh Ubuntu 22.04 server
- Root user access
- Internet connection
- 1 GB RAM, or higher
- 10GB of free Disk Space
Step 1: Update System Package
Access your Ubuntu 22.04 command terminal either using SSH or directly to run the needed commands. We will start first with the execution of the system update command that will install the latest updates and refresh the repository cache as well.
Switch to root:
sudo su -Now run the following commands:
apt update && apt upgradeStep 2: Install Required Dependencies
A freshly created minimal Ubuntu server would not have a few common packages we need before starting the installation of CyberPanel. Therefore, use the given command and get them.
apt install wget nano curlStep 3: Download CyberPanel Installation Script
Next, get the CyberPanel installation script from the official source, that will automatically download and configure all the packages required for the installation and working of CyberPanel on Ubuntu 22.04 or any other supported Linux system.
wget -O cyberinstaller.sh http://cyberpanel.net/install.shStep 4: Run CyberPanel Script on Ubuntu 22.04
First change the permission of the downloaded file, so that the system can execute it. After that using the second command run the script to start the CyberPanel installation on Ubuntu 22.04.
chmod +x cyberinstaller.shStart the installation:
bash cyberinstaller.shStep 5: Initial Configuration wizard
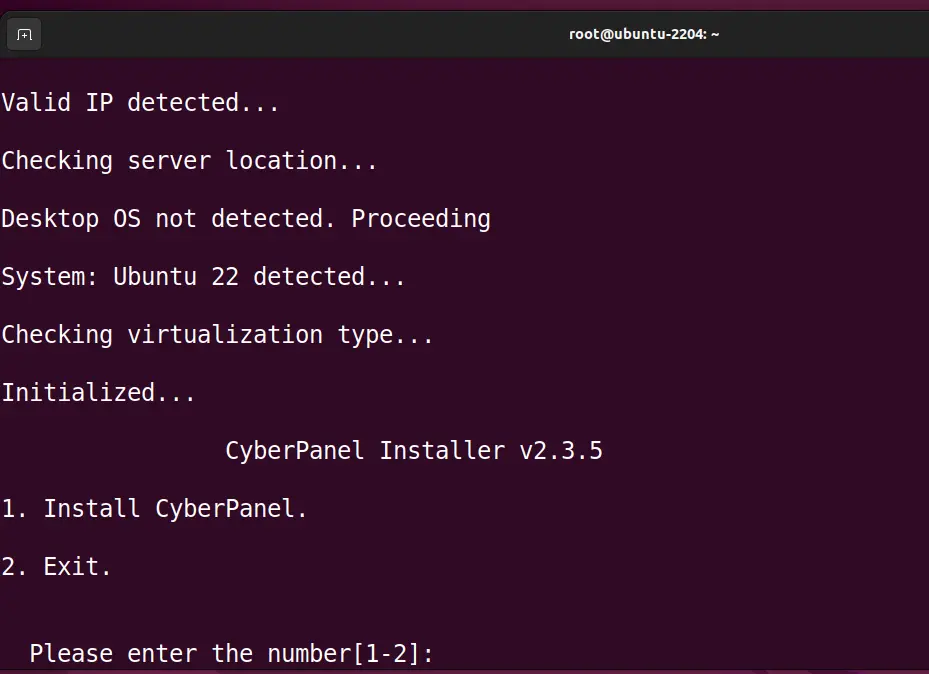
The text-based installation wizard will be started. Follow it and answer the questions it will ask you. To give you an idea we have given the steps below related to it.
Step 1: First it will ask you whether you are sure to start the installation or not to enter ‘1‘ to start the installation process. If you want to exit then type number 2 and hit the Enter key.
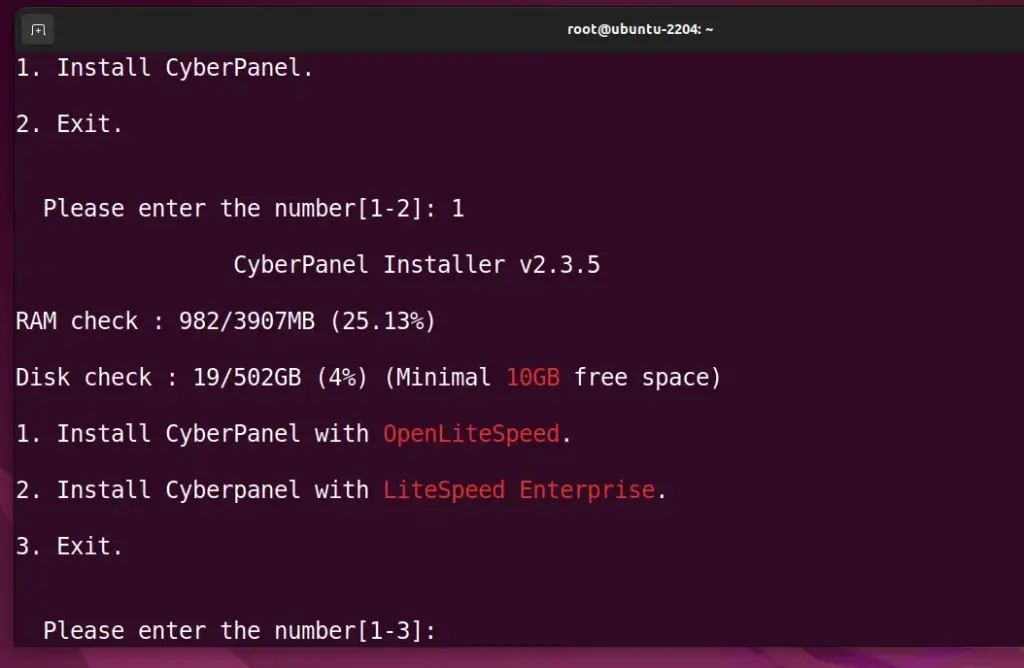
Step 2: Select Web server type. If you want the Open source LiteSpeed then select the first option with OpneLiteSpeed whereas those who want the Enterprise edition of it can go for the second one.
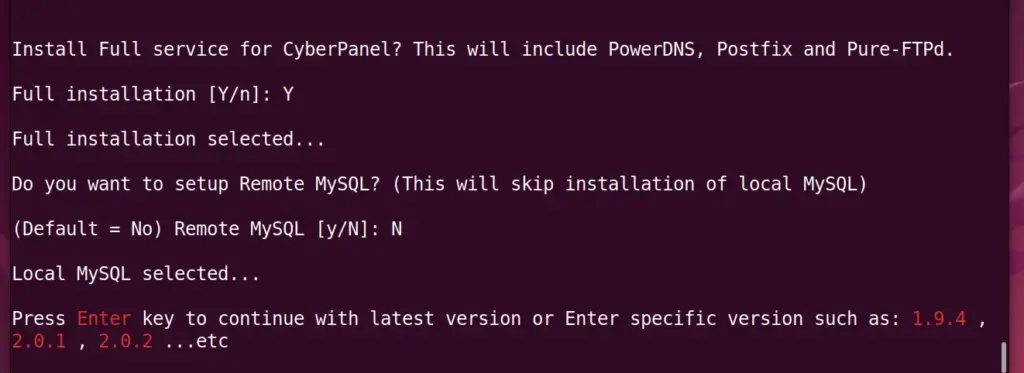
Step 3: Install Full Service of CyberPanel on Ubuntu 22.04, simply type Y and hit the Enter key.

Step 4: Do you want to set up a remote MySQL Database? Well, if you already have a MySQL server running on some remote server then select the Y option otherwise press N and hit the Enter key. However, if you don’t have any idea about this then it is recommended to select N and let CyberPanel install the MySQL server on the same Ubuntu 22.04 VPS where you are installing the CyperPanel.
Step 5: Press the Enter key after that let the CyberPanel select the latest version to install. After that, install PHP and its extension along with other things; the process will ask for your permission.
Wait for some time until the script completes the installation process. Once the process is completed, your Ubuntu 22.04 server IP address that you can use to access the CyberPanel web interface will appear along with the port numbers.
Step 6: To integrate properly and clean temporary files, restart the system by pressing the “Y” key and finally complete the CyberPanel installation step.
Step 6: Ports need to be opened in the firewall
If you are using a firewall on Ubuntu 22.04 then open the following ports. Whereas, if you are on a cloud service provider then open the required ports in the service provider’s firewall.
For UFW firewall only, if installed otherwise skip this:
sudo ufw allow 8090,80,443,25,587,465,110,143,993,53,21/tcpsudo ufw allow 443,53/udpsudo ufw allow 40110:40210/tcpNote: If you are a VPS or Cloud server user with a service provider firewall then open the above ports in that instead of using UFW.
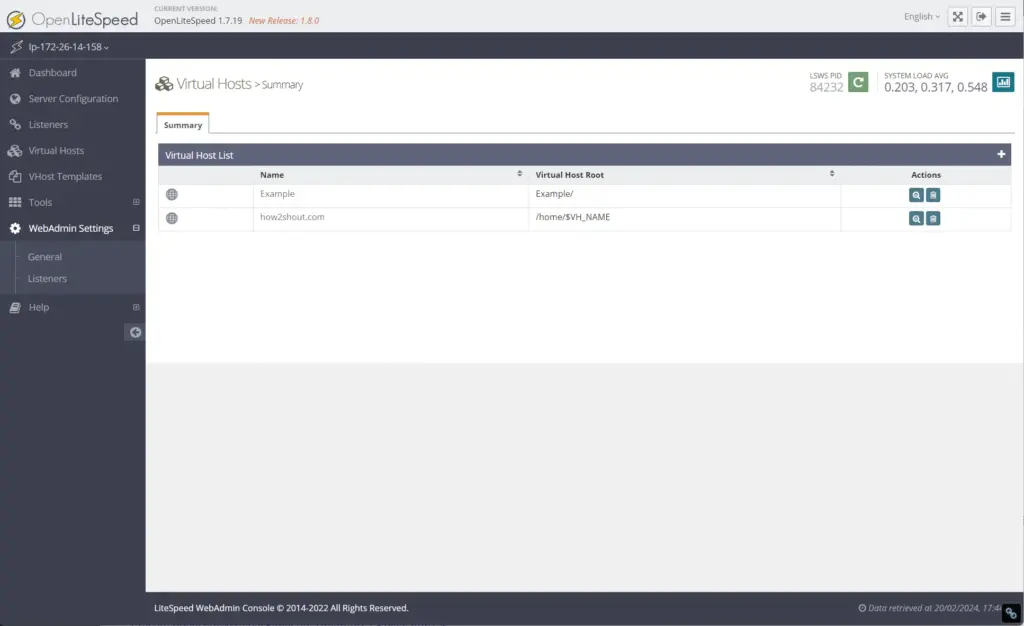
Step 7: Access the OpenLiteSpeed:
Once you have opened the ports, open a browser on your system that can access the server IP address and get the OpenLiteSpeed web interface by typing- http://your-server-ipaddres:7080
Note: If you don’t have the password for OpenLiteSpeed then change using the command given at the end section of this tutorial.
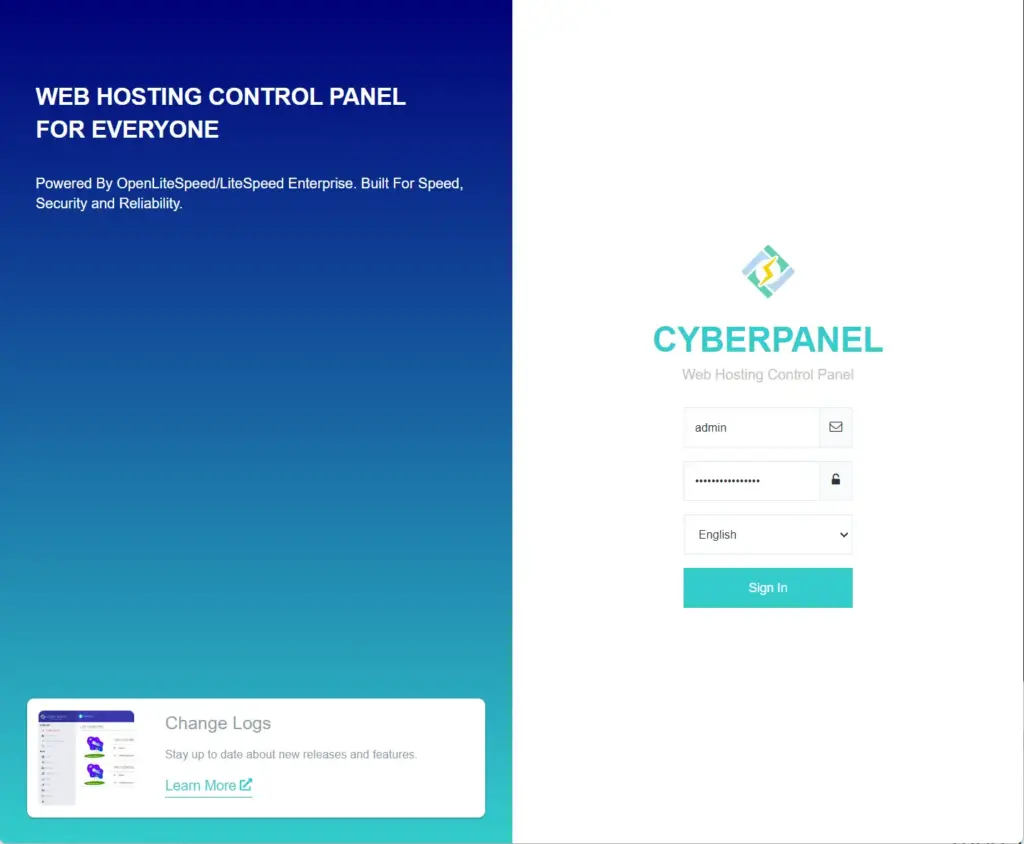
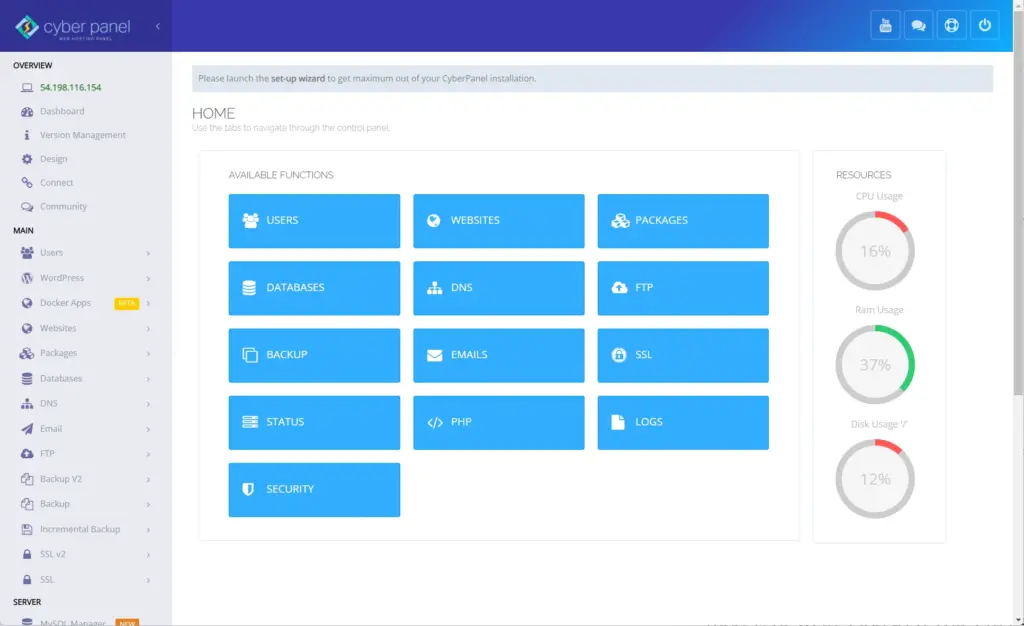
Step 8: CyberPanel Web interface
For the Web hosting control panel management interface use- https://your-server-ipaddres:8090
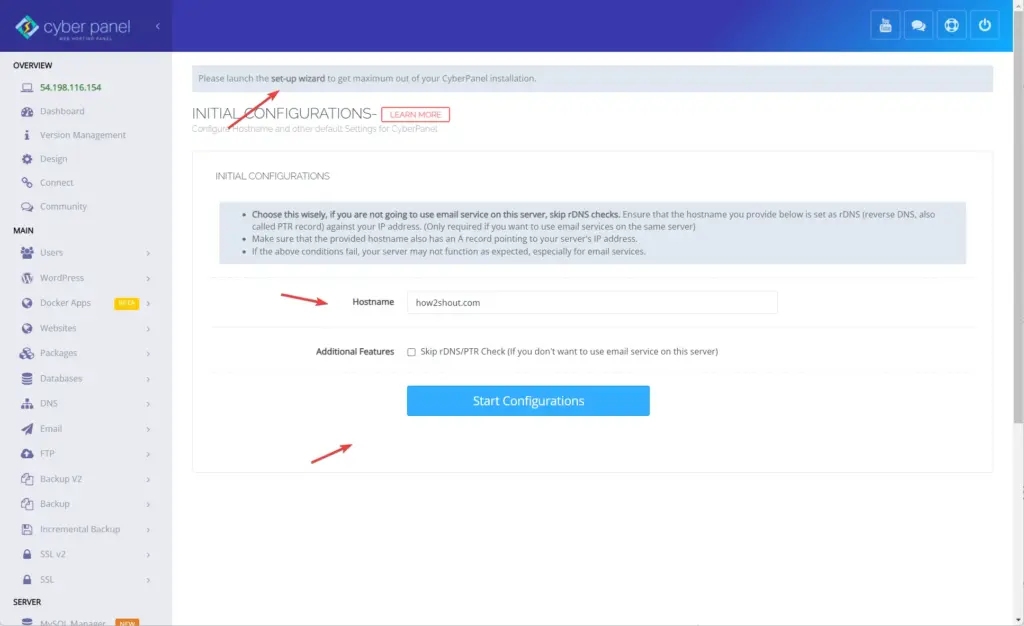
Add Hostname and Let’s Encrypt SSL
To add your domain, so that further process of creating a website and installing an SSL certificate using Let’s Encrypt can be possible, click on the “Setup Wizard” link. After that add your domain name that is already pointing to the server IP address where you have installed the CyberPanel in your DNS records which is available on the website form where you have purchased the Domain name.
Once are done with setting the hostname/domain, next configure the SSL certificate, you can refer to the official documentation for that.
How to change the password of OpenLiteSpeed and CyberPanel Web Admin
In case you have forgotten the password set for OpenLiteSpeed and CyberPanel Admin web interface then here is the way to change the passwords for them.
Go to your Ubuntu 22.04 command terminal where Cyberpanel has been installed.
For CyberPanel backend running at port number 8090:
cd /usr/bin/sudo adminPass your-new-passwordNote: replace the your-new-password with the password you want to set for CyberPanel Admin users:
For CyberPanel OpenLiteSpeed Web Admin Interface running at port number 7080.
cd /usr/local/lsws/admin/miscsudo ./admpass.shNow, you can manage your web server and website easily using OpenLiteSpeed and CyberPanel Web hosting control panel running on Ubuntu 22.04 LTS Linux. For more details refer to Cyberpanel’s Official Documentation.


