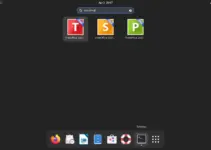
If you have an up and running NextCloud server, then to easily access & sync your cloud-stored data we can use its client application available for Linux, Windows, and macOS desktops including for smartphones. Here we learn the steps to install and set up NextCloud Client on Debian 11 Bullseye or 10 Buster using the command terminal.
Nextcloud desktop client has offered the option of automatically syncing only individual directories. The users can specify which directories should be locally synchronized with the server. And if you want can download any file directly from the folder set by the client. In this way, they can prevent their local had disk from getting running out of space. Tutorial for those who want to install their NextCloud Server on Debian 11 or 10.
Steps to install NextCloud Linux client on Debian 11 or 10
1. Debian 11 System update
Run the update command using the APT package manager to get the latest version of installed packages and also refresh the system repo cache.
sudo apt update
2. Install NextCloud Client in Debian Bullseye
The packages to install the Linux desktop client available for NextCloud can be obtained directly from the official repository of Debian 11. Hence, we don’t need to add any third-party repo.
sudo apt install nextcloud-desktop
3. log in to your Nextcloud Server
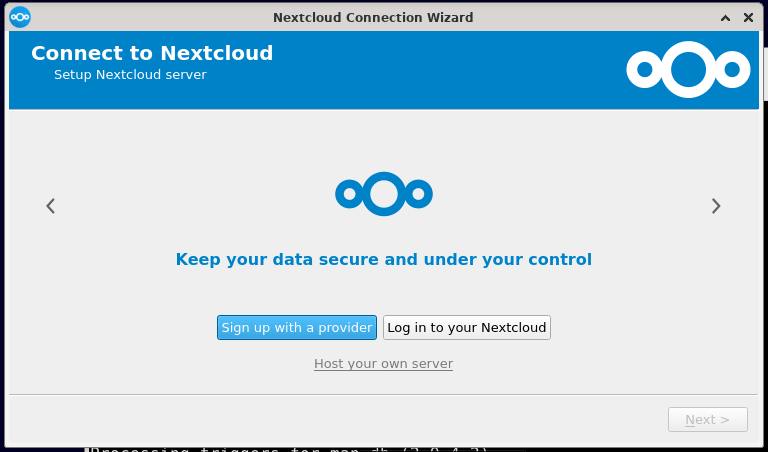
Once the installation is completed go to Application launcher and find this client application to run. After opening the same, you will have two options- “Sign up with a provider” and “Login to your NextCloud“. Now, if you have registered for the official cloud service provided by NextCloud developers then go for the first option whereas, those who have hosted their NextCloud server hit the “Login to your NextCloud“.
4. Server Address
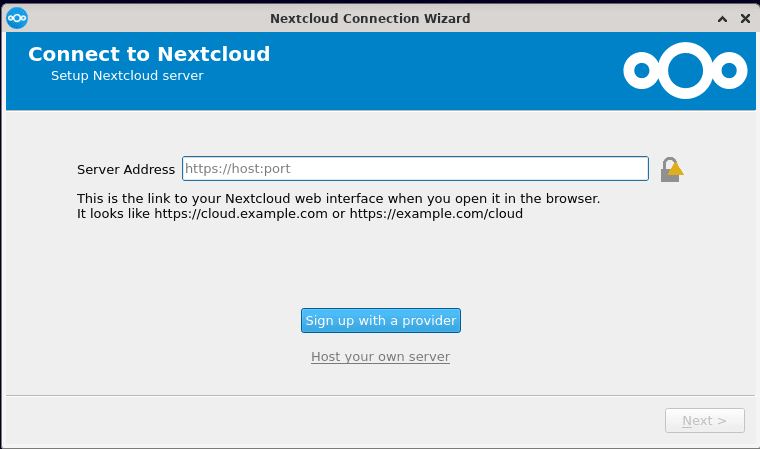
Next in the Server Address URL box, enter the IP address or domain name of the remote or local NextCloud server to connect. After that click on the Next button.
5. Login – Username and password
After that browser will open to log in to the server using the usernames and password you set for the user, created on the NextCloud server.
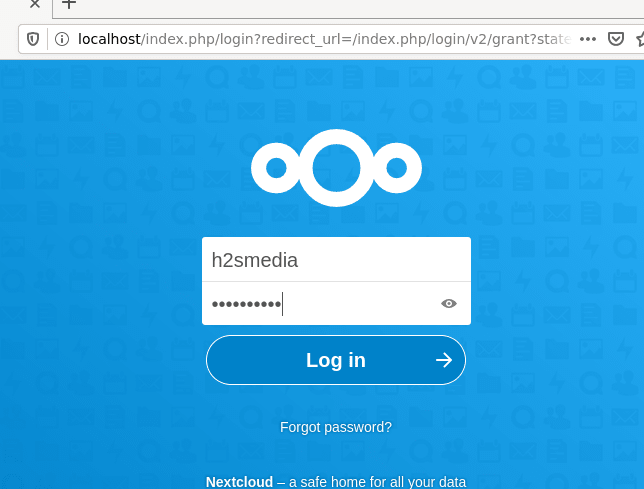
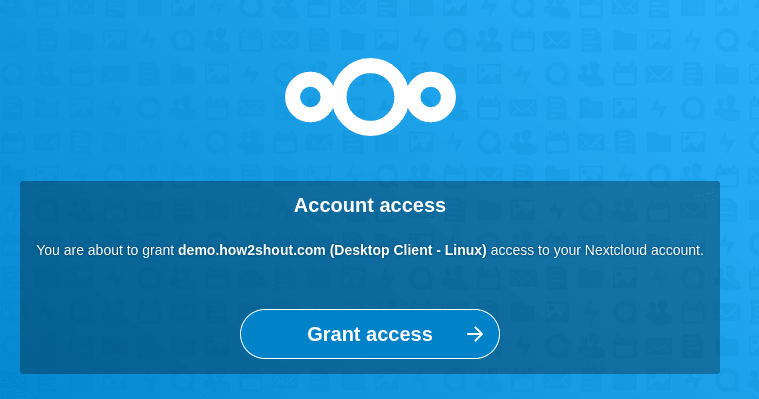
Once logged in, click on the “Grant access” button to allow the client application to access the Server files.
6. NextCloud client Setup for Local Folder
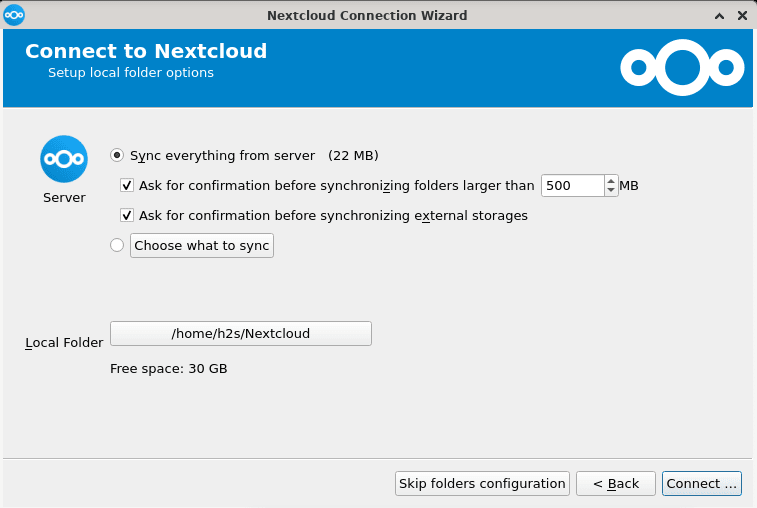
Next, on your Desktop client, you will see some configurations to set up the local folder on the system for syncing files between the local system and server. Leave the default, and click on the “Connect” button.
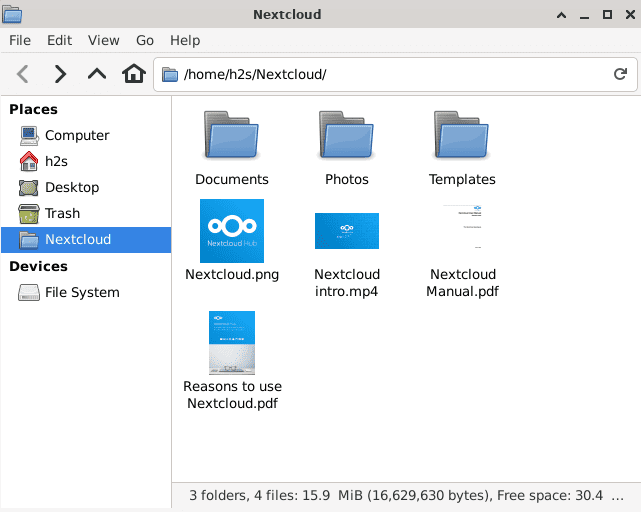
The folder set for syncing will open automatically, showing all the files available on your server directly on the local system.
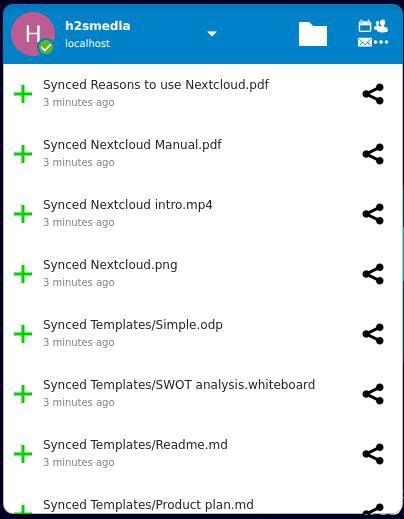
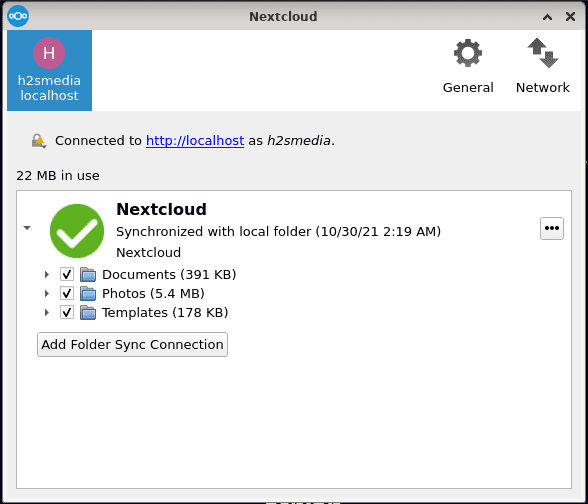
For any further confirmation such as adding or changing the syncing folders, the user has to again open the Client application, click on the Account drop arrow icon given on the left side and then select Settings.
Here are some other articles to read:
- 2 ways to Install Mysql Workbench on Debian 11
- Install ifconfig on Debian 11 or 10
- How to install ZOOM client on Debian 11
- Install WineHQ on Debian 11 Bullseye
- How to install SLACK on Debian 11 Bullseye…
