XAMPP is a local server environment that is useful for developers or anyone who want to test some web application locally, either to develop further or experience it before using it in production. It offers a complete LAMP stack that includes Apache, MySQL, PHP, and Perl. The best feature is the XAMPP is not going to interfere with any web server or LAMP stack components if you have them natively on your system.
It is available for Windows, Linux, and macOS, but unlike Windows, Linux users will not have a shortcut to open XAMPP by default. So, new users after installation of this tool got perplexed because once you close it, to start this application again either you need to use the command line or create a shortcut.
However, here we learn how you can start the XAMPP on Ubuntu using the command terminal
Step 1: Install XAMPP
Well, I am assuming that you already have XAMPP installed on your Ubuntu Linux system and now you are looking for a way to start it using the terminal. However, those who have not installed it yet can see our article on the installation of XAMPP in Ubuntu step by step.
Step 2: Open Ubuntu Terminal
Now, to run the XAMPP using the command on Ubuntu, first, open the terminal app. You can either use the keyboard shortcut that is Ctrl+Alt+T or can click on the Activities given in the Ubuntu taskbar to search for “Terminal“.
Step 3: Command to Start XAMPP GUI
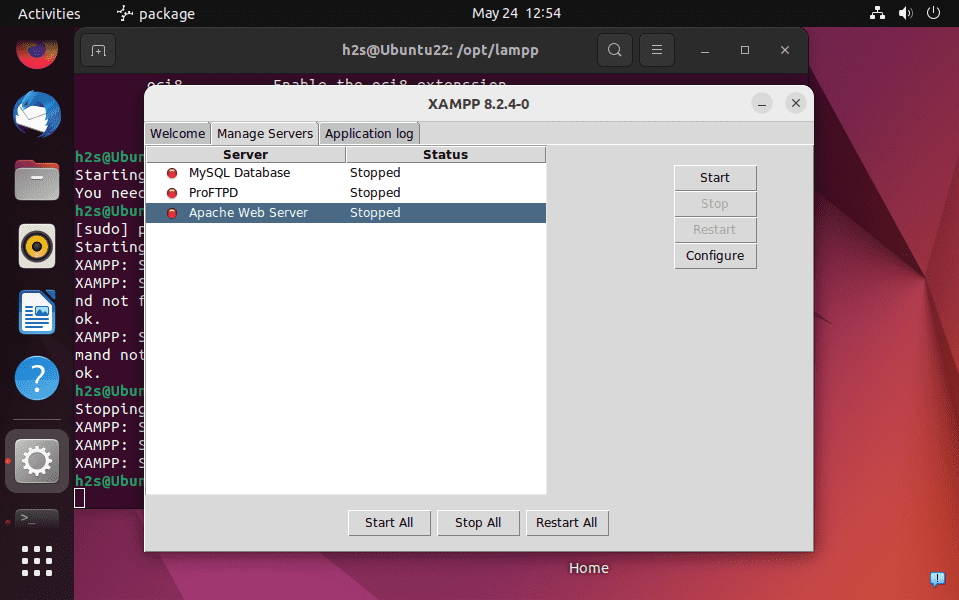
When we install XAMPP, the system will configure its executable files inside /opt/lampp directory. So, if you want to start the XAMPP GUI then the command will be:
sudo /opt/lampp/./manager-linux-x64.run
Step 4: Start or Stop XAMPP services in Ubuntu
Now, suppose you want to start or stop all XAMPP services using the command terminal on your Ubuntu. So, for that first switch to /opt/lampp directory:
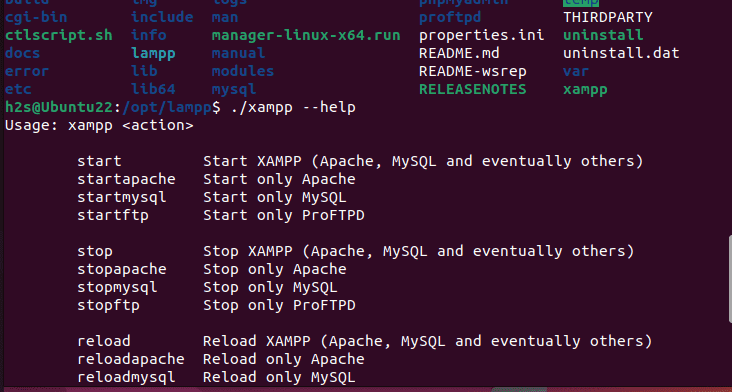
cd /opt/lamppNow, use the XAMPP executable tool to control various functions of it. Let’s see what options are available to use with this command tool.
./xampp --help
Start All Services:
Let’s say you want to start all XAMPP available services using the command line such as Apache, MySQL, and ProFTPD. So, for this, the command will be:
To start all services together:
sudo ./xampp startIndividually one by one:
For Apache:
sudo ./xampp startapacheFor only MySQL
sudo ./xampp startmysqlFor only ProFTPD
sudo ./xampp startftpStop All Services:
If Apache, MySQL, and FTP services are already running and you want to stop all of them simultaneously, then the command will be:
To stop all services together:
sudo ./xampp stopIndividually one by one:
For Apache:
sudo ./xampp stopapacheFor only MySQL
sudo ./xampp stopmysqlFor only ProFTPD
sudo ./xampp stopftpReload or Restart
For those who want to use the command line for reloading or restarting XAMPP services, here are commands to follow:
Reload All services:
sudo ./xampp reloadSimilarly to Restart, use:
sudo ./xampp restartFor individual services:
Reload or Restart Apache:
sudo ./xampp reloadapacheor
sudo ./xampp restartapacheSimilarly for MySQL:
sudo ./xampp reloadmysqlor
sudo ./xampp restartmysqlFor ProFTPD
sudo ./xampp reloadftpor
sudo ./xampp restartftpStep 5: To check the status of the current services
If you are not sure which service is running or not, we can use the Status command of XAMPP, here is that:
sudo ./xampp statusStep 6: Add the XAMPP command line shortcut
Well, to use the Xampp command tool by switching to its installation directory can be a bit annoying, to solve this we can create a hard link to its executable file under /usr/local/bin.
sudo ln /opt/lampp/xampp /usr/local/binAfter that, you can use the Xampp command line from anywhere on the terminal.
example:
sudo xampp statusFor Desktop Shorcut (optional)
Those who want desktop and application shortcuts for XAMPP can need to create a file that will be used as a Desktop shortcut in which we add some entries that will let the system execute and launch the XAMPP application.
nano Desktop/XAMPP.desktopAdd Lampp server and icon path
Inside the above-created launcher file, copy and paste the below entries which define the type of the shortcut, and the path to execute along with the icon.
[Desktop Entry]
Version=1.0
Type=Application
Name=XAMPP
Exec=sudo /opt/lampp/manager-linux-x64.run
Icon=/opt/lampp/htdocs/favicon.ico
Terminal=false
StartupNotify=false
Save the file using Ctrl+O, hit the Enter key, and then exit the file – Ctrl+X.
Now give sudo permission to your desktop shortcut.
sudo visudoScroll to the end of the file and past the given line:
your-user ALL = NOPASSWD: /opt/lampp/manager-linux-x64.runNote: Don’t forget to replace the your-user with the current user that you are using to run XAMPP on your Ubuntu system.
Save the file using – Ctrl+O hit the Enter key, and then exit- Ctrtl+X.
Next, right-click on the Desktop icon and select Allow launching.
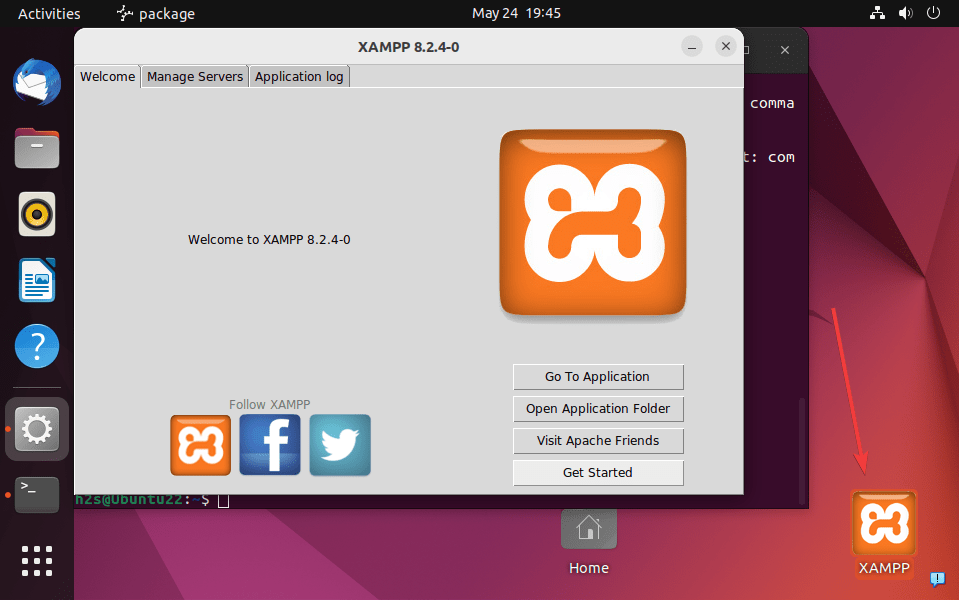
Now, double-click on your Desktop icon to run the XAMPP.

Those who also want to create an Application launcher for it, need to just copy the created desktop icon in the Applications directory of the system.
sudo cp ~/Desktop/XAMPP.desktop /usr/share/applications/Other Articles:


Thanks. A lot Helpful