Learn the steps and commands to install free PuTTY on Ubuntu 22.04 LTS Jammy JellyFish and 20.04 Focal fossa using Terminal to get a free SSH and telnet client.
What is PuTTY Software?
PuTTY is free software that acts as a client to establish a secure remote connection via Telnet, Secure Shell, Remote Login, and other protocols to a remote system acting as a server to these protocols to send commands via CLI interface. It has been published under MIT license and is available to download free of cost. PuTTY as a program, earlier, was only available for Windows operation. However later, its developers also made it compatible with Linux and macOS. Apart from the Desktop operating system, similar implementations of the software are also available for Android or iOS.
It supports both IPv4 and IPv6. In addition to the actual terminal emulator software, the user will also have other tools in the program such as SCP, Secure File Copy Client, and SFTP, Secure File Transfer Client; SSH Authentication Agent; RSA, and DSA key generator tool.
Few advantages PuTTY
• Free to download
• Support all popular operating systems such as Windows, Linux, and macOS
• Serial interface and SSH tunneling are supported
• Encrypts Session
• Enables users to generate key pairs for SSH connection using PuTTYgen
• Support of different key types for SSH sessions like RSA, DSA, ECDSA, and Ed25519 keys
• Secure transfer of files via SCP and SFTP
Steps to install PuTTY on Ubuntu 22.04 Jammy or 20.04 Focal Fossa
Add Ubuntu Universe Repository
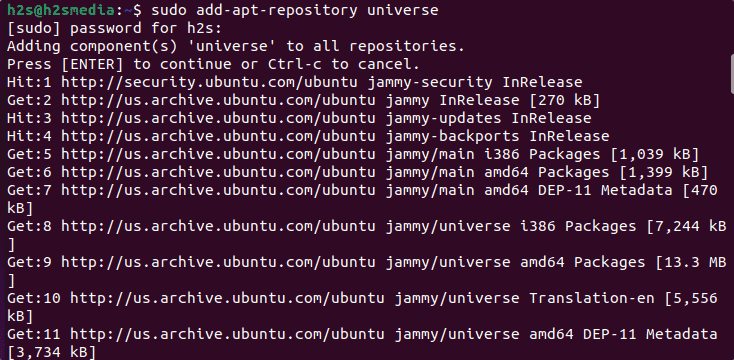
Although the Universe repository of Ubuntu will already be enabled by default, however, just to confirm or install run the below command. We are enabling this repository because the PuTTY package is available via it.
sudo add-apt-repository universe

Linux System Update
Let’s first run the system update command to refresh the repository cache and also this will make sure your system is up to date.
sudo apt update
Command to Install PuTTY on Ubuntu 22.04 or 20.04
Now, we have all the things we are required to download and install PuTTY on our Ubuntu 22.04 Jammy or 20.04 Focal Linux systems. Hence, just use the APT package manager command given below to install it.
sudo apt install putty
To check the Version
The one way to confirm the installation has been done successfully and this free SSH and telnet client is on your Linux system is to run the command to check the version.
putty --version

PuTTY SSH Client command-line tools
There are a few common tools we can use, here are those:
PuTTY Secure Copy client (SCP)
pscp
To use SFTP to securely manage remote server files
psftp
For generating SSH RSA and DSA keys on Ubuntu
puttygen
Options to use:
Usage: puttygen ( keyfile | -t type [ -b bits ] )
[ -C comment ] [ -P ] [ -q ]
[ -o output-keyfile ] [ -O type | -l | -L | -p ]
Use "puttygen --help" for more detail.
Run PuTTY graphic interface on Ubuntu 22.04/20.04 LTS
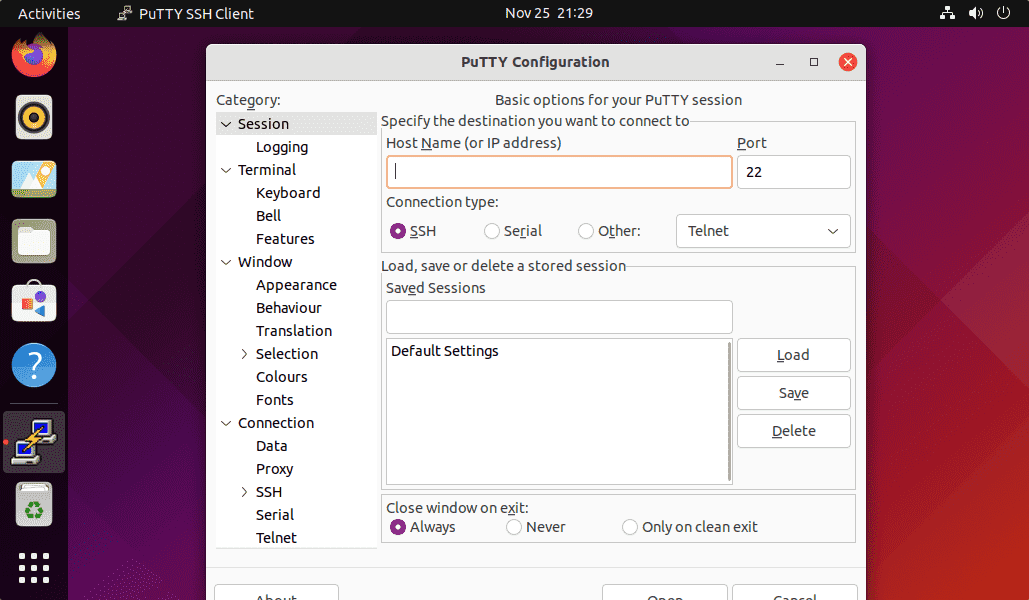
Well, just like windows, we also get the graphical user interface of PuTTY to easily manage it in on our Linux systems.
Either run the given command in your terminal to open it.
putty
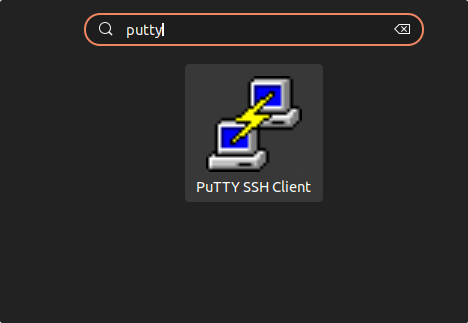
Or go to Application launcher and search for PuTTY SSH Client, you will get its icon, just click to run it.


Other Articles:
• How to enable ssh on Ubuntu 20.04 LTS Linux
• Install Gnome Tweak Tool on Ubuntu 22.04 LTS Jammy JellyFish
• Set root user password in Ubuntu 20.04 LTS focal fossa


https://github.com/architectcom/-/wiki/ubuntu-22.04-install-putty%2C-with-error-message-%3A-%22unable-to-load-font-%22server%3Afixed%22
If you have any problem
This does not work for Ubuntu 20.04. The latest version in universe is 0.74-1 which lacks support for the PuTTY’s new v3 PPK format introduced in 0.75.