Use Nginx Webserver (LEMP) to install Moodle (LMS) server on Ubuntu 20.04 LTS Focal Fossa Linux to set up your own open-source PHP-based learning management system. Moodle stands for Modular Object-Oriented Dynamic Learning Environment.
If you are looking for an open-source Learning management system for your educational institution then Moodle can be used. It has already been used by many schools and universities to enhance the learning experience of students.
Moodle can be used free of charge by any educational institution. The possible applications of the learning platform Moodle range from school organization to pedagogical work with pupils. Teachers and students, but also parents or external partners, can be quickly involved in the activities of the institution. With the learning portal Moodle, you can easily set up different learning offers and learning scenarios.
Moodle offers a variety of digital learning and communication opportunities. Some of the included functions are – Creating virtual classrooms and classrooms; convenient file management; all-in-one calendar; personalized dashboard: simple and intuitive text editor: format texts and easily embed images, audio, or video; responsive web design, hence Moodle works on all devices; teachers and students can track their progress; mail and message distribution list for a class or course; Students can mark their assignments as completed and teachers can quickly track who did what; Access restrictions for created content; chats, forums, wikis, glossaries, databases, and much more.
Steps by Step install Moodle server on Ubuntu 20.04
Here in this guide, we are installing Moodle server on Ubuntu 20.04 LTS with LEMP stack – Linux, Nginx web server, MySQL or MariaDB, and PHP.
Also, to start with this LMS platform we require 5GB of space, a 2 GHz dual-core CPU, and 1GB of RAM whereas 8GB RAM is for production use.
1. Update Ubuntu 20.04
Start with updating the system to install the latest available updates and refresh the APT package index cache.
sudo apt update2. Install Nginx and PHP
Let’s install the Nginx web server which we require to serve the files and PHP programming language to run Moodle because it has been developed in it.
sudo apt install nginx-full3. Setup PHP 8.x on Ubuntu 20.04
The version of PHP available through the default repository of Ubuntu is 7.4, however, here we are installing PHP 8.0 so that future versions of Moodle won’t create problems.
However, for the latest version of the PHP, we need to add an extra repository.
sudo apt install software-properties-commonsudo add-apt-repository ppa:ondrej/phpInstall PHP 8.0 and extensions:
sudo apt install php8.0 php8.0-{fpm,common,mbstring,xmlrpc,soap,gd,xml,intl,mysql,cli,mcrypt,ldap,zip,curl}To check the version:
php -vNow, edit php.ini file to change some values.
sudo nano /etc/php/8.0/fpm/php.iniNote: If you are using the default version of PHP or any other then change 8.0 with that in the above command.
Find the following lines and change their values as shown below:
memory_limit = 256M
upload_max_filesize = 64M
max_execution_time = 360
//also don’t forget to remove the semicolon (;) given in front of max_input_vars.
max_input_vars = 5000
Replace America/Chicago with your Time zone, if you don’t know about it and how to use it, then you can find the value here.
After making the changes save the file by pressing Ctrl+O, hit the Enter key, and then exit Ctrl+X.
Now, restart eh PHP-FPM process to reflect the changes you have made to your php.ini file:
sudo service php8.0-fpm restartNote: Change 8.0 with the version of PHP you are using if other than the one we have used in this tutorial.
4. Create Moodle Database (MariaDB)
We can install MySQL, however, here we are using MariaDB (fork) which is one best open-source database servers. It is available to install using the default system repository of Ubuntu 20.04. Hence, just run the given command:
sudo apt install mariadb-serverSecure your Database server by setting up the root DB user password and removing anonymous rights.
sudo mysql_secure_installationHere are the questions the setup will ask.
#press the Enter key
Enter current password for root (enter for none):
#Press Y and type the password you want to set two times.
Set root password? [Y/n] Y
Remove anonymous users? [Y/n] Y
Disallow root login remotely? [Y/n] Y
Remove test database and access to it? [Y/n] Y
Reload privilege tables now? [Y/n] Y
Create a Database and user for Moodle
Once the installation is completed, let’s create a dedicated database for Moodle to use and save the data.
Login to DB server CLI:
#Use the password you have set for it in the previous step.
sudo mysql -u root -p
Create Database:
CREATE DATABASE dbname;#Replace dbname name with whatever you want to use:
CREATE USER 'db_user'@'localhost' IDENTIFIED BY 'db_password';#Repalce db_user and db_password that you want to use.
GRANT ALL ON dbname.* TO 'db_user'@'localhost' IDENTIFIED BY 'db_password' WITH GRANT OPTION;FLUSH PRIVILEGES;EXIT;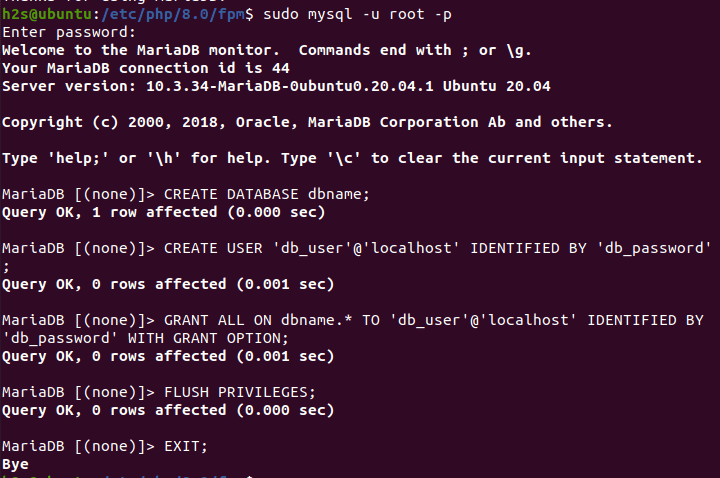
5. Install Moodle on Ubuntu 20.04
Moodle is not a package that we can install using the APT package manager, instead, we have to download it manually. The latest releases are available on the official website. You can download it directly from there using the browser or by the given command for version 4.0.4.
cd ~/DownloadsDownload
wget https://download.moodle.org/download.php/stable400/moodle-4.0.4.tgzExtract the downloaded file:
tar -zxvf moodle-*tgzMove the extracted folder to the web root directory:
sudo mv moodle /var/www/html/Create a data directory to store Moodle-uploaded files and folders.
sudo mkdir /var/www/html/moodledataHowever, this created directory must not be accessible publicly, hence, change its permission as well.
sudo chown www-data /var/www/html/moodledataApart from this, we also need to set the permission for the moved Moodle files, so that the web server can access it.
sudo chown -R www-data:www-data /var/www/html/moodle/
sudo chmod -R 755 /var/www/html/moodle/
6. Create an Nginx server block for Moodle
It is a good idea to create a separate server configuration file for each website you are running on your Nginx server. It helps users run multiple websites on the same Ubuntu 20.04 server for multiple root or subdomains.
sudo nano /etc/nginx/sites-available/moodle.confPaste the following lines:
Note: Replace yourdomain.com with the domain you want to use to access Moodle. Also, don’t forget to change the PHP version in the below lines if you are using other than php8.0.
server {
    listen 80;
    listen [::]:80;
    root /var/www/html/moodle;
    index  index.php index.html index.htm;
    server_name  yourdomain.com www.yourdomain.com;

    location / {
    try_files $uri $uri/ =404;
    }

    location ~ [^/]\.php(/|$) {
        include snippets/fastcgi-php.conf;
        fastcgi_pass unix:/var/run/php/php8.0-fpm.sock;
        fastcgi_param SCRIPT_FILENAME $document_root$fastcgi_script_name;
        include fastcgi_params;
    }

}
Save the file by pressing Ctrl+O, hit the Enter key, and then exit using Ctrl+X.
Enable the Created Moodle server configuration block for Nginx:
sudo ln -s /etc/nginx/sites-available/moodle.conf /etc/nginx/sites-enabled/Check the Configuration for errors:
sudo nginx -tThe output must be without any errors:
Restart the Nginx server:
sudo systemctl restart nginx7. Setting up Moodle on Ubuntu 20.04
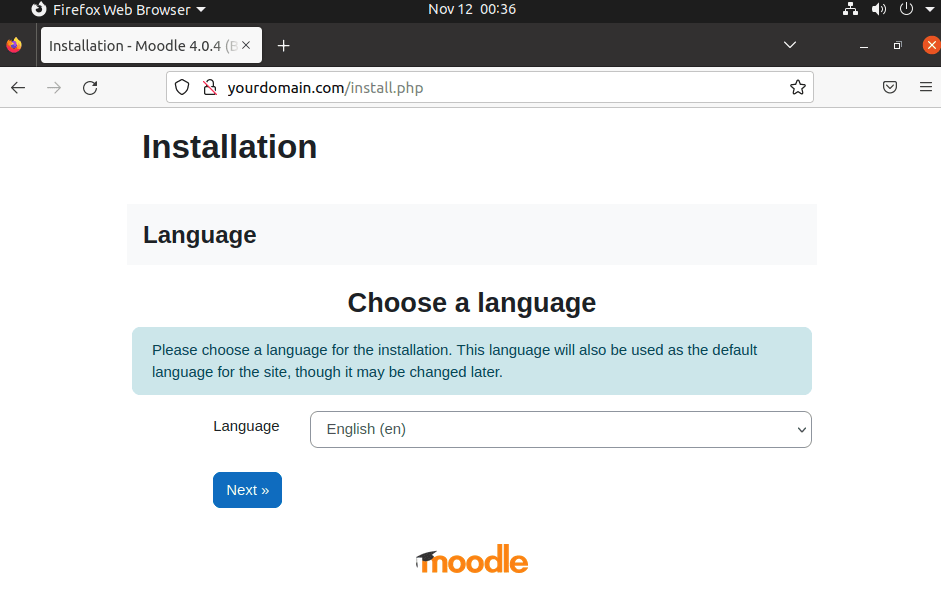
After following all the previous steps of the tutorial, open your browser that can access the domain you have used in the Moodle Nginx configuration file.
For example – http://your-domain.com
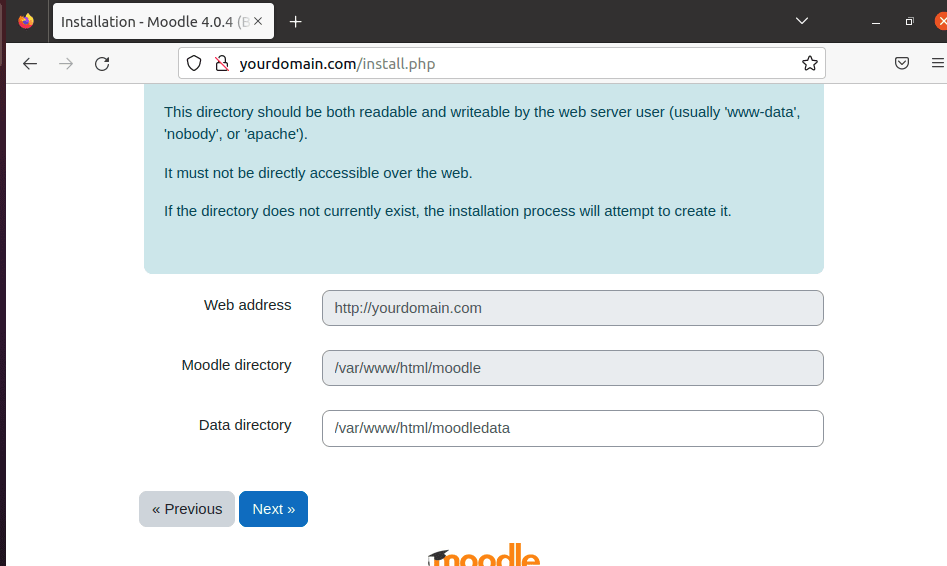
In the next step, the setup will show you the directory and web address, used to access the Moodle Interface. Click on the Next button.
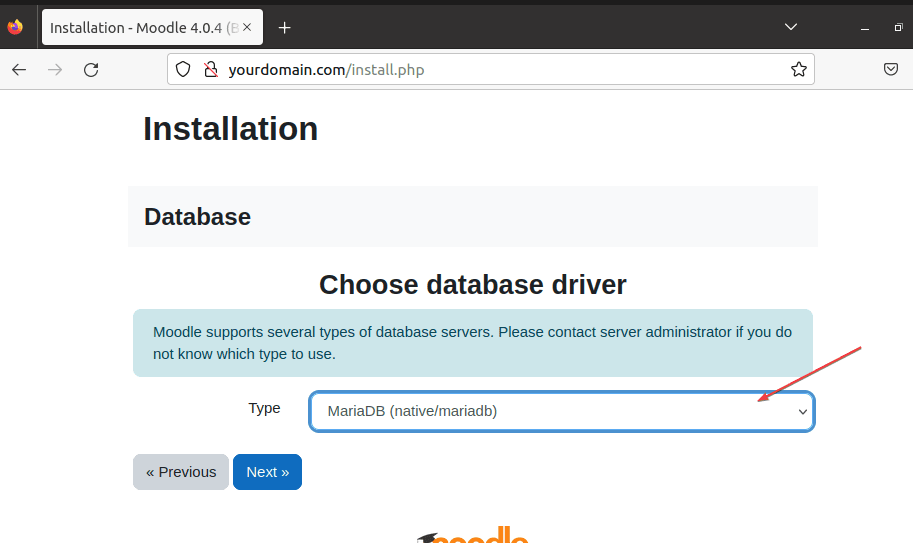
Choose the Database driver. Here in this tutorial, we have used the MariaDB on Ubuntu 20.04 for Moodle, hence from the drop-down box, select the driver for it.
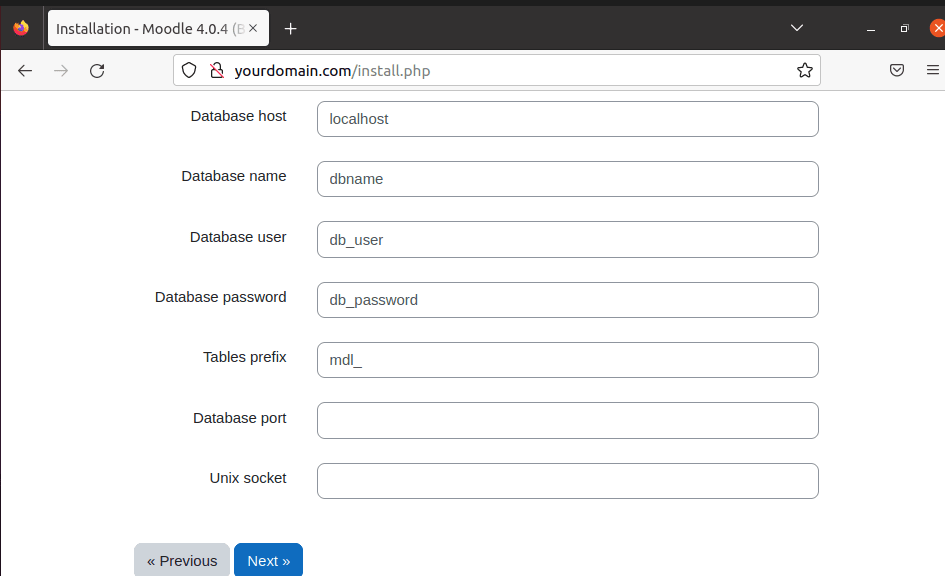
In this step, the setup will ask for the details of the Database such as the Database name, user, and password. Provide them and after that click on Next.
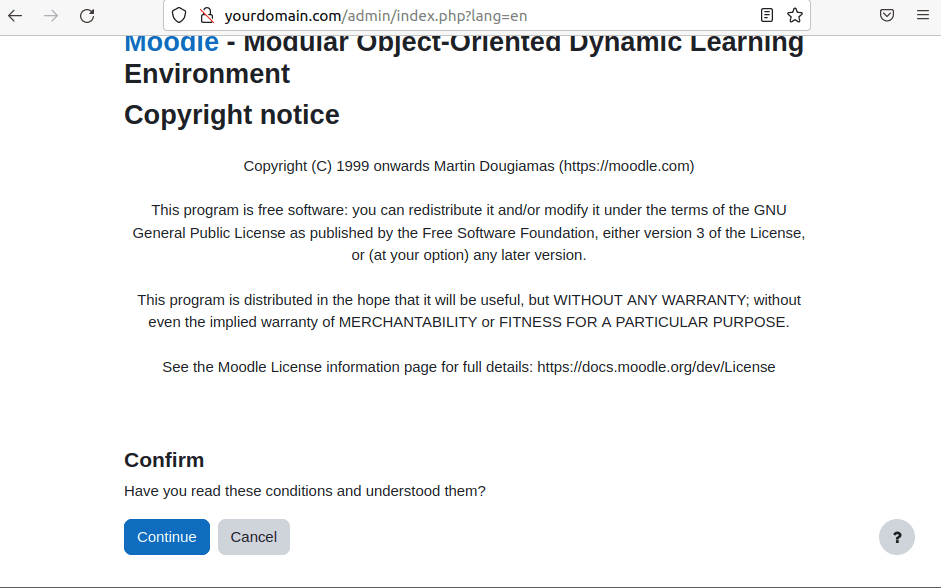
To comply with the GNU license terms and conditions, click on the “Continue” button.
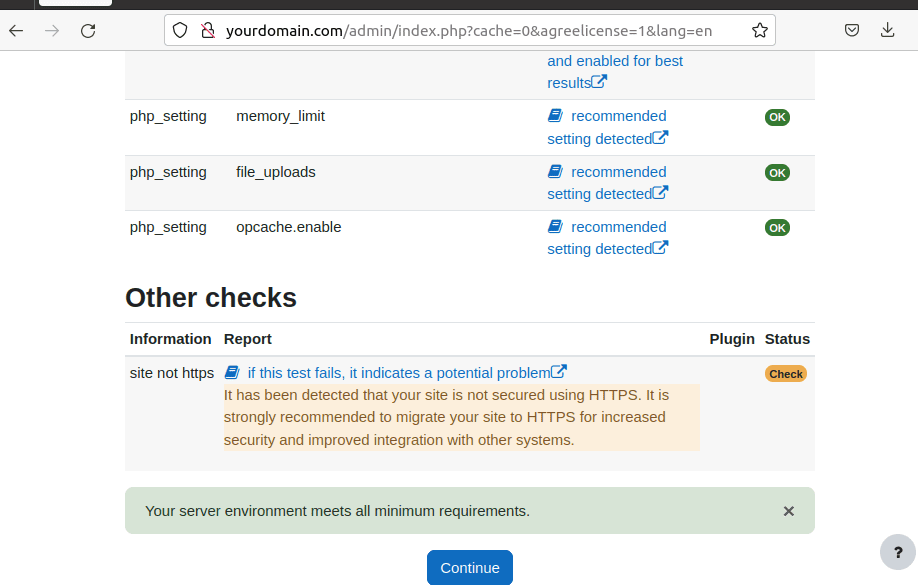
The installation wizard of Moodle will check all the requirements on Ubuntu 20.04, whether they are filled to run LMS or not.
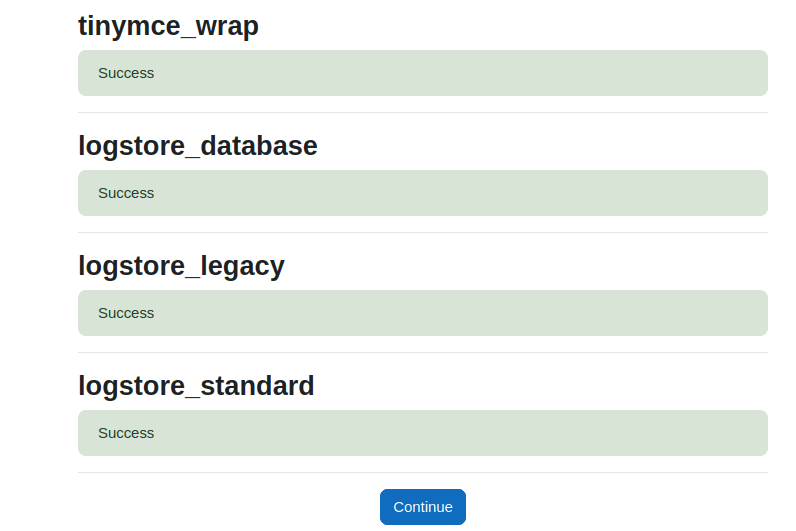
In this step, the system will automatically install the required Moodle modules. Once it has been done, click on the Continue button.
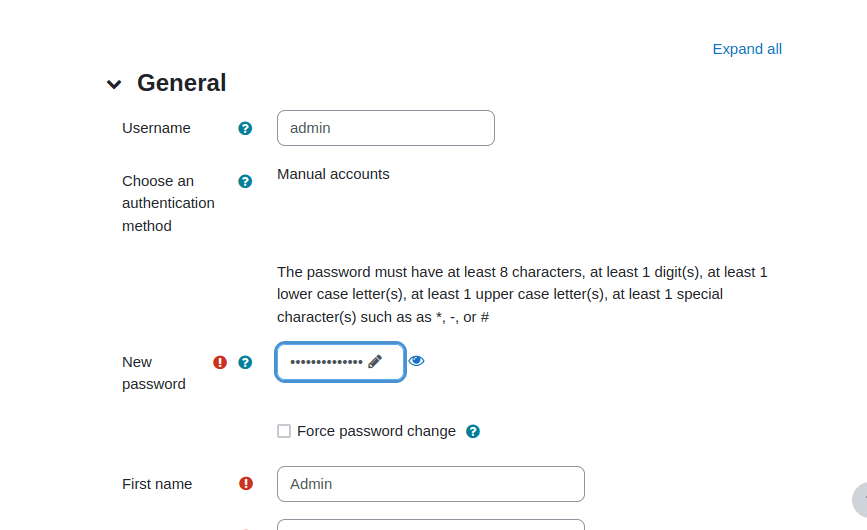
To log-in later, you need to create an Admin account. Add the details such as the username and password you want to use.
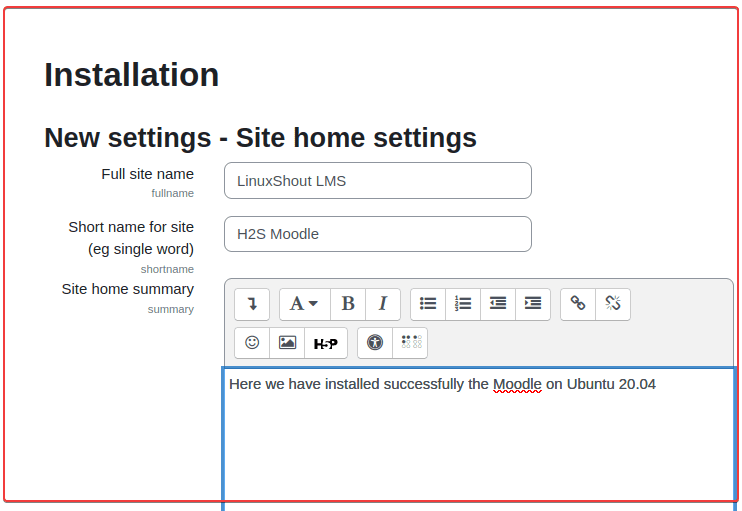
Add the name that you want to give to your Moodle site along with a summary that describes the usage of Learning management purpose for your Organization or Institute.
8. Moodle Interface and backend
Finally, you will have the front end of Moodle to manage the course and other items for your institution.

The backend or site administration will look like this.

This was the detailed tutorial to start with Moodle on Ubuntu 20.04 with the help of the Nginx Web server, PHP, and MariaDB. In case, you want to install the PHPMyAdmin then here is the tutorial to set up phpMyAdmin on Ubuntu 20.04.
FAQ
Moodle is a PHP-based learning management system used to create an online learning platform for students. Teachers can create online courses and keep track of their students progress.
Moodle stands for Modular Object-Oriented Dynamic Learning Environment used by schools and other educational organizations.
Yes, Moodle is an open-source LMS platform, hence free to use by small to large educational institutes or organizations. It is distributed under GNU General Public License,
Yes, when it comes to LMS platforms, Google Classroom is not a full-fledged LMS, therefore Moodle is better than Google Classroom because of its extensive features and flexible interface.
Yes, if you want to host webpages then it is possible that ultimately works as a website for your organization.
No, only the Administrator, Course Creator, or Manager rights users can create courses on your installed Moodle platform.
Other Articles:
How to restart or reload NGINX on the Ubuntu 20.04 server
Set Up Nginx as a Reverse Proxy For Apache on Ubuntu 22.04
How to manually install Nginx on Ubuntu 20.04 LTS
NGINX vs. Apache: Comparision of web servers to host your website


Very nice article but don’t forget to configure cron: it’s not optional!
See the Moodle site