Do we really need an entire server or cloud to start with Kubernetes Cluster? The answer is ‘No‘ because it is possible to use Minikube to implement a Kubernetes cluster with just a single node on your local PC for creating and managing virtual machines. Here in this tutorial, we learn the steps to install MiniKube on Debian 11 Bullseye Desktop or Server.
What is MiniKube?
MiniKube is an open-source project available to use free of cost. It allows us to set up Kubernetes locally on our system with a single cluster node. It offers a command-line tool to easily start, stop, or delete nodes from the cluster. The software can run a simple Kubernetes cluster on the local host, hence online servers or the cloud are not required. Apart from the KVM, with Minikube, VirtualBox is used as a VM runtime by default, a cross-platform solution that can be used beyond Linux (e.g. on Windows or macOS) without any problems. However, overall Minikube provides quite a few features that are also available in standard Kubernetes, some role-based access control, a LoadBalancer ( minikube tunnel), dashboards, multi-clusters, and more. There is also a marketplace for add-ons, GPU support if you want to get involved in machine learning, and automatic error analysis.
What do we need to perform this Minikube tutorial?
• Debian 11 Server or Desktop (fresh is recommended)
• 2 CPUs or more, 2GB free RAM, and 20GB free disk space
• A user with sudo rights
• Virtualization Support enabled in the BIOS
• Working Internet connection
Steps to Install Minikube on Debian 11 Bullseye or 10 Buster
1. Perform a system update
Open your Desktop terminal or connect your Debian 11 Server using SSH and run the system update and upgrade command to make sure everything is up to date.
sudo apt update -y
sudo apt upgrade -y
Also, install a few other tools we will require while performing this tutorial:
sudo apt install curl wget apt-transport-https -y
2. Setup KVM or VirtualBox
Although VirtualBox is an original driver for MiniKube, not the fastest one but good to use in Windows. Therefore, on Linux, KVM (Kernel-based Virtual Machine) is preferred to use as a driver. Hence, here we go for the same. To install KVM for creating virtual machines run the following commands:
Check Virtualization support:
egrep -q 'vmx|svm' /proc/cpuinfo && echo yes || echo no
Note: If the output is ‘YES“, then follow further otherwise restart your PC and enable it in BIOS.
sudo apt install qemu-kvm libvirt-clients libvirt-daemon-system bridge-utils virtinst libvirt-daemon
Add your user to libvert group
sudo adduser -a $USER libvirt
sudo adduser -a $USER libvirt-qemu
Reload Group:
newgrp libvirt
newgrp libvirt-qemu
Check our other tutorial for more details on Installing and using QEMU KVM in Debian 11 Bullseye
3. Download MiniKube
Next, we need to download the MiniKube binary available to download for Linux. We can get it using the command line tool cURL.
curl -LO https://storage.googleapis.com/minikube/releases/latest/minikube-linux-amd64
4. Install and Start MiniKube on Debian 11 or 10
Once we have the latest stable binary on our system, install it using the given command:
sudo install minikube-linux-amd64 /usr/local/bin/minikube
To check the version run:
minikube version
5. Install the Kubernetes command-line tool
To manage cluster resources, deploy applications, and inspect logs of Kubernetes clusters, we can use its command-line tool called kubectl. Here we will install that using the few commands given below.
curl -LO "https://dl.k8s.io/release/$(curl -L -s https://dl.k8s.io/release/stable.txt)/bin/linux/amd64/kubectl"
chmod +x ./kubectl
sudo mv kubectl /usr/local/bin/
To check the kubectl version, run:
kubectl version -o yaml
6. Deploy MiniKube with KVM Driver on Debian 11
We can use multiple drivers to deploy Minikube, however, for good performance here we are going for the KVM that we installed at the beginning of this article.
minikube start --vm-driver kvm2
However, even if we do not mention a particular driver in the above command, the system will automatically select and use the KVM. However, if we have VirtualBox and Docker installed, it is good to mention which driver you actually want to use for running Minikube. For more details on this see the Driver Documentation.
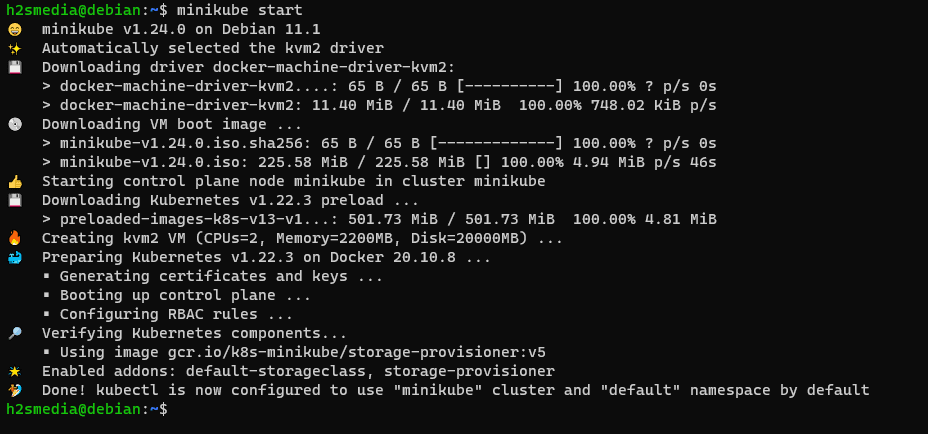
Well, once the installation is completed, we can check it using the given commands for more information.
• For status :
minikube status
• For accessing the Minikube command line via ssh:
You can use it to create Docker containers, easily.
minikube ssh
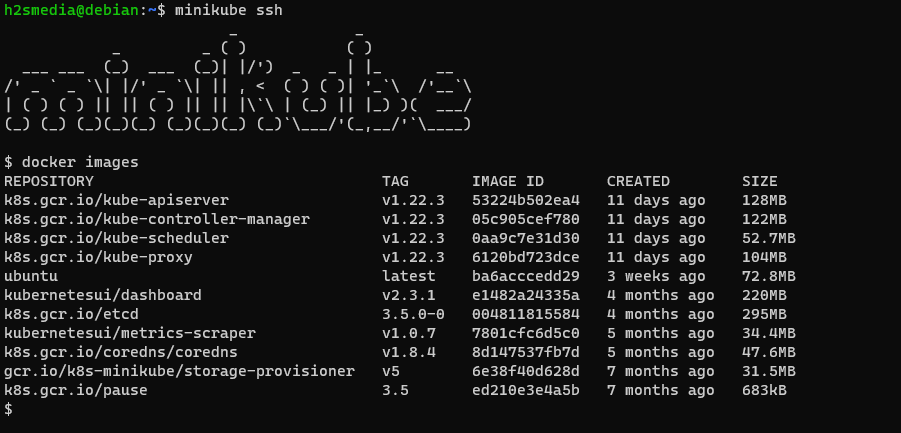
• To know what the Minikube Add-ons are currently active or enabled, use:
minikube addons list

• To check Cluster info
kubectl cluster-info
• To see what are the nodes currently active:
kubectl get nodes
• For the default configuration view of the cluster
kubectl config view
• To stop and delete the Minikube cluster:
minikube stop
minikube delete
7. Run Minikube Dashbaord
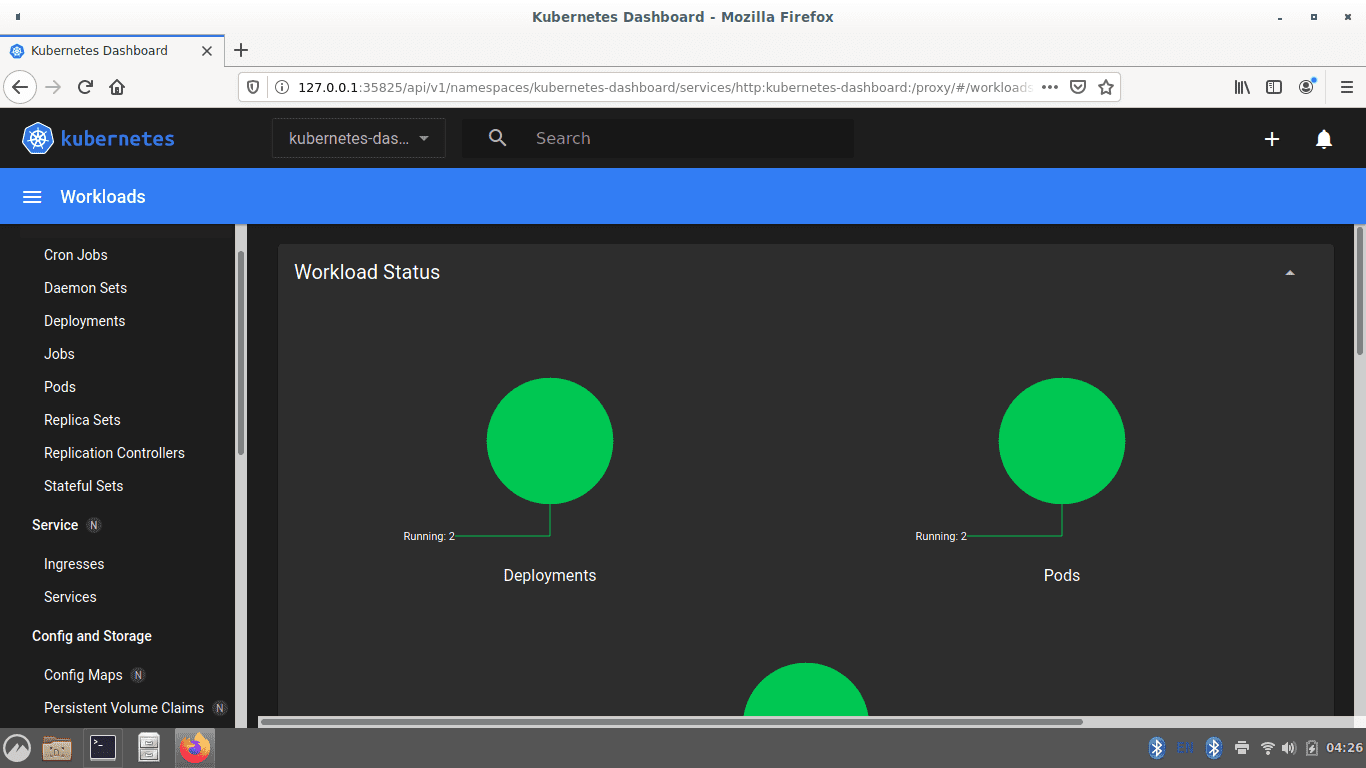
Minikube comes with an add-on called Dashboard which automatically gets enabled by running the given command in this step. Hence we can start it to access the web-based Kubernetes user interface for deploying container applications & managing the cluster, get an overview of resources, and more…
minikube dashboard
On your local system where you have installed this Kubernetes implementation, the browser will open to automatically give you the Dashboard web interface.
8. Access Kubernetes Dashboard externally or remotely (optional)
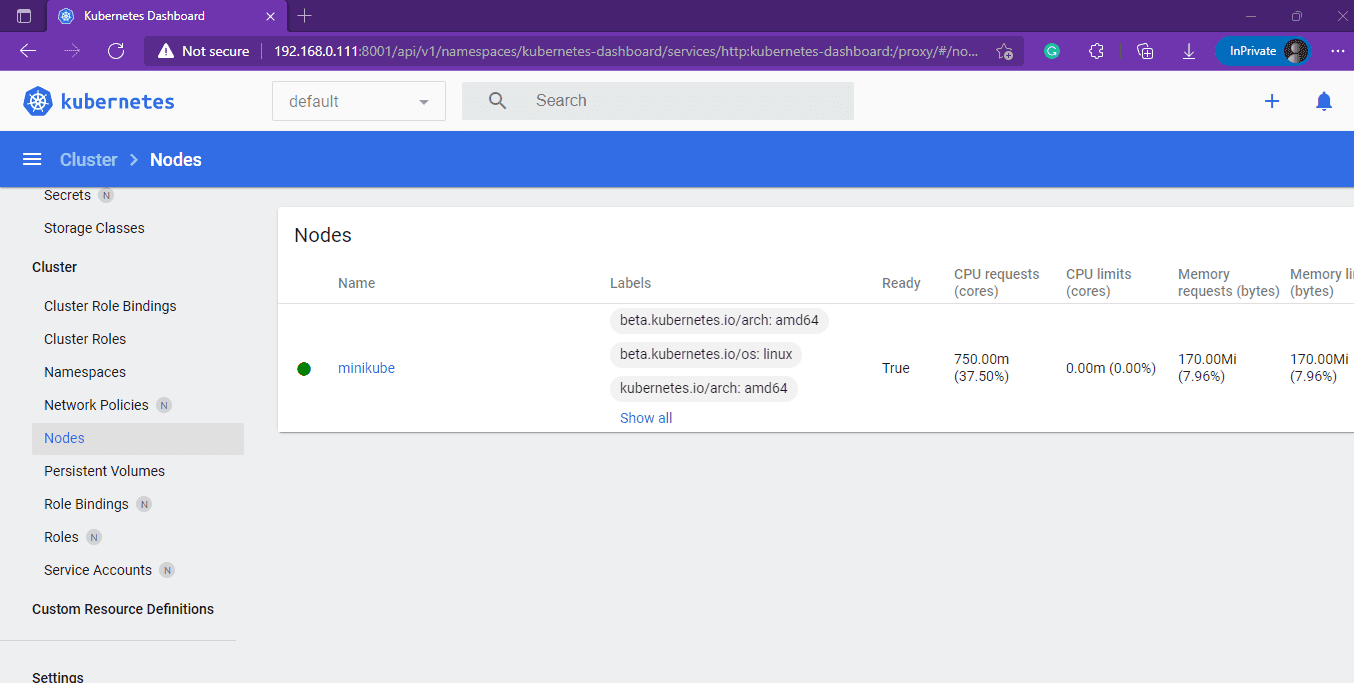
If you are using Minikube on your local Debian 11 Server running with only a command-line interface and want to access the MiniKube Dashboard, remotely on some other computer available in the same network of your Server. Then instead of using the above command, you can use the kubectl proxy to open local 8001 for accessing the Web interface of Kubernetes.
kubectl proxy --address='0.0.0.0' --disable-filter=true
Note: To restrict the web interface access to some particular IP address, replace 0.0.0.0 in the above command with that. Otherwise, any system in the network will be able to access the Dashboard.
Once you have executed the above command, open any browser that can access the ip-address of the Server running Minikube and point it to:
http://server-ip-address:8001/api/v1/namespaces/kubernetes-dashboard/services/http:kubernetes-dashboard:/proxy/
To learn more about Kubernetes and MiniKube refer to the official documentation.
