Memcached is a high-performance open-source cache server for easy storage and retrieval of data from the main memory. Memcached is often used in connection with web applications to improve their performance by proving object cache. In the standard configuration, Memcached listens on port 11211 / TCP and (up to and including version 1.5.5) additionally on port 11211 / UDP.
Here we will learn the steps to install and configure the Memcached server on CentOS 8.
MemCached installation on CentOS 8 Linux
If you are running WordPress or any other website on Cpanel with CentOS then, then installing Memcache on your server will improve the overall performance of the site.
Requirements:
- A root user access.
- CentOS 6/7/8 server
- working internet connection.
1. Install Memcached server
On CentOS 8 or in the previous versions CentOS 7 & 6 we don’t need to install any third-party repository. It is available on the official one. Therefore just access your server terminal and run a command:
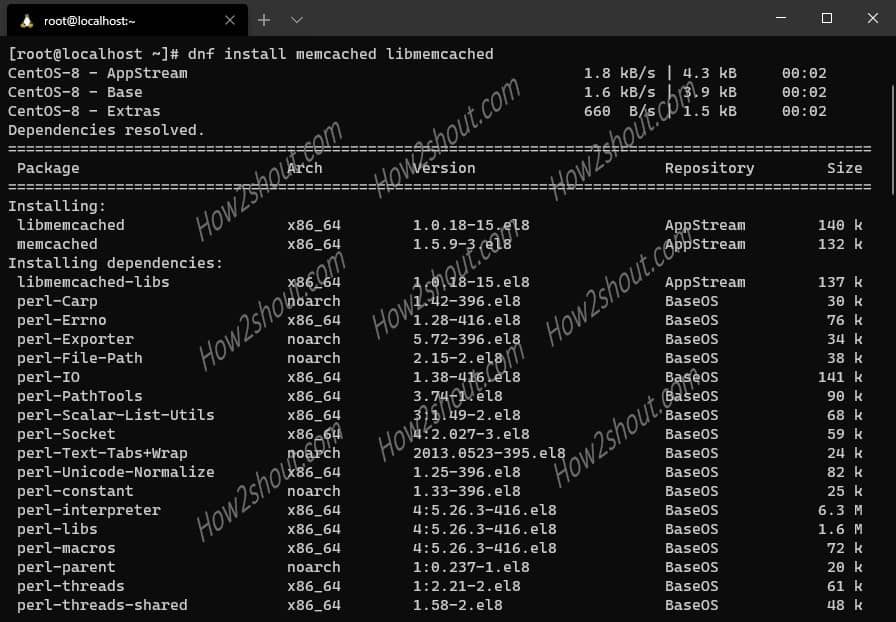
yum install memcached libmemcached
In the above command, we are installing two packages one is a cache system and the other is a library to have a set of tools in order to manage the installed Memcached server.
2. Edit configuration file
After the successful installation, let’s edit the configuration to increase or decrease the cache accumulation size. By default, it will be 64MB and depending upon your requirements such as 256MB, 512 MB, or 1GB.
vi /etc/sysconfig/memcached
You will find the following lines or add them.
PORT="11211"
USER="memcached"
MAXCONN="1024"
CACHESIZE="64"
OPTIONS="-l 127.0.0.1,::1"
To edit the file press the “INSERT ” key on the keyboard.
port= It is the default port number that will use by the Memcache.
maxconn= Maximum connection for this cache system
cache Size= Amount to of cache generated before reaching to the threshold
Options= To declare extra parameters for the cache, which we will use in the next step.
3. Bind Memcache to specific IPaddress (optional)
Well, If Memcache is not secure properly then it could become a host to initiate the DDOS attacks. That’s is the reason why Digital Ocean has permanently block the port number 112211 on their servers.
Therefore, I am assuming that you are running Memcache on the server in the same server or network in which other applications such as web server is.
Note: Now, the server default bind to the localhost, in case not then do it manually.
For example, on Cpanel or VPS hosting where a single server used to host both Memcache and Apache server, then simply add the following line to bind the server to listen to localhost only as OPTIONS value:
-l 127.0.0.1
thus it will be like this:
OPTIONS="-l 127.0.0.1"
(optional) In case you want to access the cache system within the same private network then bind to a range of the local IP address. For example, assume cache server address is 10.0.0.14 and then clients on 10.0.0.x. would only be able to connect with it.
Furthermore, to bind it to only local loopback interface and reject all other remote connections, also add:
-U 0
Hence, the complete syntax will be like this:
OPTIONS="-l 127.0.0.1 -U 0"
To save the configuration file press ESC key and the type :wq and hot the Enter button.
4. Enable and Start service
The configuration is done, now let’s enable the Memcache server at bootable and start it. So, that it could start caching things.
systemctl enable memcached
systemctl start memcached
For previous versions such as CentOS 6/5, use the service command:
service memcached enable
service memcached start
In case you want to stop:
service memcached stop
To restart/start/stop you can also use:
etc/init.d/memcached restart
5. Check memcached running status
To confirm that the service is running without any error check the status of this cache system.
sudo systemctl status memcached
or
service memcached status
6. Confirm Cache is listening to local port
Here we are using a tool to check the localhost is listing to 11211 properly, this will result in all configuration values:
memcached-tool 127.0.0.1:11211 stats
7. Allow the cache service through Firewall
By default, the service port is not whitelisted in the firewall to allow us to connect outside client request, thus we need to allow it.
On CentOS 8 FirewallD is the default firewall service:
sudo firewall-cmd –zone=memcached –add-port=11211/tcp –permanent
For the older operating system using only IP-tables, use this one:
iptables -A INPUT -i eth0 -p tcp --dport 11211-j ACCEPT
8. Install PHP extension Memcache
So, our cache server is up and running but to use it with PHP, so that it can cache the database of PHP applications such as WordPress, Joomla, etc. We need to enable an extension for it.
dnf install php php-pecl-memcache
The above command will install the module, however, in case you get an error:
No match for argument: php-pecl-memcache
Error: Unable to find a match
That means the package is not available in the official repository, therefore instead of adding another repo to have the tools lets build it using the PECL.
dnf install zlib zlib-devel make
dnf install php php-devel php-pear
Finally, run:
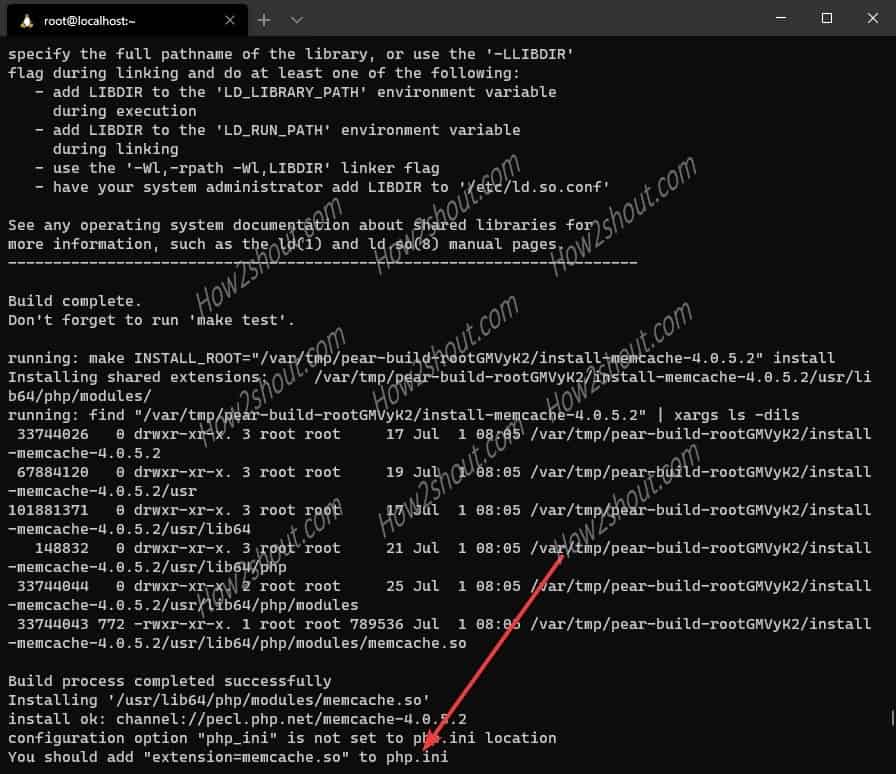
pecl install memcache
9. Enable the extension=memcache.so
The PHP module for the cache system is now on our server, its time to add it to the php.ini file. Instead of opening and editing, here is a shortcut. Use this single command to add the extension as an additional .ini file in the php.d extension directory.
echo "extension=memcache.so" >> /etc/php.d/memcache.ini
Restart Apache
#On CentOS 8 o 7
systemctl restart httpd
#If you are on CentOS 6/5
service httpd restart
10. Check whether the support is enabled or not
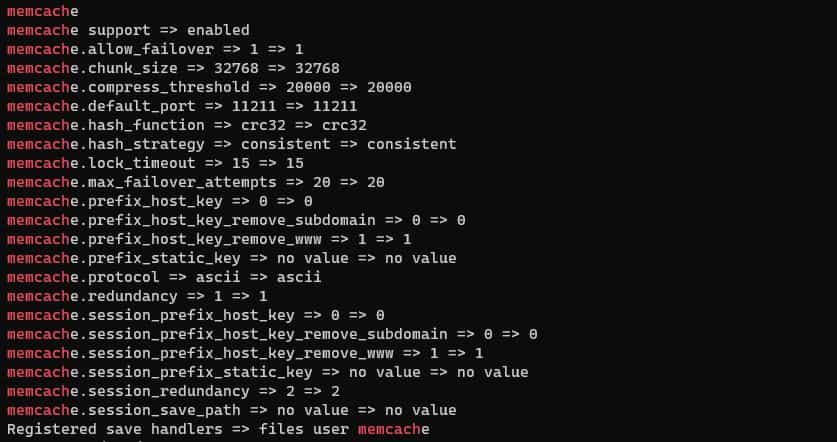
To confirm the support of the extension of PHP run the following command:
php -i | grep memcach
OutPut:
