Follow the simple steps to create your own cloud-based document management system by installing Logicaldoc on Ubuntu 22.04 or 20.04 server/desktop.
LogicalDOC is an enterprise-level open-source document management system (DMS) to cater to organizations’ and even individuals’ needs for managing electronic documents and content. The community version of the software can be deployed easily on self-hosted servers, which gives users not only full control of documents but also a way to manage and organize them effectively. Using LogicalDoc, users will have a centralized platform for document storage, retrieval, version control, and collaboration.
Here are some key features and capabilities of LogicalDOC include:
- Document Storage and Organization: It supports a wide range of document types, including text documents, images, spreadsheets, and more.
- Document Version Control: Review and revert to previous versions of documents, if necessary.
- Full-Text Search: Find documents quickly based on keywords, metadata, and content within documents.
- Access Control: Define user roles and access permissions
- Collaboration: Sharing documents, comments, and notifications.
- Workflow Management: Provides tools for creating and managing document workflows.
- Integration with other software and systems
- Includes security measures to protect against unauthorized access, data breaches, and data loss.
- Web-Based Interface
- Open Source
Is LogicalDOC free?
Yes, LogicalDOC is available in both a free and open-source version, as well as a commercial version with additional features and support. The free and open-source version is often referred to as “LogicalDOC Community Edition” (LogicalDOC CE). On the other hand, the commercial version, known as “LogicalDOC Enterprise Edition” or simply “LogicalDOC EE,” comes with more advanced features and professional support.
Requirements
To install LogicalDoc on the Ubuntu server we need a at least 2.4 GHz 64-bit dual-core processor. 8GB RAM and 2GB of free storage. Apart from this hardware requirement on the Ubuntu server, the user must have sudo rights and Java 11.
Step by Step Installation of LogicalDoc on Ubuntu Linux
Before following the given tutorial, ensure that your server can fulfill the hardware requirements to set up this open-source document management system on your machine.
Step 1: Start with Ubuntu Update
We are using Ubuntu Linux to install Logicaldoc, so if you have not updated it for a while, use the given command to perform it. This will install the latest updates and also refresh the APT package’s index cache.
sudo apt update && sudo apt upgrade -yStep 2: Installing Java JDK 11
One of the requirements to set up LogicalDoc is Java 11 which can be easily installed on Ubuntu using its default system repositories. Here we are going for OpenJDK, so let’s use the given command to get it on your system.
sudo apt install openjdk-11-jdkStep 3: MariaDB Database Setup
Both MySQL and MariaDB database servers are supported by the LogicalDoc, you can install any of them. However, here we are using MariaDB, a widely use fork of Oracle MySQL. To install it on Ubuntu Linux use the given command:
sudo apt install mariadb-serverSecure your Database installation:
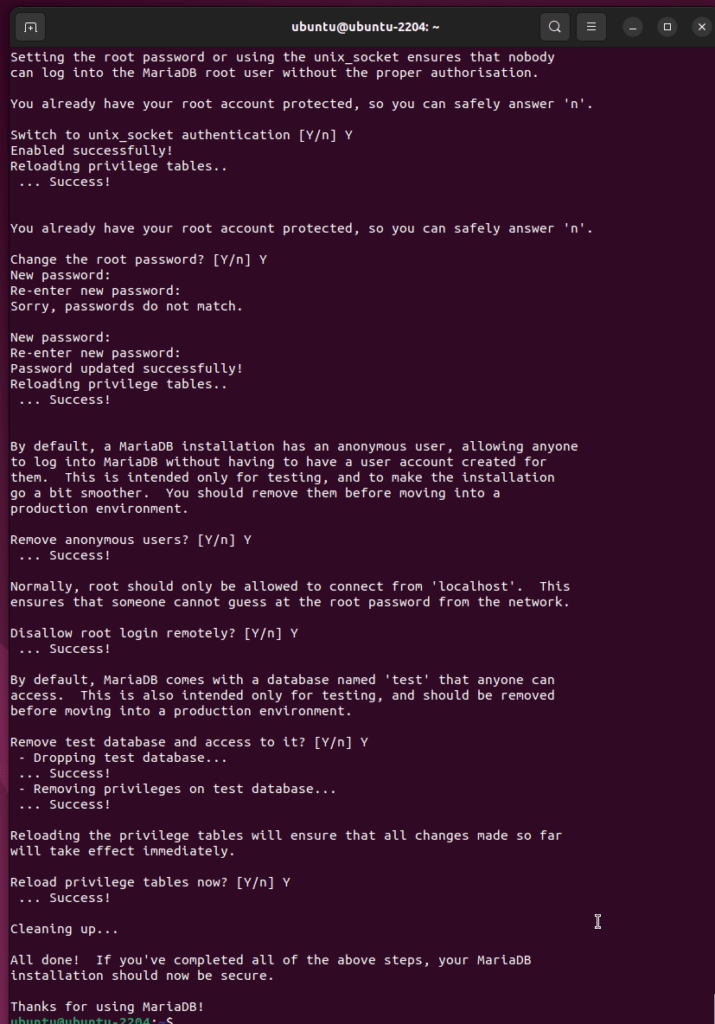
Once the installation of MariaDB is completed, use the given command to set a root password and configure other settings to make it secure…
sudo mysql_secure_installationYou will see a text-based wizard asking you to configure various things such as a root password for the database, removing test users, and more. You can see the screenshot to get an idea…
Step 4: Prepare the Database server to use for LogicalDoc.
There are a few settings we need to perform to properly use the Database for our document management system.
Edit /etc/my.cnf configuration file
sudo nano /etc/mysql/my.cnfCopy and paste the following lines at the end of the file.
[mysql]
default-character-set = utf8

[mysqld]
character-set-server = utf8
collation-server = utf8_bin
default-storage-engine = INNODB
Save the file by pressing Ctrl+X, typing Y, and then hitting the Enter key.
Step 5: Creating the database
Let’s create a Database and user to use later for storing the data generated by the LogicalDoc.
mysql -u root -pEnter your MySQL root password to log in. After that use the given commands to create a Database and its user.
To create DB:
CREATE DATABASE logicaldoc;Create a DB user secure by a password and assign all rights of above created Database to it.
Note: Replace “your_password” with something strong.
GRANT ALL ON logicaldoc.* TO 'logicaldocuser'@'localhost' IDENTIFIED BY 'your_password';FLUSH PRIVILEGES;EXIT;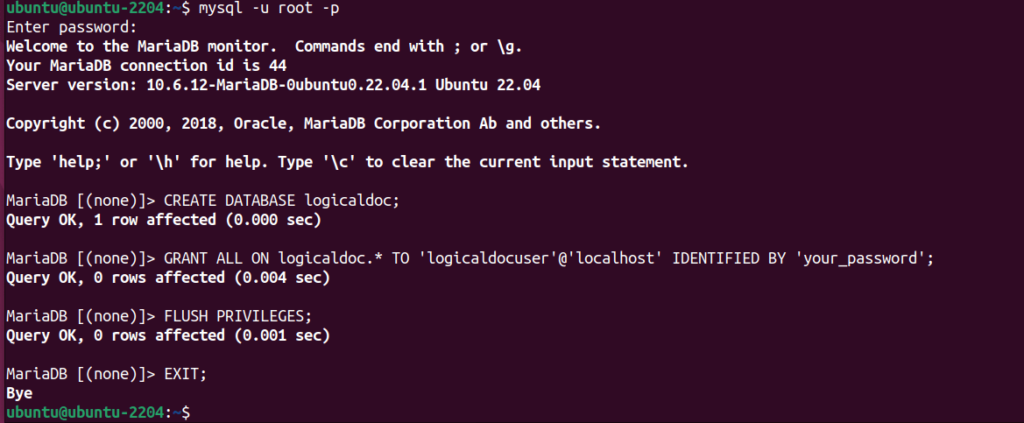
Step 6: Install third-party apps for LogicalDoc
This is a necessary step right away but to use the full features of LogicalDoc, it is recommended to install the required apps. They are LibreOffice, Imagick, GhostScript, Tesseract, and Xpdf.
sudo apt install libreoffice imagemagick ghostscript tesseract-ocr xpdfStep 7: Installing LogicalDoc on Ubuntu 22.04 or 20.04
LogicalDoc is a third-party application that is not available through the default system repository of Ubuntu. So, we have to visit the official website of this open-source document management software to download it manually.
Now, there are two editions of LogicalDoc one is Enterprise which will not work without purchasing an Activation code whereas the second one is Community Editon free to use by anyone.
The steps to install both editions will be the same. The difference is which edition you want to download. Link for Enterprise and Community Editions. Select the one as per your requirements.
Here we are using the Enterprise Editon:
Alternatively, you can download the Enterprise edition using the given command. Just change the version number of the software in the command with the current available one. For example, while writing this article the latest release was 8.8.4.
wget "https://www.logicaldoc.it/download/installer-linux-8-8-4/download" -O logicaldoc-installer.zipExtract the Downloaded Zip File:
Now, as we have the zipped file needed to install LogicalDoc, extract it to get the script.
unzip logicaldoc-installer.zip -d logicaldocSwitch to the extracted directory:
cd logicaldocSimilarly, you can download the Community edition on your Ubuntu using a browser. Extract it file manually and switch to the extracted folder.
Start the Installation wizard
If you are using a GUI Ubuntu server or desktop to install LogicalDoc then an interactive installation wizard will open using the given command.
sudo java -jar logicaldoc-installer.jar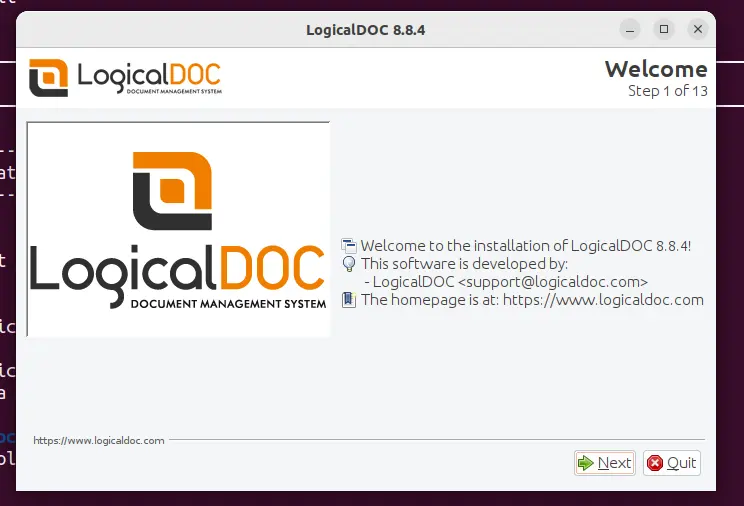
or
Whereas, those who don’t have GUI and using a command line system can use the given command instead of the above one to start the installation wizard in text-based format.
sudo java -jar logicaldoc-installer.jar -console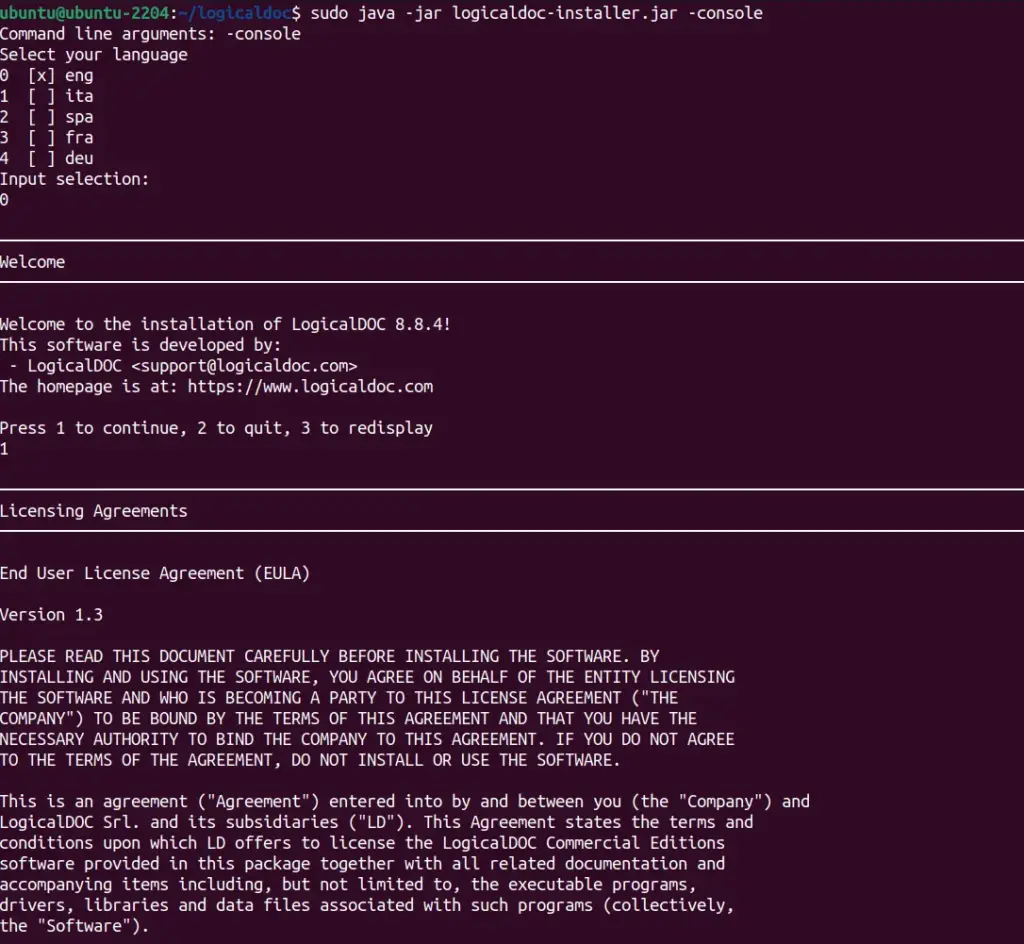
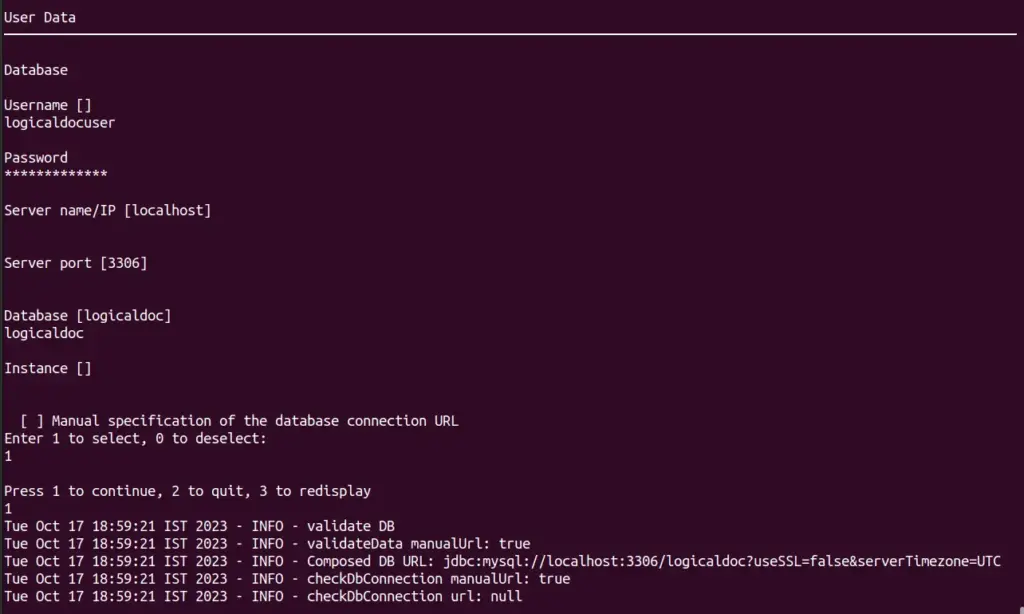
Start following the wizard and complete the installation process, when it asks to add the Database details, enter the one you have created.
Step 8: Start the LogicalDOC service
Although with the completion of installation setup, the service of LogicalDoc will get started automatically, however, it will not system boot or restart automatically. For that,
Those who are using Enterprise Editon:
sudo cp /LogicalDOC/bin/logicaldoc-all /etc/init.dsudo chmod 755 /etc/init.d/logicaldoc-allsudo update-rc.d logicaldoc-all defaultsStart the service
sudo systemctl start logicaldoc-allCheck its status:
sudo systemctl status logicaldoc-all --no-page -lThose who are using Community Editon:
sudo cp /LogicalDOC-Community/bin/logicaldoc /etc/init.dsudo chmod 755 /etc/init.d/logicaldocsudo update-rc.d logicaldoc defaultsStart the service
sudo systemctl start logicaldoc-allCheck its status:
sudo systemctl status logicaldoc-all --no-page -lStep 9: Access the LogicalDOC Web Interface
Once the installation is completed, open a web browser that can access the IP address of the server where you have installed the LogicalDoc. You can use the domain if you have configured it.
http://localhost:8080/
or
http://server-ip:8080
If you want to access the LogicalDoc Web interface on some remote machine, open port number 8080 in the firewall.
For Ubuntu system firewall use: sudo ufw allow 8080, whereas the cloud server user needs to open the port 8080 in their service provider’s given firewall.
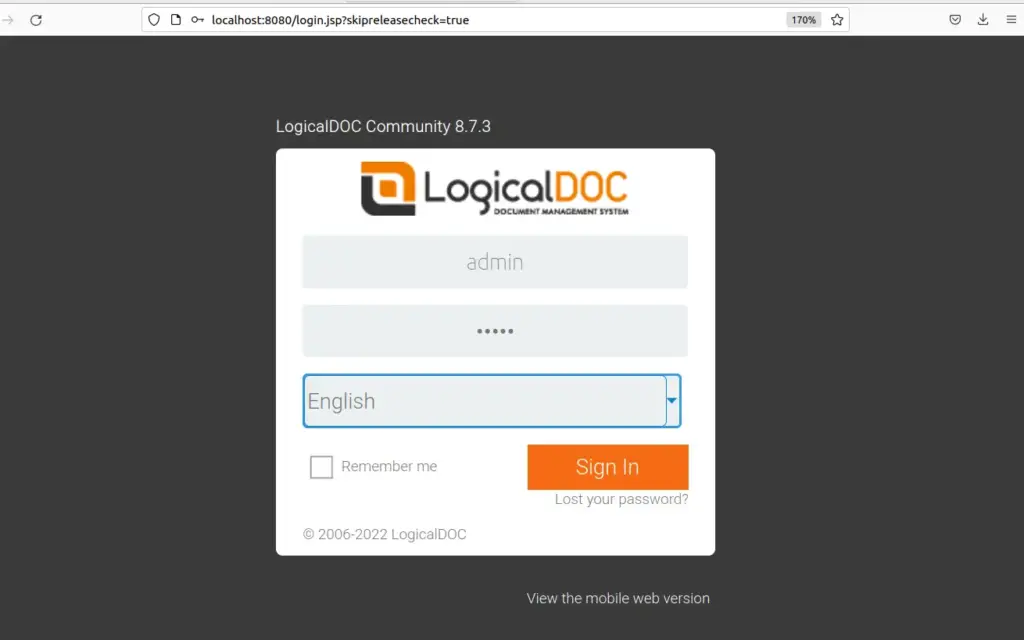
Login:
You will see the Login Page, use the default username –admin and password – admin.
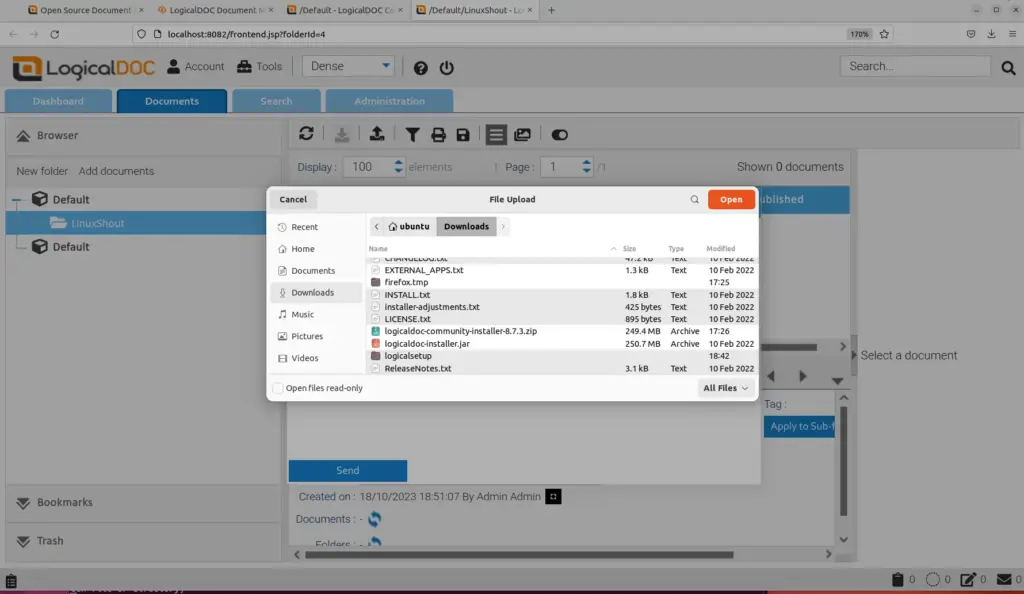
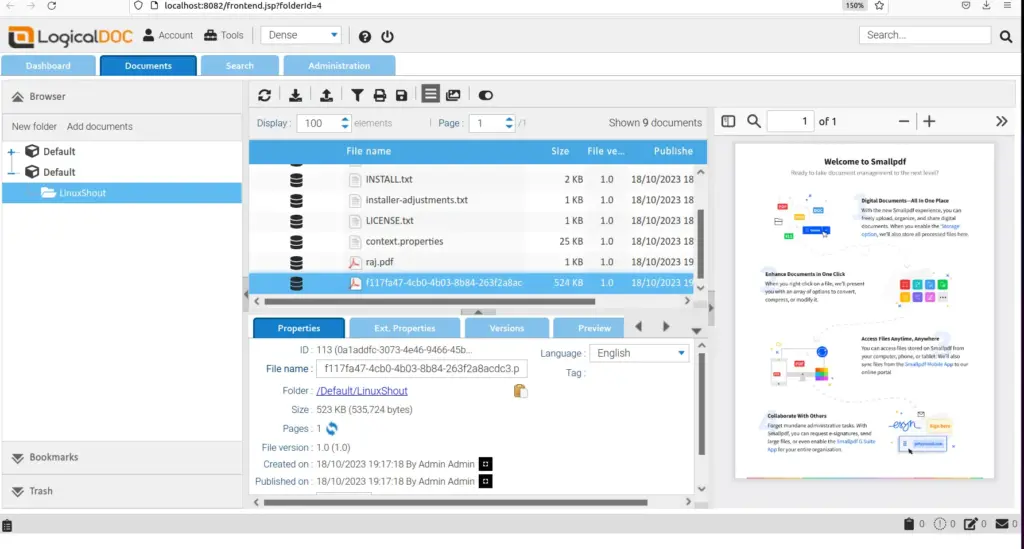
Once you log in, start uploading the files on your server to manage them remotely or locally using the web interface of the LogicalDoc Document Management system.
Uninstallation
Maybe in the future you want to remove the LogicalDoc from your system, in that case you can use the given commands:
First shutdown of its service:
sudo systemctl stop logicaldocor
sudo systemctl stop logicaldoc-all
Now delete the service file
sudo rm /etc/init.d/logicaldocor
sudo rm /etc/init.d/logicaldoc-allDelete the directory:
sudo rm -r /LogicalDOCor
sudo sudo rm -r /LogicalDOC-Community/So, In this tutorial, we have successfully installed LogicalDOC on your Ubuntu server. This document management software is often used by businesses, government agencies, educational institutions, and non-profit organizations to improve document management, compliance, and overall productivity. You can now start using it to manage your documents.