JUnit is not only simple but an effective way to write and execute unit tests for your Java applications hence a popular testing framework available in the open source category to use. The latest version of JUnit is 5 released with several improvements. So, if you are using Ubuntu Linux and want to install JUnit for testing your code, here is the guide.
In this tutorial, learn to install JUnit 5 on Ubuntu Linux.
1. Access the Command Terminal
First of all, access your command terminal which can be done using a keyboard shortcut i.e. Ctrl+Alt+T. After that run the system update command, given below. It is important to make sure your system is up to date before installing any new software.
sudo apt update && sudo apt upgrade2. Install Java Development Kit (JDK)
Java is a prerequisite for installing and using JUnit. So, JUnit 5 requires Java 8 (or higher) at runtime. However, you can still test code that has been compiled with previous versions of the JDK.
So. before installing JUnit 5, you need to have Java on your Ubuntu system
If you already have Java installed then can use the given command to check the version:
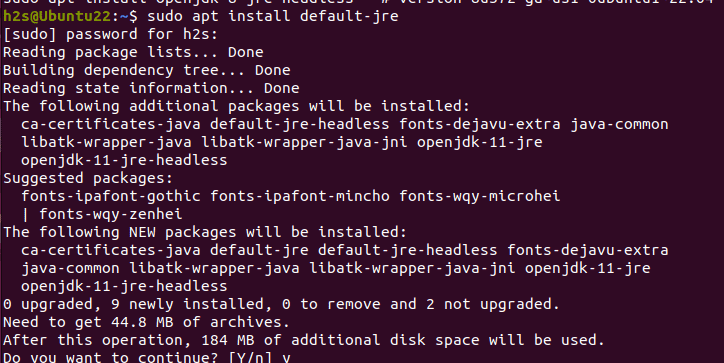
java -versionIf Java is not installed, you can get it using the following command:
sudo apt install default-jre
Apache Maven (optional): While not strictly required, it can simplify the management of Java projects, including the integration of testing frameworks like JUnit. If you prefer using Maven, you can install it using the following command:
sudo apt install maven3. Installing JUnit 5 on Ubuntu 22.04
With the prerequisites in place, you are ready to proceed with the JUnit 5 installation. We don’t need to download any file externally because the package for setting it up is available through the Ubuntu 22.04 repository.
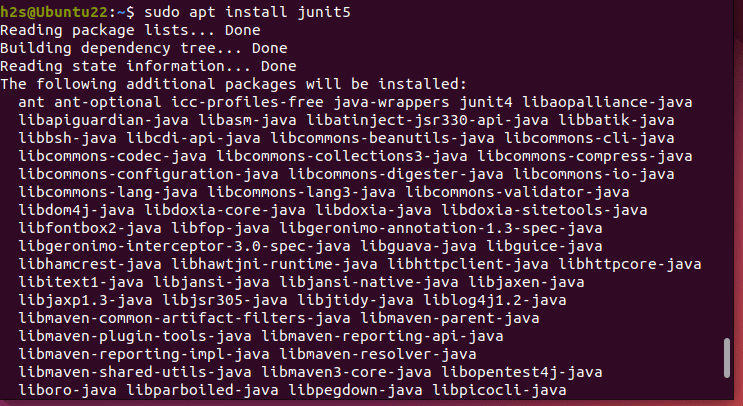
sudo apt install junit5To check if it is on our system, we can use:
dpkg -L junit5


