CentOS 8 Linux has been around to install for quite some time now, however, there is no Minimal ISO of CentOS 8 server to download but still, we can install that. This Red Hat Enterprise Linux 8 based open-source operating system ISO comes in the size of around 7 GB and that has inbuilt minimal server installation option.
Install CentOS 8 Minimal server from its ISO
This creates a lot of confusion because when it comes to minimal ISO image, we generally assume that it would be around 700 MB or at least under 1 GB in size. But here the picture is completely different. So, let’s see how to install CentOS 8 minimal server on Desktop/Server/VirtualBox step by step with screenshot and ISO download link.
Minimum System Requirements
- 2 GB RAM.
- 2 GHz or Higher Processor.
- 20 GB Hard Disk.
- 64-bit x86 System.
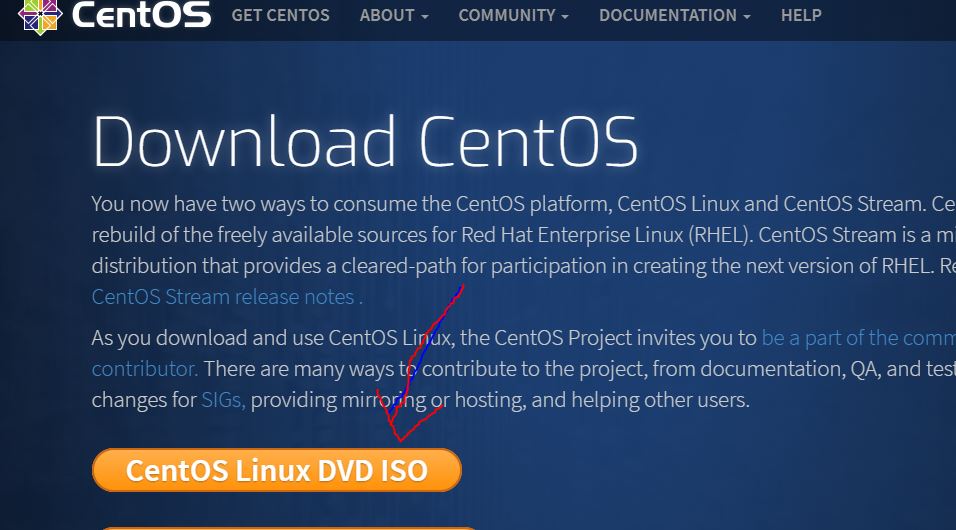
Step 1: Download CentOS Linux 8 ISO image
The first thing which we need to install this server Linux operating system is its ISO image file. Thus, go to the official website and click on the “CentOS Linux DVD ISO” link. The size of the file will be 7 GB thus make sure you have a good internet connection.
Step 2: Create a bootable USB
Once you get the ISO file of the CentOS 8, the next thing is where do you want to install it? If on PC then simply create a bootable USB drive using software like Rufus. For Virtualbox, you can directly use the ISO file. Here are the tutorials on the same: Create CentOS 8 bootable USB or how to install it on VirtualBox.
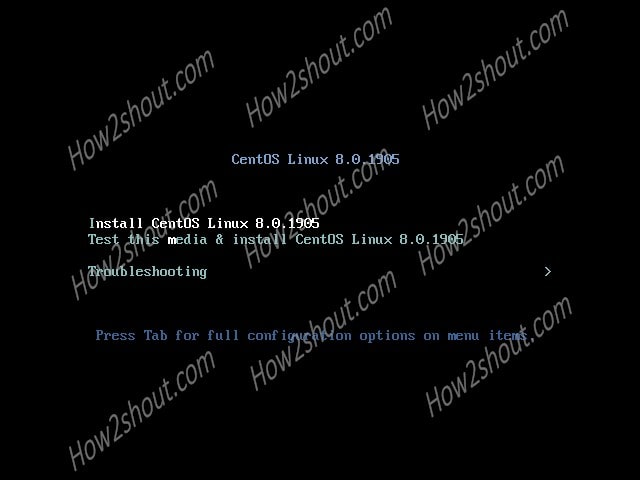
Step 3: Boot system with a USB drive
Once you get the bootable drive, insert it in your system and boot it with that. Select the first option” Install CentOS Linux 8.0.*” and hit the Enter button.
Step 4: Install CentOS 8 Minimal Server
Now, you will see an interactive screen which is an installation wizard of this Linux OS. Now, follow the further below steps:
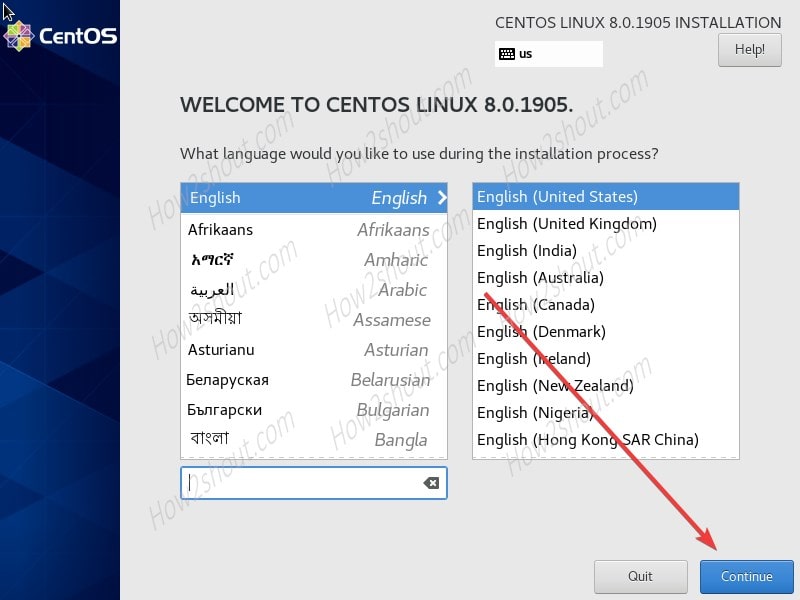
1. Select Language
The first screen will ask you to set up language for the installation process, by default it will be English, you can select the one you are comfortable with. Then click on the Continue button.
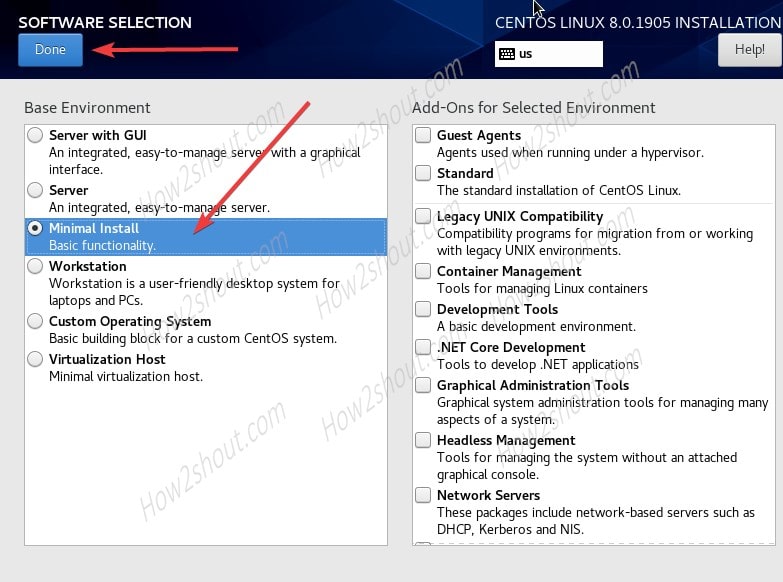
2. Select Minimal Server Installation
Now, this is the important step that will decide whether you will get the Minimal CentOS 8 server to install or full-fledged Graphical user interface one. Thus, select the Software Selection option.
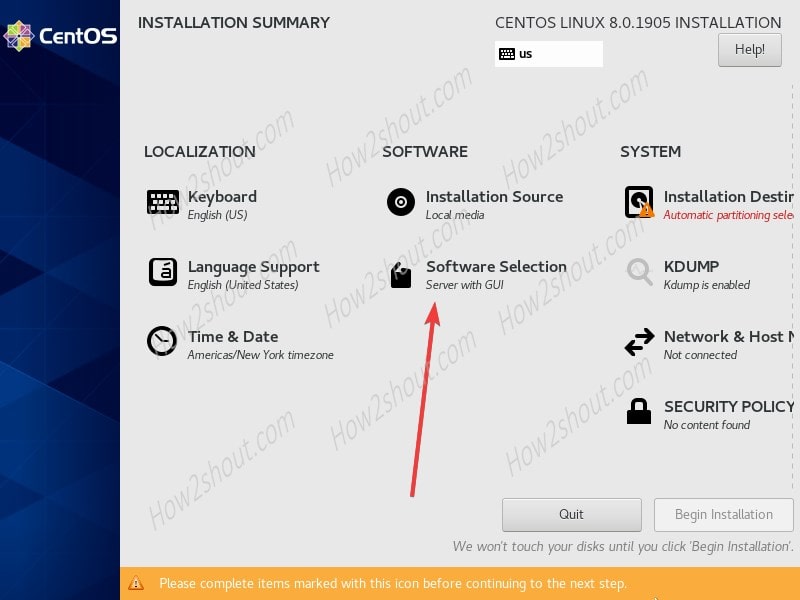
Now, select the Minimal Install option. This will set up a lightweight CentOS 8 server on your system or virtual machine. Also, if along with that you want it to set up some additional server environment such as Headless server management, Network/Developer tools and more, you can select that from the Add-on section. However, here we are not selecting any Add-on and simply just installing the Minimal server edition of this Linux distro.
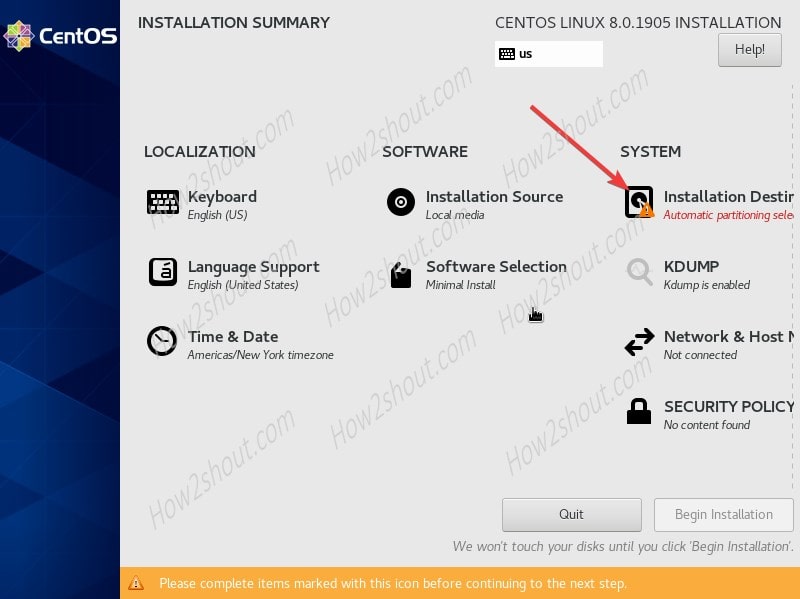
3. Installation Destination
Now, set the drive where you want to install the OS. For that click on the “Installation Destination” option.
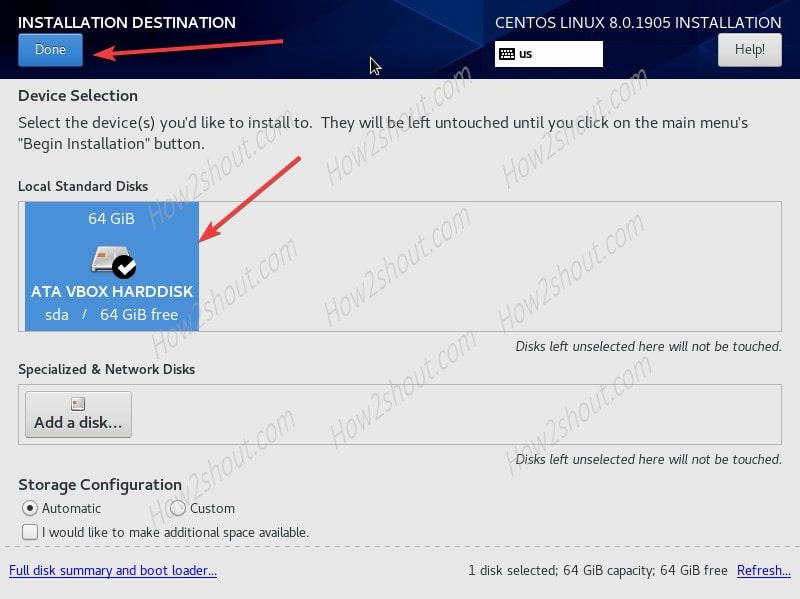
Select the Local standard Disks available on your screen and click on the Done button.
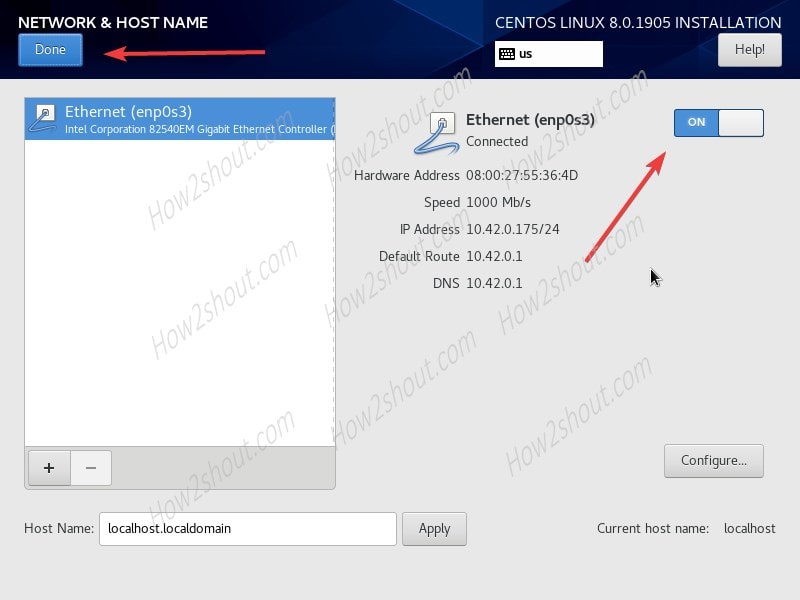
4. Network and Host Management
It is another important thing to configure otherwise after installation you have to manually do it from the command line interface of the server. And if you are not much sound in CLI then it would become a headache. Thus, select the option as shown in the below screenshot.
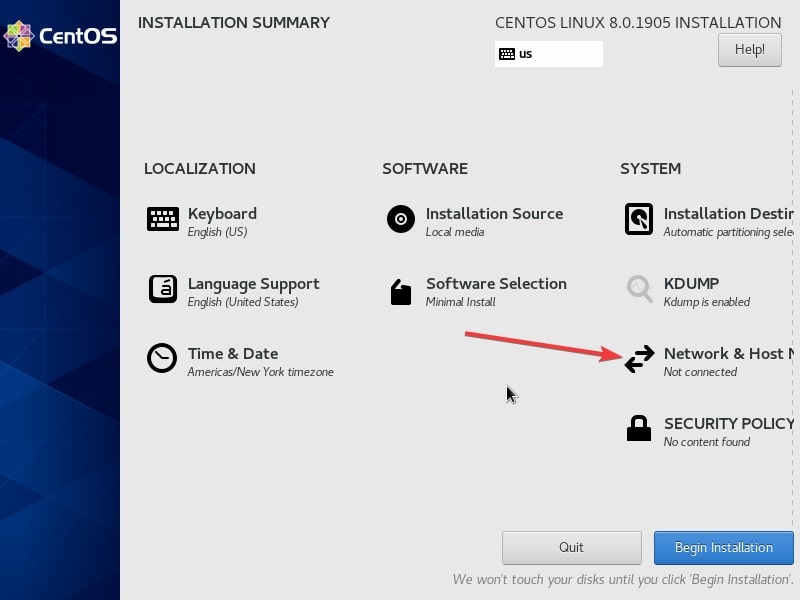
Once you in the Network management. Click on the toggle button given for available and connected network on your system. Finally, hit the Done button to get back to the main installation wizard screen.
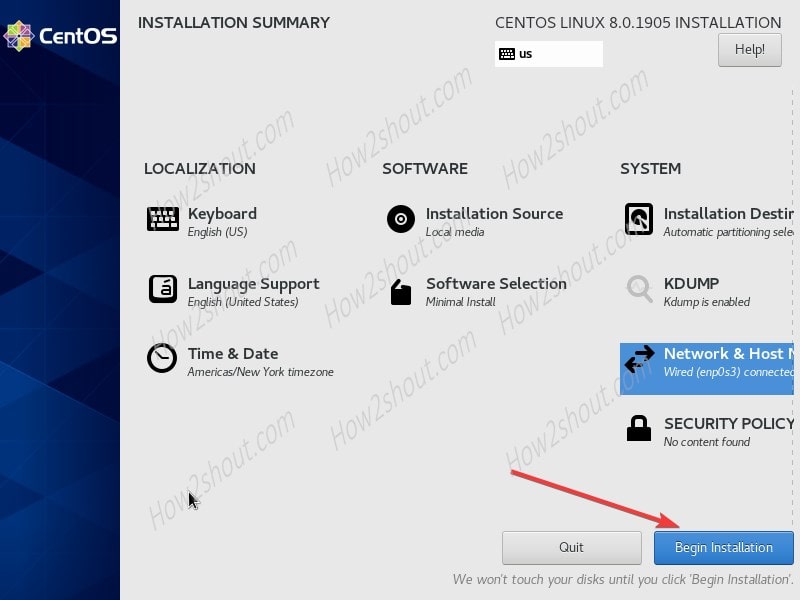
Finally, hit the Begin installation to start the process of installing Minimal CentOS on your system.
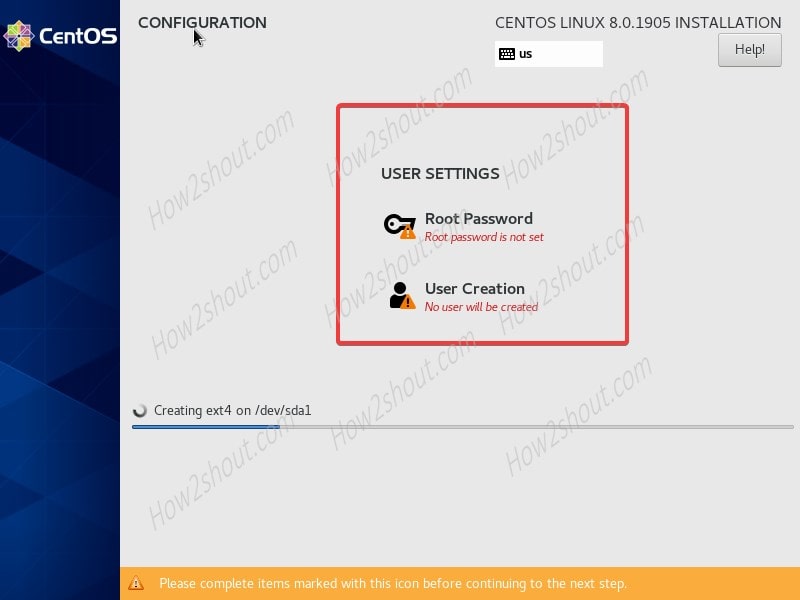
5. User Settings-Root and user password
While the installation process is going on, one thing you have to do is the setup of Root password and creating of standard CentOS user. Do it.
6. Reboot the system and login as root
When the setup of CentOS 8 is done on your system, eject the USB drive and click on the Reboot button.
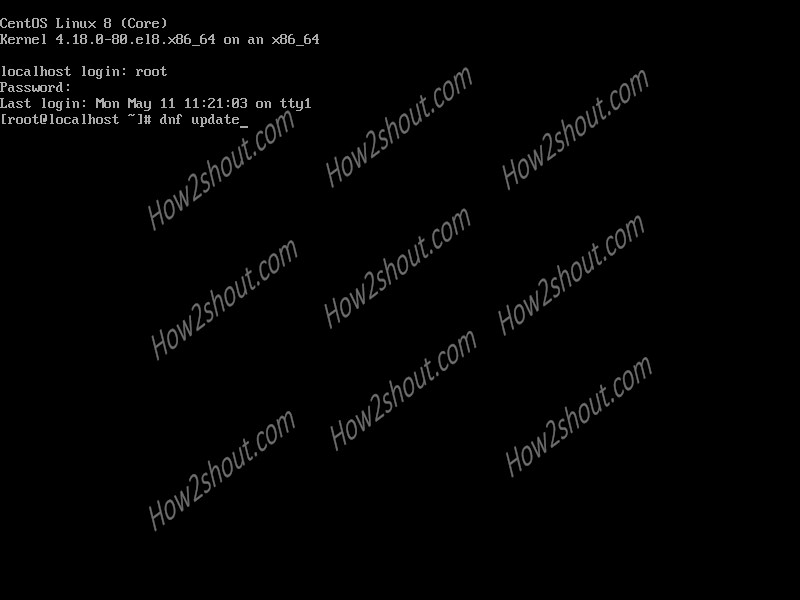
Next, you will see the login screen. Enter the username and password you set above to login.
To check network is working fine you can simply run the update command:
sudo dnf update
So, this was the quick tutorial on CentOS8 Minimal server installation, if you have any question comment section is all yours.
Other Articles:


