Do you want to install Clouds Windows 10 VM on Qemu + KVM with one single SNAP command on Ubuntu 20.04/18.04 Linux? Then see the steps given in this virtualization tutorial.
Generally to install Windows 10 on Ubuntu or any other Linux, what we do? Yes, you guess right. We use virtual platforms such as VirtualBox or Vmware for optimum performance. However, installing Virtualbox, creating a machine, then downloading Windows 10 ISO, etc. would be a humdrum work at least for Linux users. Because they have a tendency to install various software by running a few commands. Therefore, Daniel Llewelly, a developer, who has contributed its open-source project on GitHub as well as Snapcraft; published its Clouds Windows 10 VM application on Snap apps repository, from where we can install it with just one command.
Apart from Ubuntu, we can also install the Clouds Windows 10 VM on Arch Linux, CentOS, Debian, elementary OS, Fedora, KDE Neon; Kubuntu, Manjaro, Linux Mint, OpenSUSE and Red Hat Enterprise Linux with the snap.
Now, what is the Clouds Windows 10 VM?
Basically, it a complete package based on Qemu+KVM that fetches the Windows 10 official installation ISO image from Microsoft and installs the same as a Virtual machine. Hence, it eliminates here and there settings and helps users to quickly deploy a Windows 10 on Ubuntu and other Linux system supporting SNAP.
Install Windows 10 VM on Ubuntu Qemu-KVM
Requirements:
- A Ubuntu system: Here we are using Ubuntu 20.04 LTS, but one can use previous Ubuntu 19.10/19.04/18.10/18.04/16.04… as well.
- Access to non-root user with sudo rights.
- Virtualization should be enabled on the system
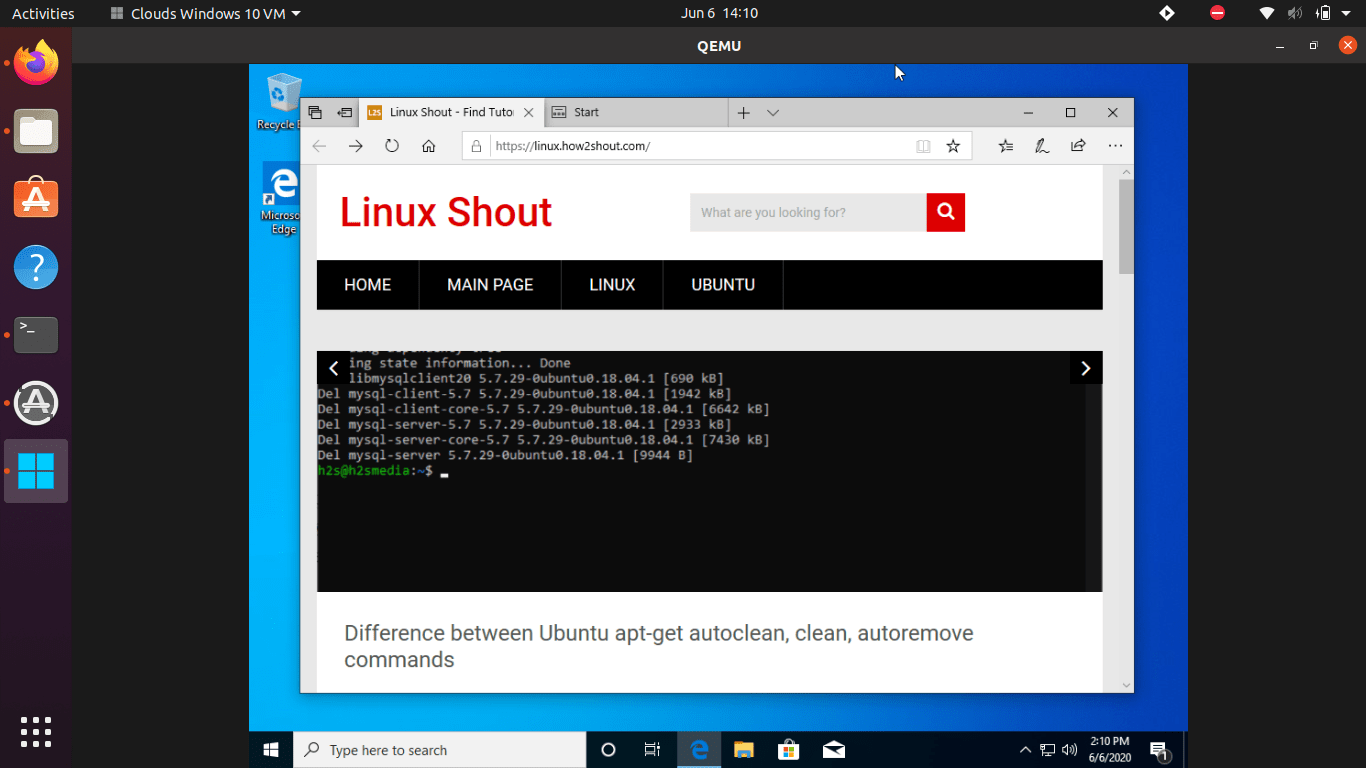
Step 1: Open Ubuntu command terminal
As we want to install Windows 10 VM through the command, thus we need to access the terminal for the same. You can run it either from the Applications or using the keys combination: CTRL+ALT+T.
Step 2: Install SNAP (optional)
The latest Ubuntu system such as 18.o4/19.04 or 20.04 LTS focal fossa, we don’t need to install the SNAP because it is already there out of the box. However on the older system, we need to, hence the command for the same is here:
sudo apt install snap
Step 3: Install Clouds Windows 10 VM (KVM) on Ubuntu 20.04
The below snap command will fetch the Windows installer image from the official source and also see the VM memory for it by default to 2GB. It uses qemu-virgil package to enable KVM. However, if you want to increase or decrease the RAM, I will show you later how to do it. You can see the app on the Snapcraft. However, for right now simply run the following command:
sudo snap install clouds
Wait for a few minutes and the program will be on your system.
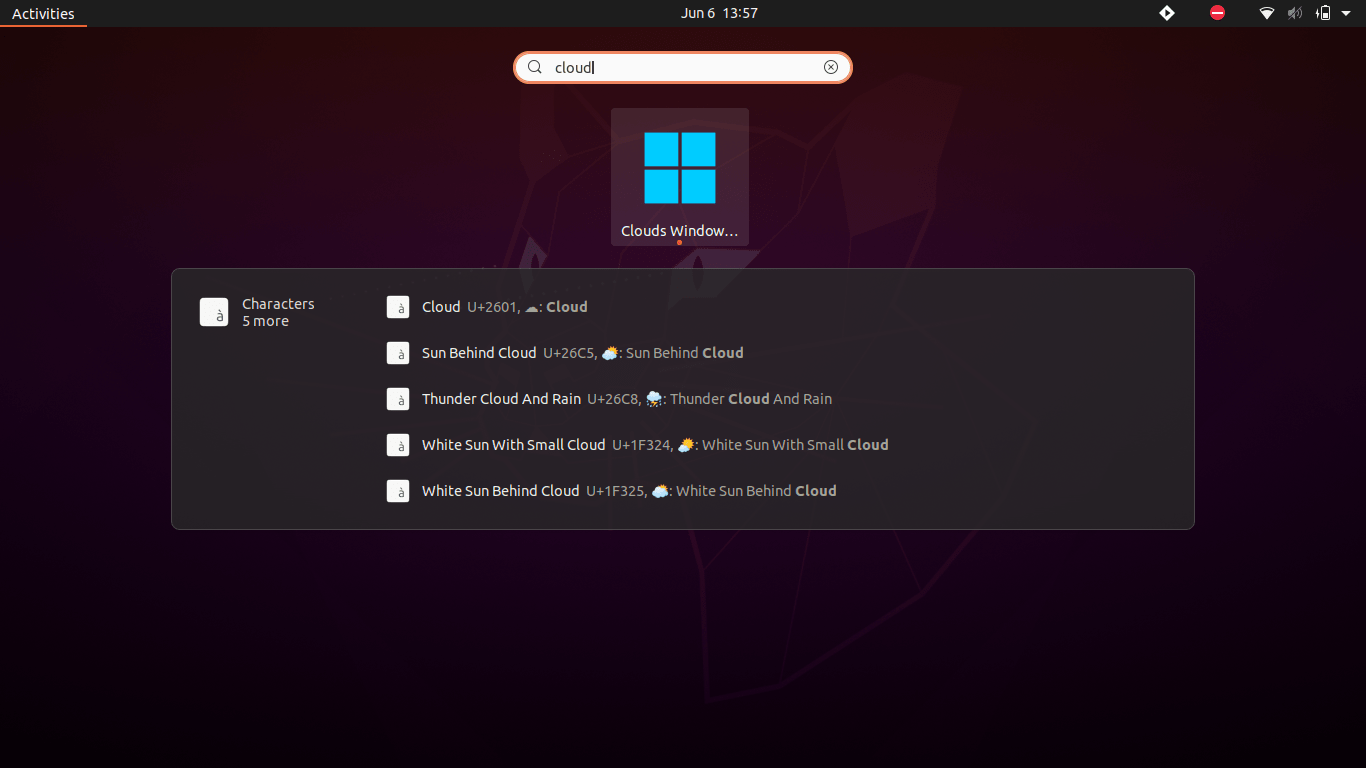
Step 4: Run Windows 10 VM from applications
Once the Cloud installation is done via SNAP, the next thing is to run it. Go to “Show Applications“, click it to access all apps installed on Ubuntu. Search for “Clouds Windows 10 VM“. Once the logo appears, click it to run.
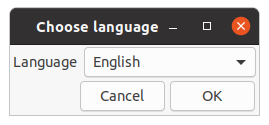
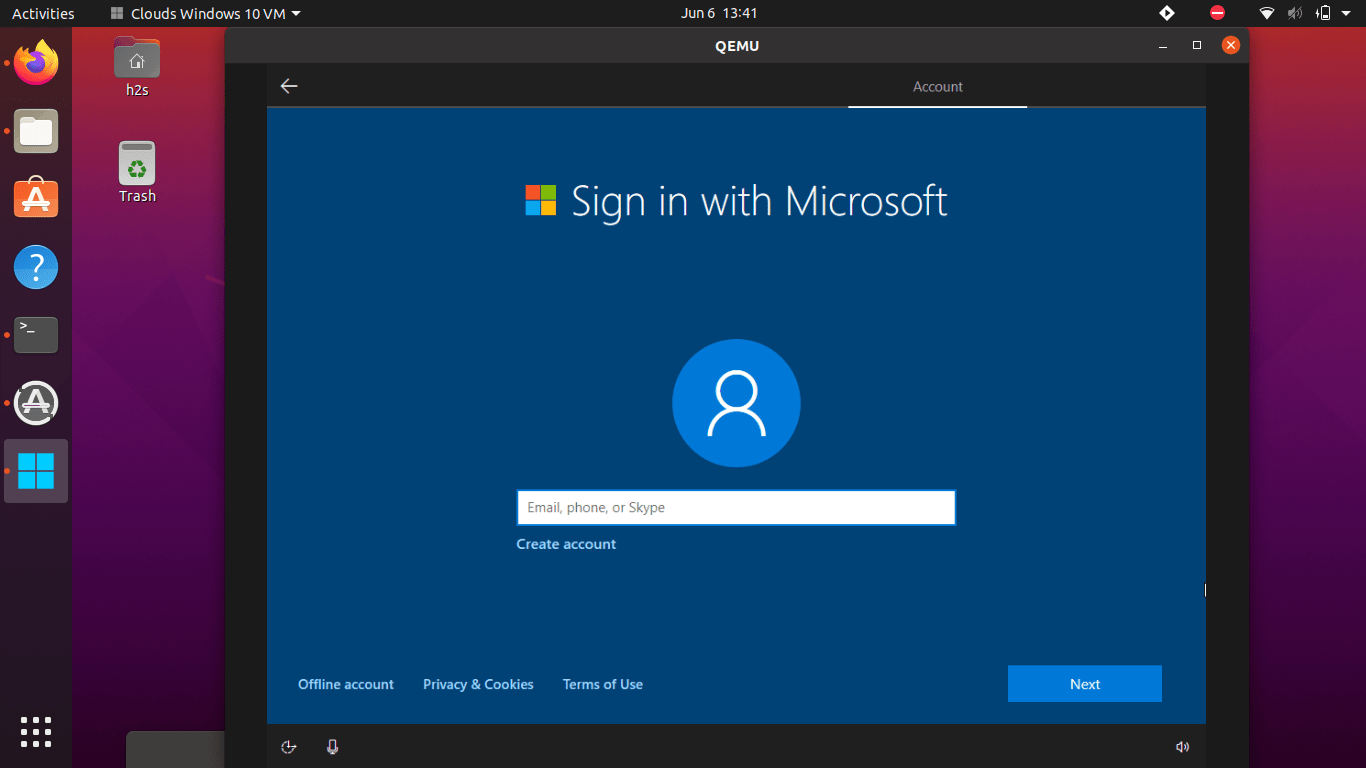
Step 5: Select the language of the Window 10 ISO
As this opensource project doesn’t come with Windows 10 ISO, thus that needs to be downloaded. Before that, it will ask you to select the preferred language for the app. Select that and click on OK.
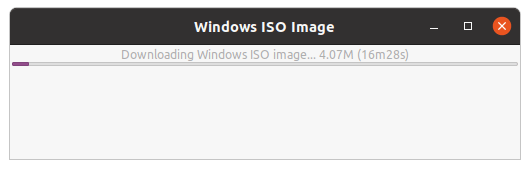
Step 6: Download will start
In the next step, you will see a downloader obtaining ISO image, wait for a few minutes, depending upon your internet connection the file will be on your system.
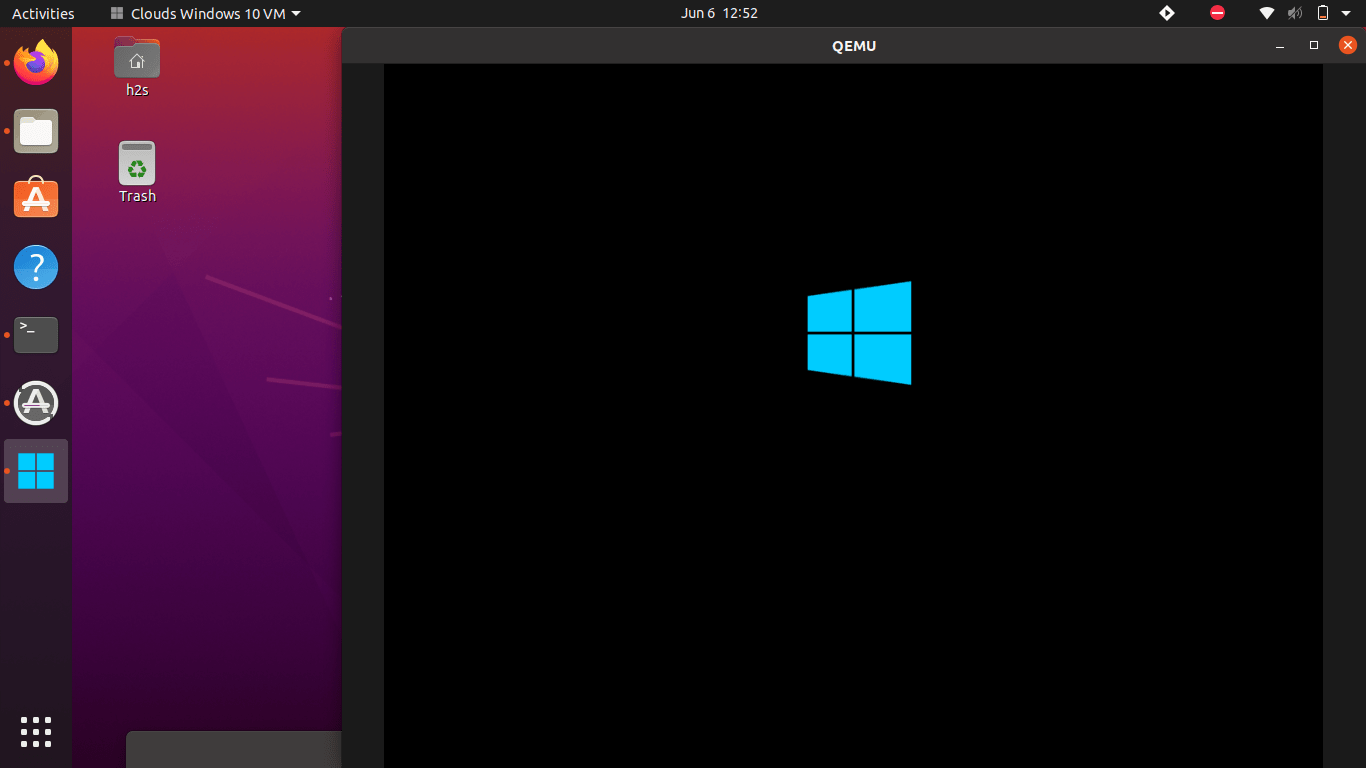
Step 7: Qemu will start with Windows 10 VM
Soon the logo of the Microsoft operating system will appear.
Step 8: Select the Windows setup language, currency, and Keyboard input.

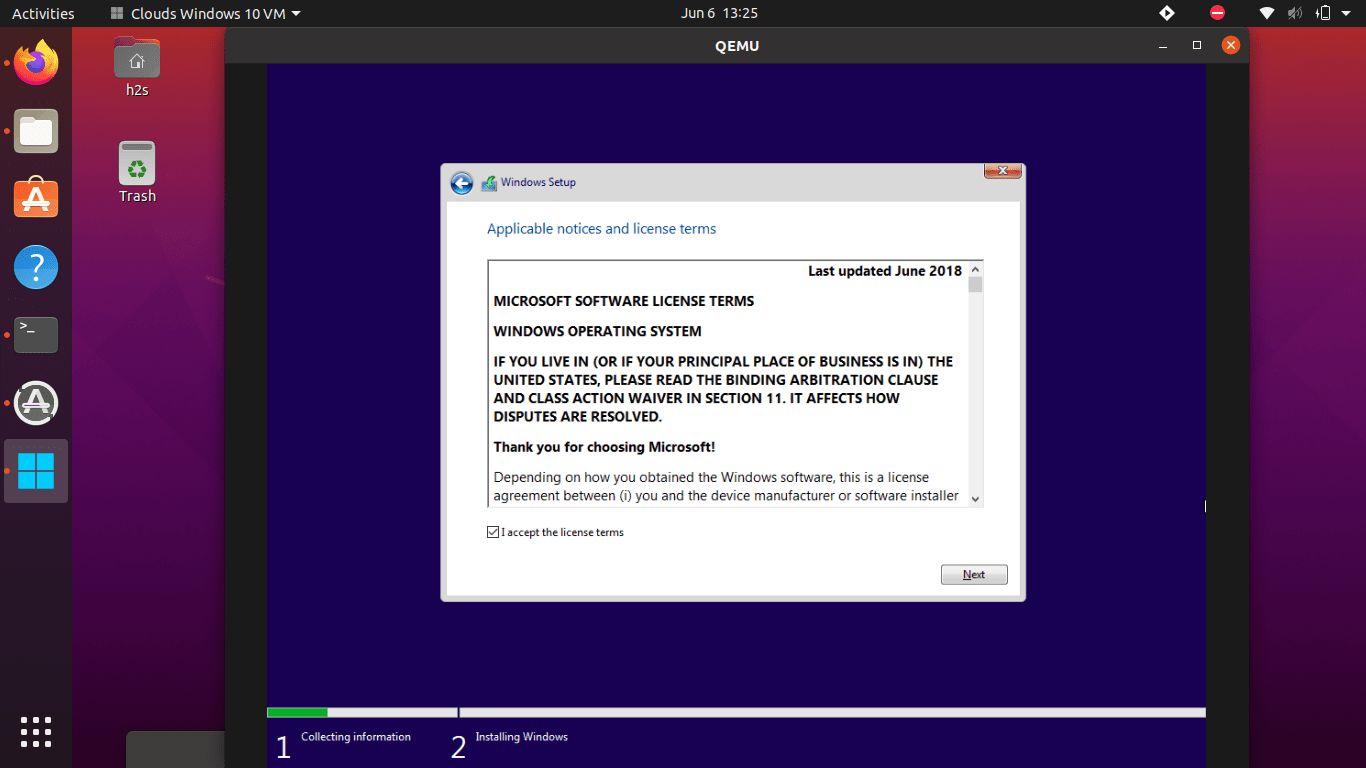
Step 9: Acitvate WIndows
If you have a Key then enter that otherwise simply click on the “I don’t have the product key” option and the Next button.

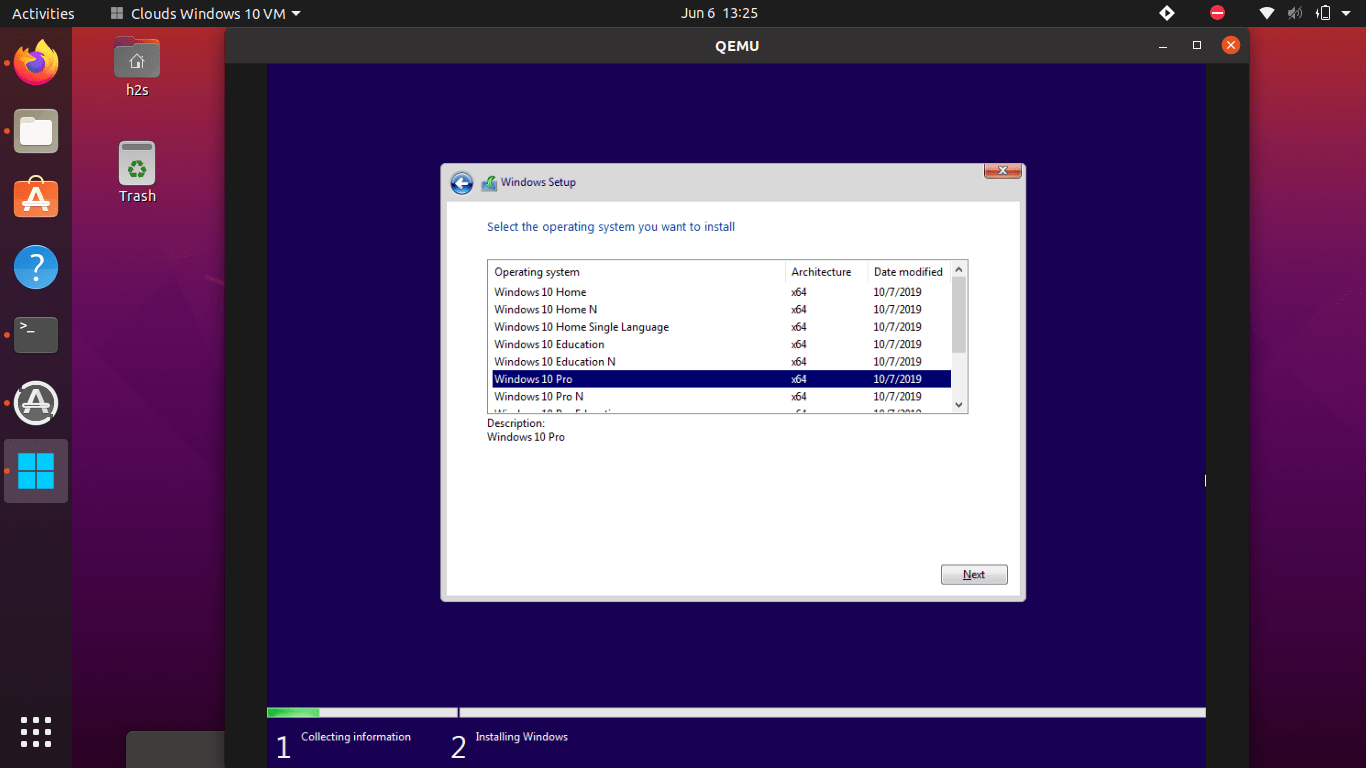
Step 10: Select the operating system type you want to install
As per your requirement or product key you can select the Windows 10 version, however here for testing, we are select the Windows 10 Pro.
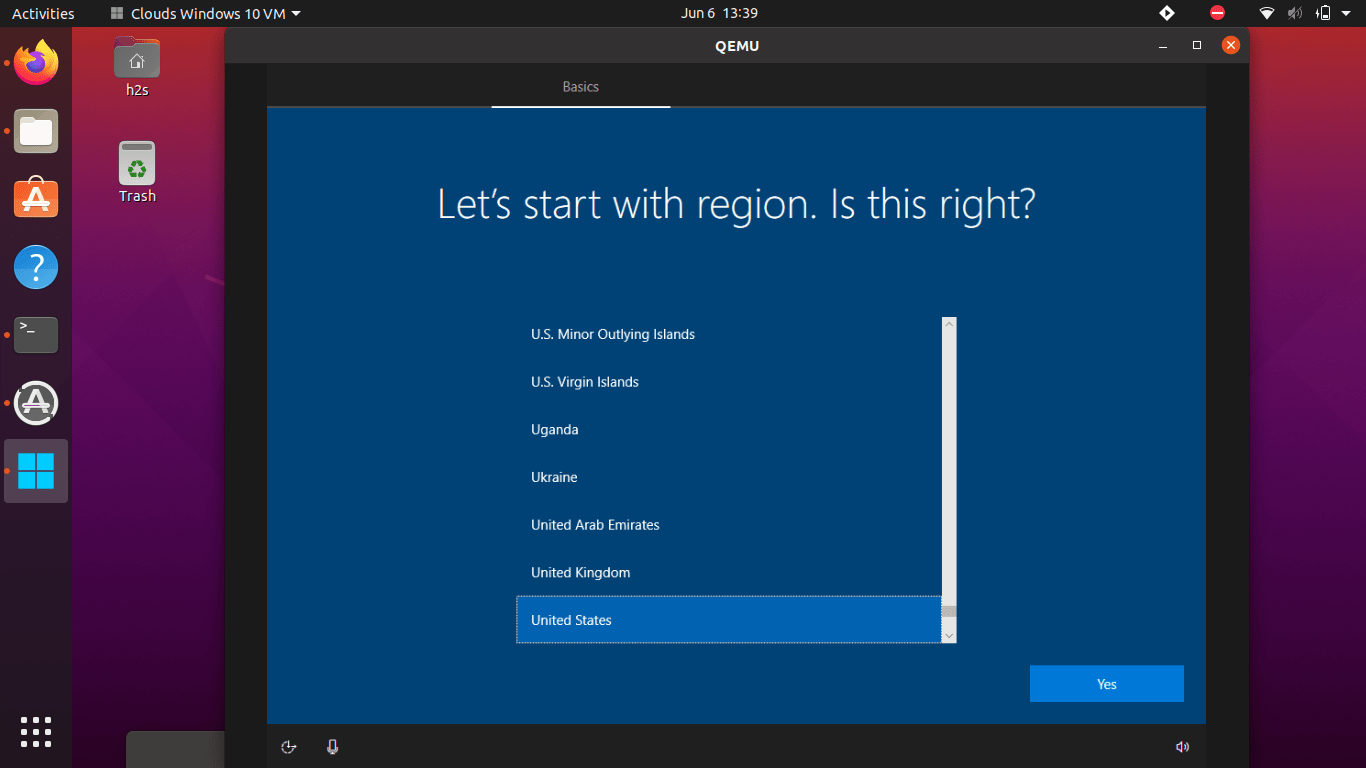
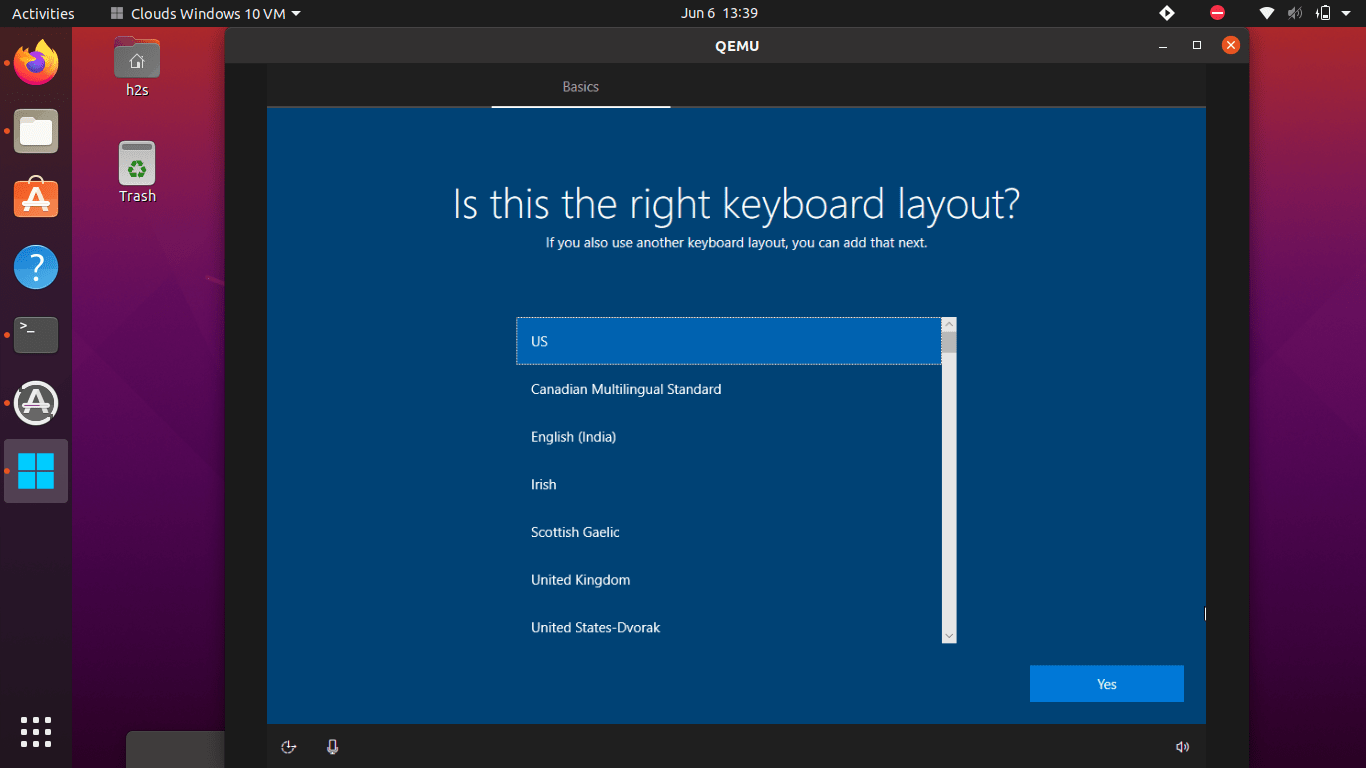
Step 12: Setup and configure Windows 10 Ubuntu Qemu VM
From, here just follow the installation wizard, for example setting up the region, language, Password, and more…
If you have not created Microsoft online account and want to use the local one, then click on the offline account link given at the left side bottom of the screen.
Once complete the Windows 10 will be on your Ubuntu Linux system. The launched screen will be in a fixed resolution window.
Extra tips:
To get a full screen in QEMU, press CTRL+ALT+F and to exit the grabbed mouse pointer use CTRL+ALT+G.
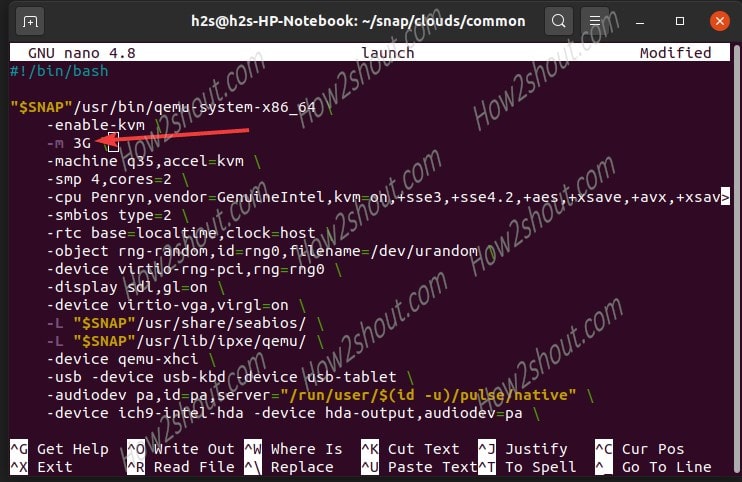
Change RAM or CPU cores for Clouds Windows 10 VM (optional)
This is an optional step. by default, the Clouds will automatically set the VM machine created by QEMU with KVM running on 2GB of memory and 2 cores. However, if your system has more to allocate you can be assigned that manually.
Go to terminal and type:
cd ~/snap/clouds/common
sudo nano launch
To save the file, press CTRL+X and then hit the Enter button.
Now you will see something like shown in the following screenshot. Change the value of m. By default it will be 2 GB, however, I have changed it to 3GB. You can as per host system resources.
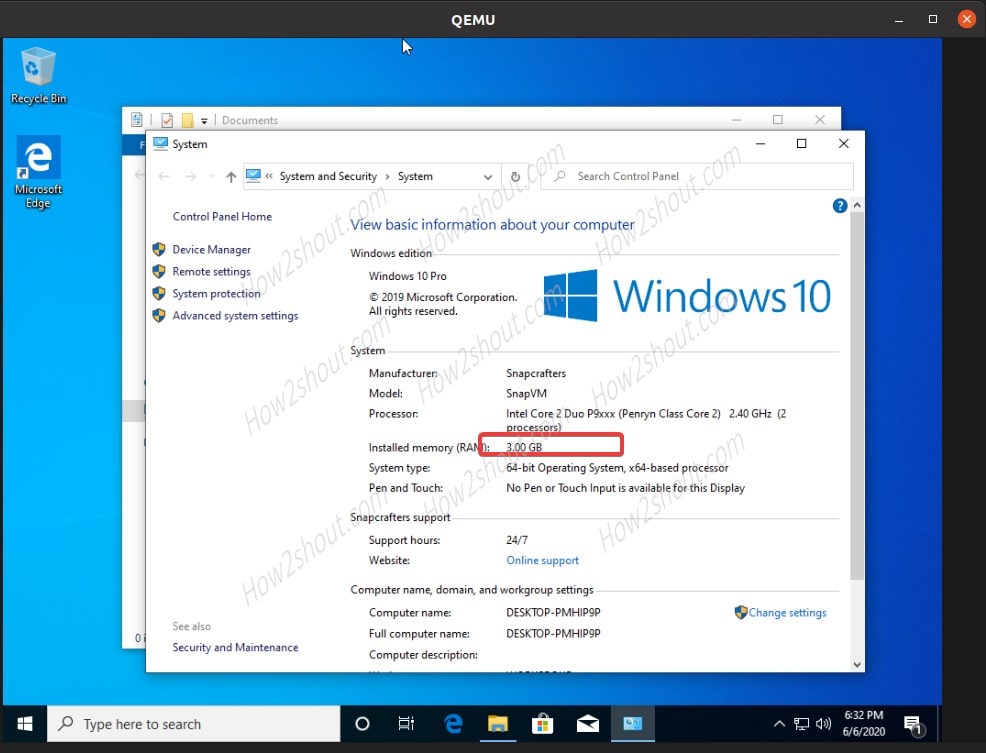
Hereafter increasing the RAM, the same will be shown in your Windows 10 system information.
Verdict
So, this was the easiest possible way to create and run Windows 10 virtual machines on Linux. Let us know our experience of using it.
Other Articles:


Sorry, but it doesn’t and will never work. I have Ubuntu studio 20.04, and clouds windows 10 VM is in the snaps store, it loads and ISO fine, but tries to boot the ISO, using UEFI which will fail. The ONLY way the clouds Windows VM will work is if it boots from MBR.
I’ve also tried it on Ubuntu Mate, Lubuntu, Kubuntu, and even on versions 20.04, and 22.04 and it just doesn’t work, PERIOD!