Configure your Ubuntu 20.04 LTS focal fossa Desktop or server with the Budgie Desktop environment to get a sleek and clean graphical interface on your Linux machine.
Linux systems don’t deprive of open-source Graphical Linux Desktop Environment interfaces. You can start searching for one and you will get dozens. And one of them is the Budgie Desktop environment that you can find as the default desktop for Evolve OS, Solus Linux distro, and UbuntuBudgie.
With some macOS like elements, this is very trendy among the users who need compact, beautiful, and simple design. The developers of Budgie Desktop designed it from scratch and brainstorm to use the GTK and other languages such as Vala and C to design a unique and excellent desktop environment.
Budgie Desktop Envrionemnet installation on Ubuntu 20.04 LTS Focal fossa
Although we can use the UbuntuBudgie flavor that comes with Budgie Linux Desktop environment, yet, those are not interested in fresh installation and want to have a dual Linux environment – Budgie and Ubuntu with GNOME, they can follow this tutorial.
Open Command Terminal
As we know the command line is the soul of Linux operating systems, thus we will use the same for downloading and configuring Budgie Desktop on Ubuntu 20.04 LTS or 18.04 LTS. To access it either go to “Show Applications” and open the command terminal from there or simply use the keyboard shortcut Ctrl+Alt+T.
Update and Upgrade the System
Before performing the Budgie installation command, make sure all your packages on the system are up to date. For that run the commands:
sudo apt update
sudo apt upgrade
Command to download and install Budgie Desktop on Ubuntu 20.04
The best thing is we don’t need to add any third party repo for installing this Linux Desktop environment, everything is there on the system’s official repo. Thus, just run the below command and you will get Budgie.
sudo apt install ubuntu-budgie-desktop
Select the display manager
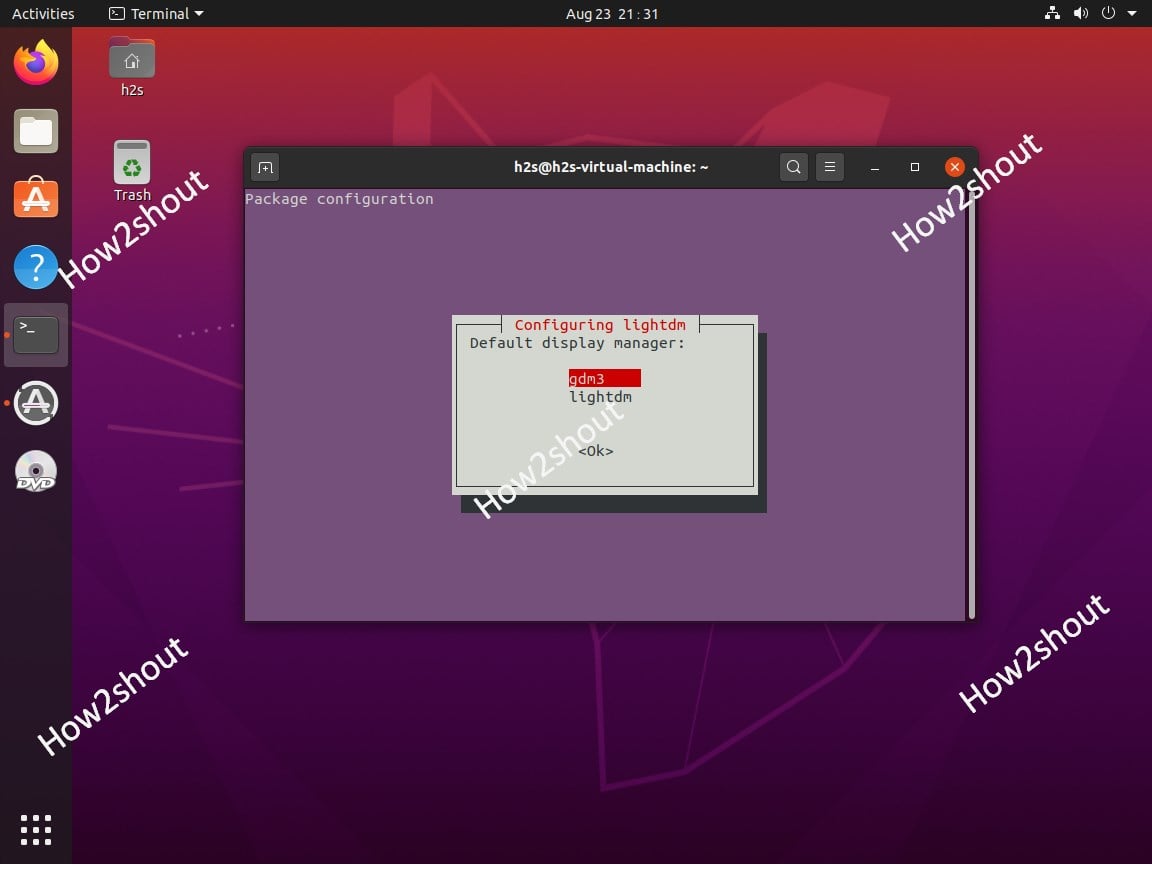
While setting up the downloaded packages, the system will give a pop-up on your terminal to select the display manager. For lightweight and faster performance, you can select the lightdm as your default simply manager for the Budgie Desktop. However, as we are using a modern computer with good configuration thus, we are choosing the default Ubuntu GNOME GDM3, this removes the headache of configuring it again in case you have any plan to remove the Budgie from Ubuntu 20.04 or 18.04.
Log out Ubuntu’s current session
Once the installation of the Budgie Desktop environment gets completed, click on the Power icon given on the right top side on the Ubuntu Taskbar and select the Log out option.
Login as Budgie Desktop
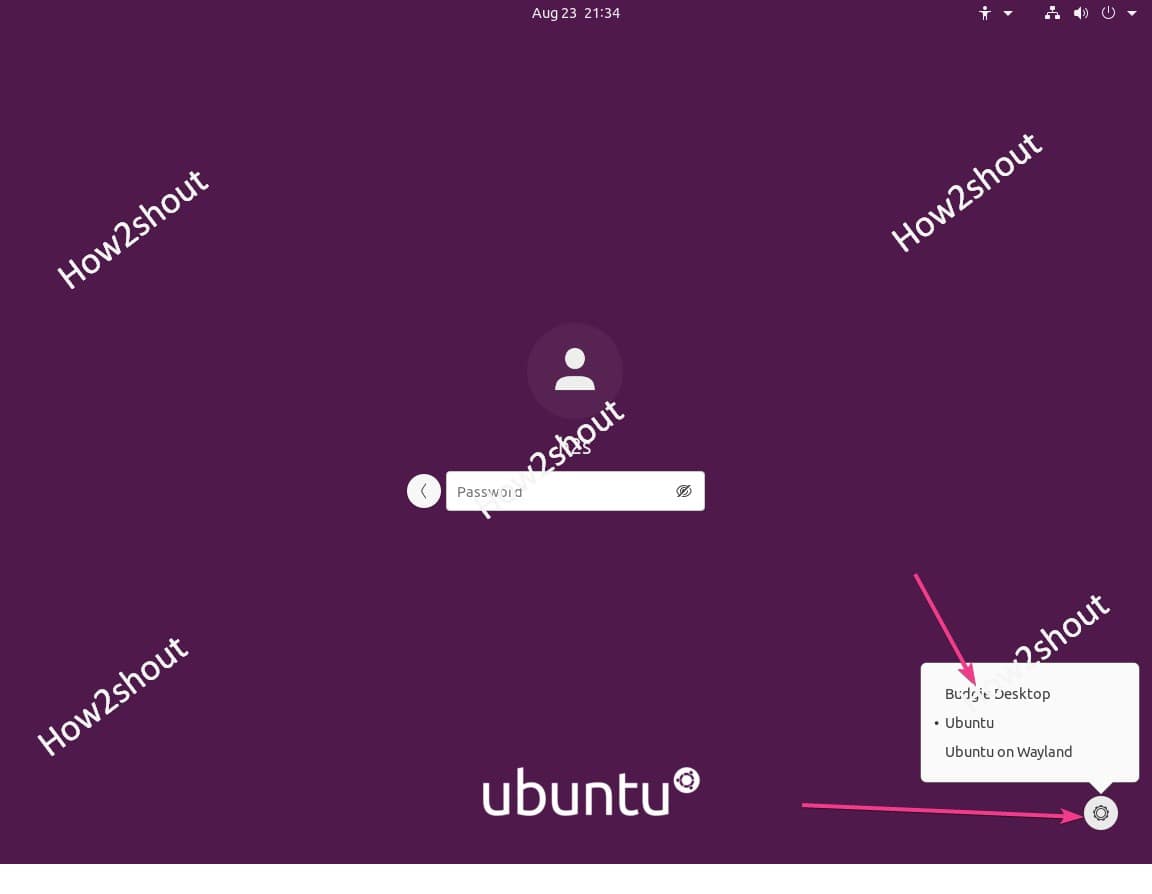
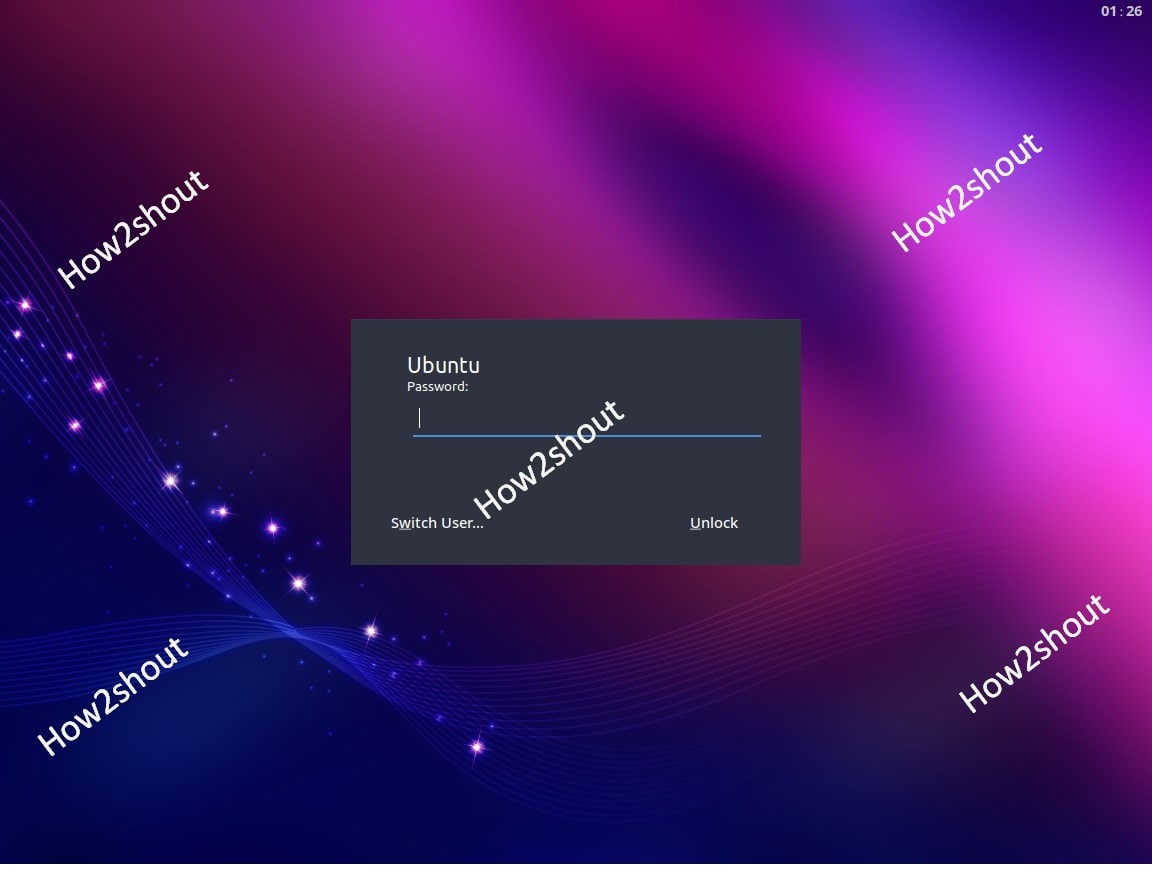
Select the user to enter a password, however, before that click on the Gear icon given on the right bottom side. a pop-up will show all installed and available to use Linux Graphical Desktops on your system. Select the Budgie Desktop and then enter the password for your system’s user to log in.
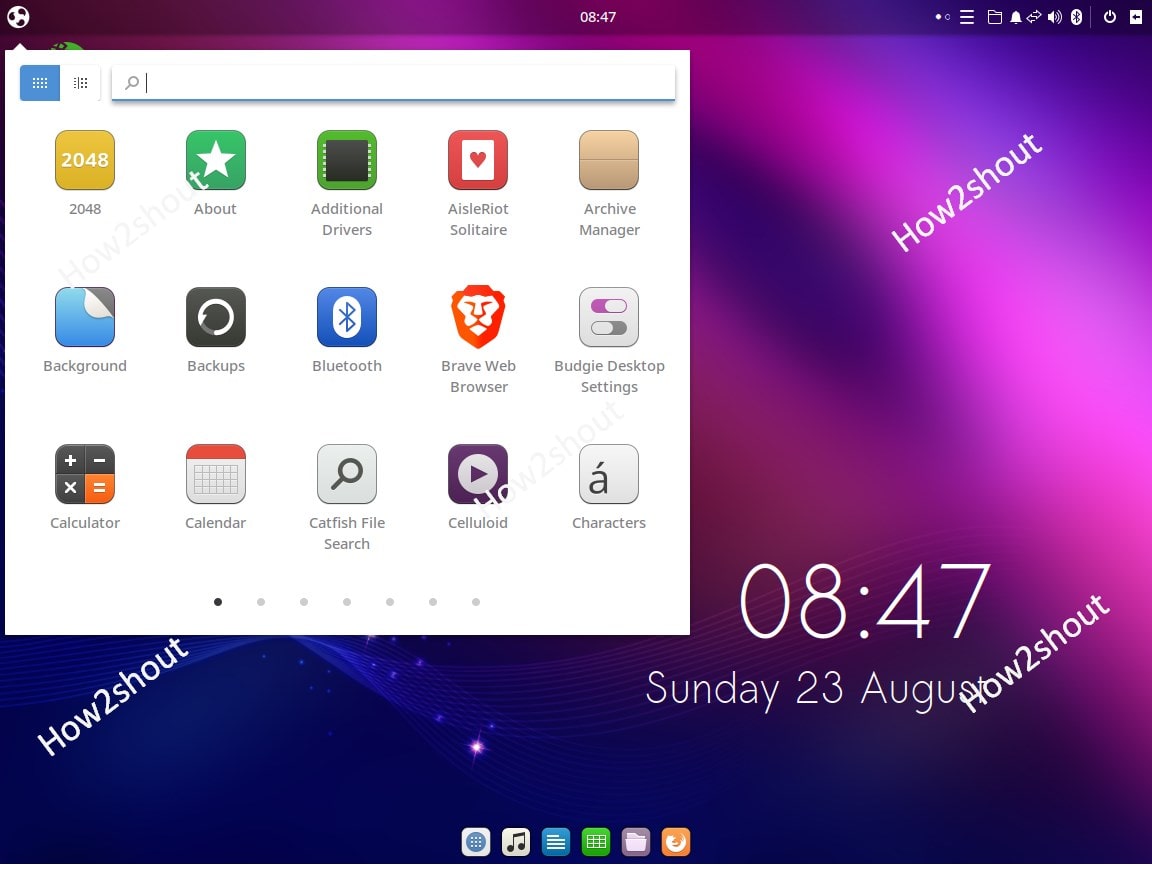
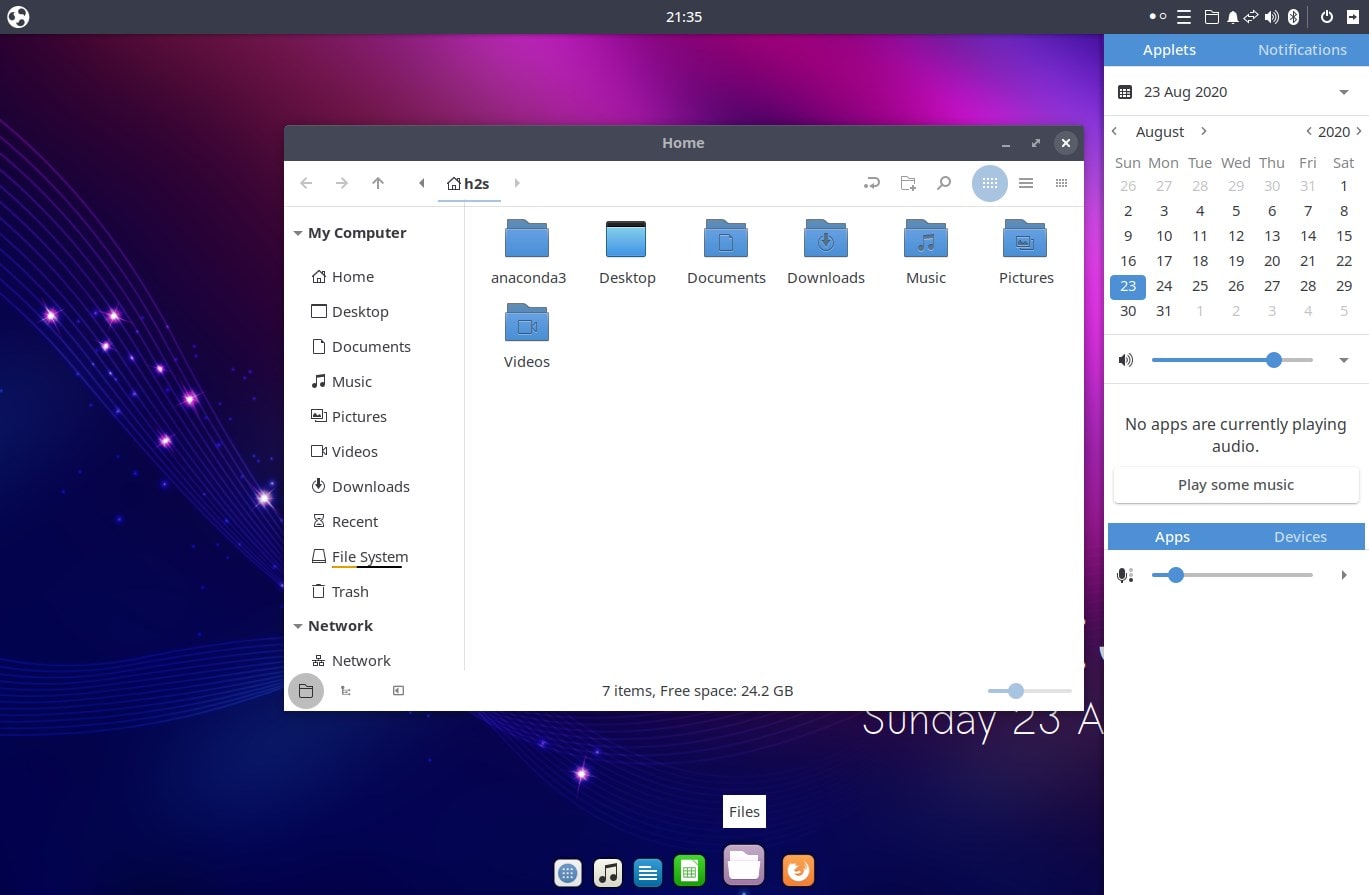
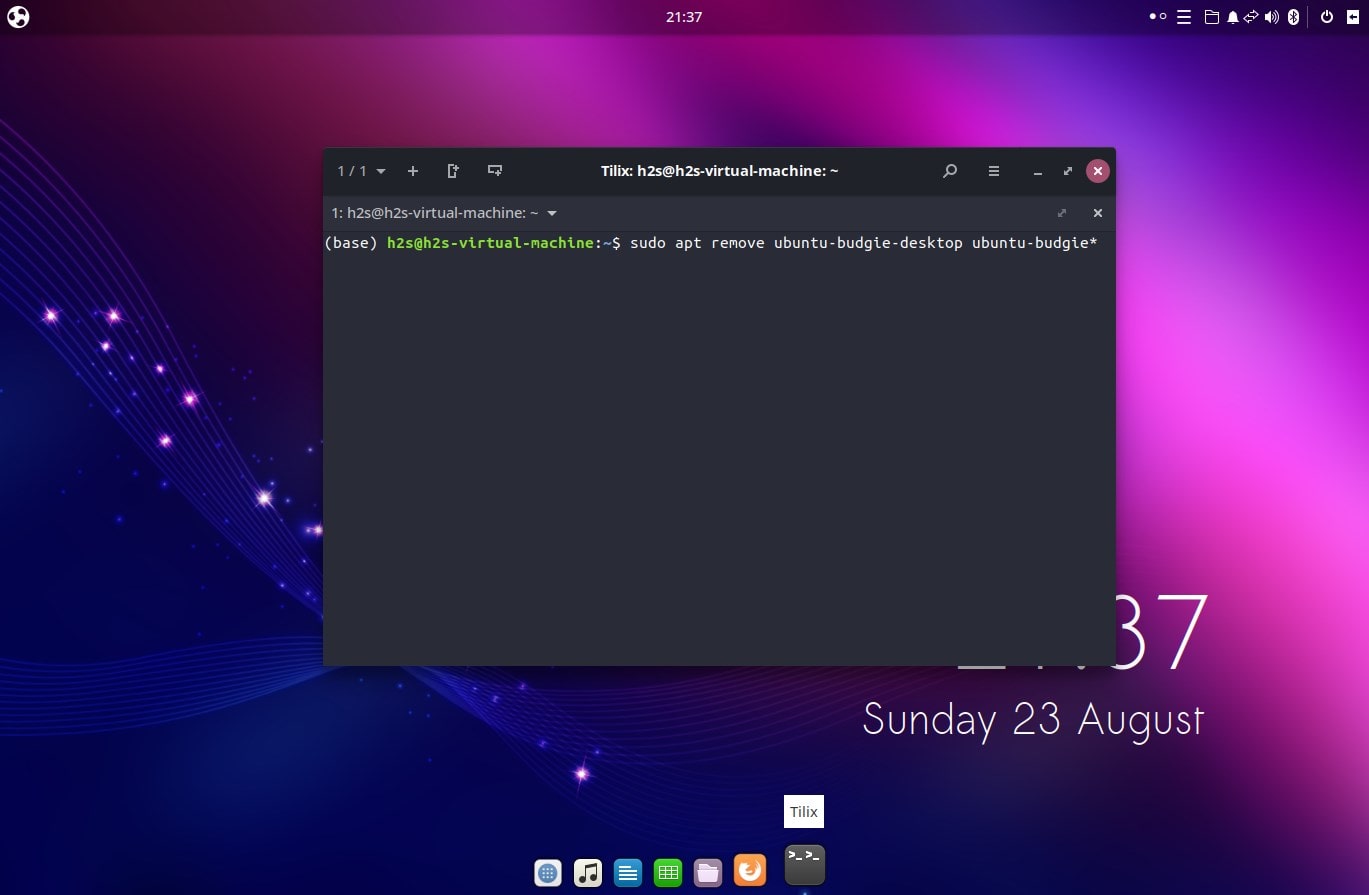
Finally, here is a beautiful and sleek interface. If you want to use the Ubuntu Gnome, the again log out, and while login click on the gear icon to select the default Ubuntu LDE.
Uninstall Budgie Desktop from Ubuntu (optional)
After some time in case you are not happy with this Desktop Environnement, then you are free to remove it without breaking anything on your Linux.
Simply run a command:
sudo apt remove ubuntu-budgie-desktop
sudo apt autoremove
Logout and login again that’s it.
Video Tutorial
