Analyze your server’s performance by installing the Stress workload generator tool on Amazon Linux to test the system’s stability and ability to handle the workload.
To measure the ability of the systems, testers generally use stress tools, and in Linux, we have that free of cost to use. We can define the amount of stress we want to put on our Amazon Linux 2 server to test the system’s stability and performance.
Now, how do such Stress testing tools work?
A Stress testing tool simulates various types of workloads. It means you are not performing actual work. Instead, the software virtually tries to put a load to test the CPU, memory, I/O, and network.
By using such testing software, Administrators can identify the power consumption of the hardware and how much load our CPU can take; it will also help in debugging systems, as well as for benchmarking and performance tuning. The utility we will install on Linux is typically run from the command line. We can control the stress intensity and output using various options or parameters provided by this command line tool.
Steps to install Stress tool on Amazon Linux 2
1. Update Amazon Linux 2 Server
Start with running the system update command to rebuild the Yum package manager cache so we can receive the latest available versions of applications.
sudo yum update -y2. Enable EPEL Repository
The packages to install Stress or Stress-ng on Amazon Linux 2 are not available to install using the default system repository; hence we need to install the EPEL repository first.
sudo amazon-linux-extras install epel -yTo ensure it is enabled, one run:
sudo yum-config-manager --enable epelOnce again, run the system update:
sudo yum update -y3. Install Stress-ng on Amazon Linux 2
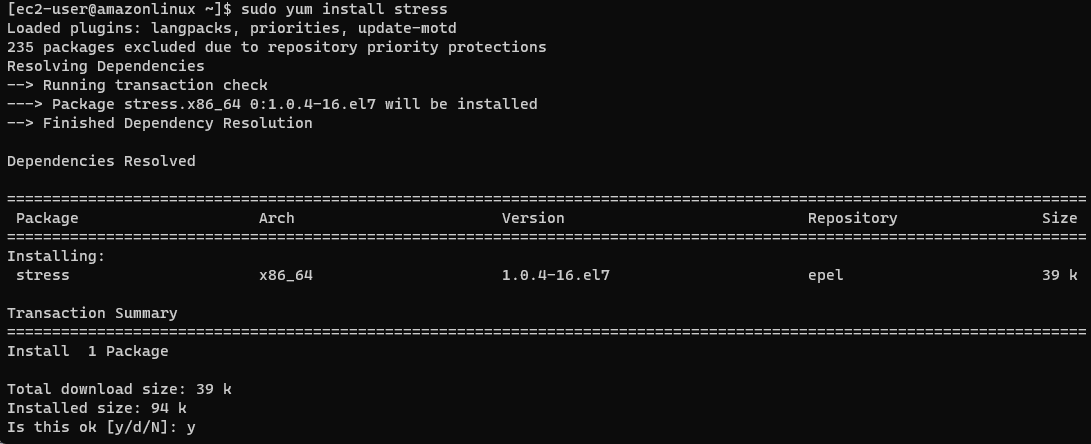
Now, our system is prepared to fetch the required packages to install the Stress workload generator tool or its upgraded version Stress-ng, using the command terminal on Amazon Linux 2.
Stress is designed to put a load on the CPU, Memory, I/O, and Disks.
sudo yum install stressor
Stess-Ng is an upgraded version with more verticals to benchmark with 300+ stress tests.
sudo yum install stress-ng
4. Stress available options
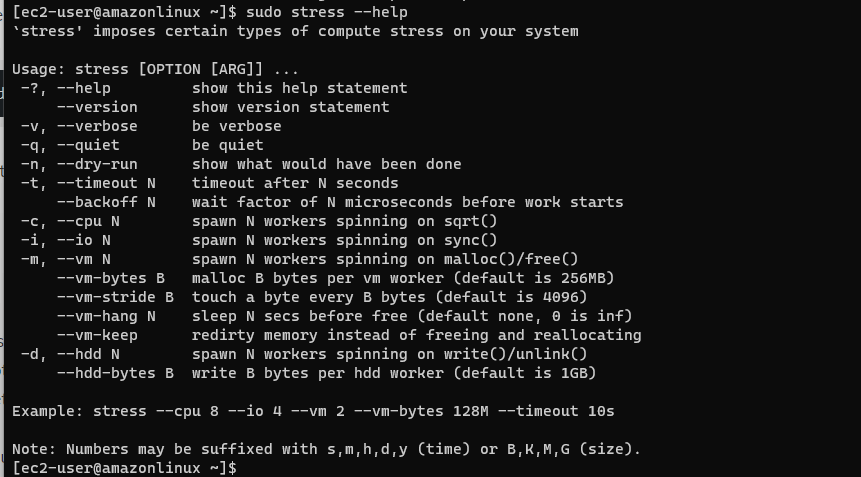
Before you know how to use this testing tool, let’s check the options or parameters available for it.
stress --help

5. How to put a load on the Amazon Linux server
Once the Stress Linux benchmark too is on your system, let’s see some examples to start putting a simulated load on CPU, Memory, and I/O.
You can use the command with various options. Here are some examples:
For example, to test the CPU with 12 worker threads for 60 seconds:
sudo stress --cpu 12 --timeout 60sYou can use the uptime command before and after to compare the Average load:
Output:
[ec2-user@amazonlinux ~]$ sudo stress --cpu 12 --timeout 30s
stress: info: [13572] dispatching hogs: 12 cpu, 0 io, 0 vm, 0 hdd
stress: info: [13572] successful run completed in 30s
[ec2-user@amazonlinux ~]$ uptime
14:26:54 up 11:35, 3 users, load average: 4.88, 1.88, 0.78
[ec2-user@amazonlinux ~]$
To get the detailed report, you can add the -v options while running the command; for example, the same above command can be executed as below to get detailed info when we run it:
sudo stress --cpu 12 -v --timeout 30sIn a similar way to stress memory on Linux by allocating 128MB of memory and running for 30 seconds:
sudo stress --vm 1 --vm-bytes 128M --timeout 30sWhereas to put stress on the I/O by performing random write operations on a file for 30 seconds:
sudo stress --io 1 --timeout 30sThese are a few examples you can use different options and amounts of resources to add a low, medium or high amount of stress on multiple resources simultaneously.
For example, a single command to test all major hardware components on your Linux;
sudo stress --cpu 84 --io 2 --vm 1 --vm-bytes 128M --timeout 30s6. Uninstallation
When your testing is completed and won’t require the Stress on your Amazon Linux anymore, then remove it altogether; here is the command to follow:
sudo yum remove stress stress-ngOther Articles:


There is a typo error o install stress