We can use this tutorial to install Portainer web GUI for Docker on Windows 10/8/7, Linux, and macOS operating system…
Docker is a popular command-line platform to create containerized virtual machines. However, if you are looking for a Docker GUI interface then there are a couple of solutions such as Kitematic, Portainer, Shipyard, and more…
To ease the administration of individual Docker engines or a Swarm cluster instead of the Docker CLI, we can use Portainer that offers a free, intuitive, and easy-to-implement GUI for Docker to enable the management of containers, volumes, etc.
Unlike Kitematic, Portainer is itself a single container that can be deployed as a Linux or native Windows container. And to manage Docker containers, Portainer needs access to the Docker engine. There are multiple scenarios or ways to give Docker Engine access to Portainer, here are some common possible ones…
Localhost: In this method, the Portainer and Docker will be on the same machine, and by integrating the Docker socket in the Portainer container as a volume
“-v /var/run/docker.sock:/var/run/docker.sock” Portainer has the option of using the Docker environment on which it is running, to change.
Remotely: We can also access remote Docker engines on some already running Portainer by specifying the IP address and the port at which the API of a remote Docker infrastructure can be reached. However, to access a remote Docker server or engine, the user has to make sure the remotely installed Docker API is accessible over TCP.
Agent: Portainer comprises two elements one is the Server and the other Agent. Thus, apart from Server deployment, we can deploy Portainer Agent on the Docker Host to enable the convenient management of a Docker Swarm Cluster. The agent is provided as a service in the cluster and can be used to bypass the limitations of the Docker API. This means that it provides information from all hosts in the cluster in one call. To connect the agent within Portainer, you only need to specify the IP and the port under which the agent can be reached.
Note: Make sure you already have Docker running on your host or server where you are planning to install Portainer-CE.
Note: To perform this tutorial, you should have Docker already installed on your system. If you haven’t then you can go for official documentation and learn how to do that.
Command to install Portainer-CE Docker GUI
On your command terminal or via SSH access the server where Docker is running and paste the following command to install Portainer Image.
docker run -d -p 8000:8000 -p 9000:9000 --name=portainer --restart=always -v /var/run/docker.sock:/var/run/docker.sock -v portainer_data:/data portainer/portainer-ceIn the above command following things have been used…-d = ensures that the container runs in the background and only the ID is displayed on completion.
-p 8000: 8000 = Releases the corresponding ports on the host system of Docker; each port forward must be specified individually. The syntax is -p host port: container port {/ udp}, whereby UDP must be specified explicitly, TCP has used automatically if not specified. Thus, –p 9000:9000 is the container port of Portainer that we use to access its web interface using the browser.
–Name = portainer = To easily identify the container created for Portainer, we give it some name using the syntax -Name= the-name-you-want-to-assign otherwise it would only be found under the identification number.
–Restart = always = Specifies how the container should act when the host system is rebooted. The container is always restarted here.
-v /var/run/docker.sock:/var/run/docker.sock= Specifies that the container is allowed to access the Docker socket storage. Without this access, Portainer would not be able to get and send any information from Docker.
-v portainer_data: / data = Binds the previously created storage “portainer_data” to the storage folder “/ data” within the container. This ensures that important configuration files can be saved persistently.
Access Portainer Web GUI in the browser
Once the installation is done, we can check whether it is running in the background as a container on Docker or not. For that, simply type:
docker psThe above commands will display all active container machines:

Now, it confirms that Protainer is running, we can access it in the web browser to manage Docker using the graphical user interface. For that simply type the server IP address with port number 9000 where docker is running.
Example- http://host-ip:9000/Create Administrator account
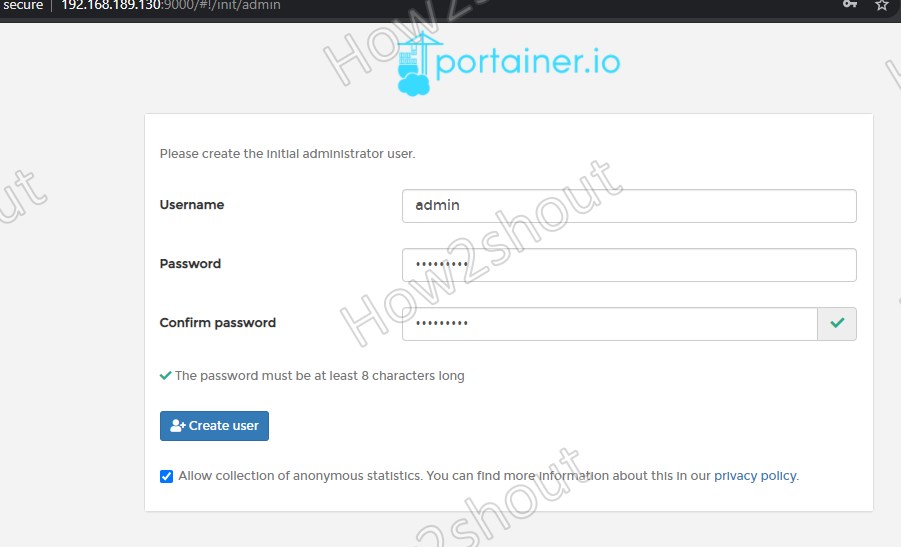
On the first screen, you will ask by a dialog to create an administrative account. So choose your username and password and click “Create User”. Optionally, you can leave the marked “Allow collection of anonymous statistics.” box or else deactivate it if desired.
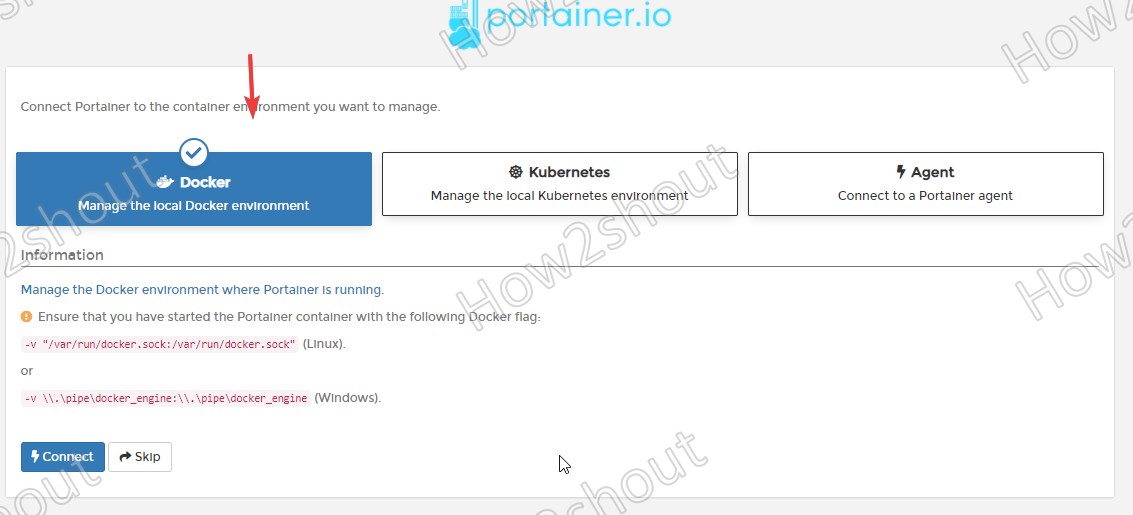
Connect Portainer to the container environment
As here we are using a Docker environment, thus we select the same. Users who are using Kubernetes or want to connect Docker using Agent can select the options available for that.
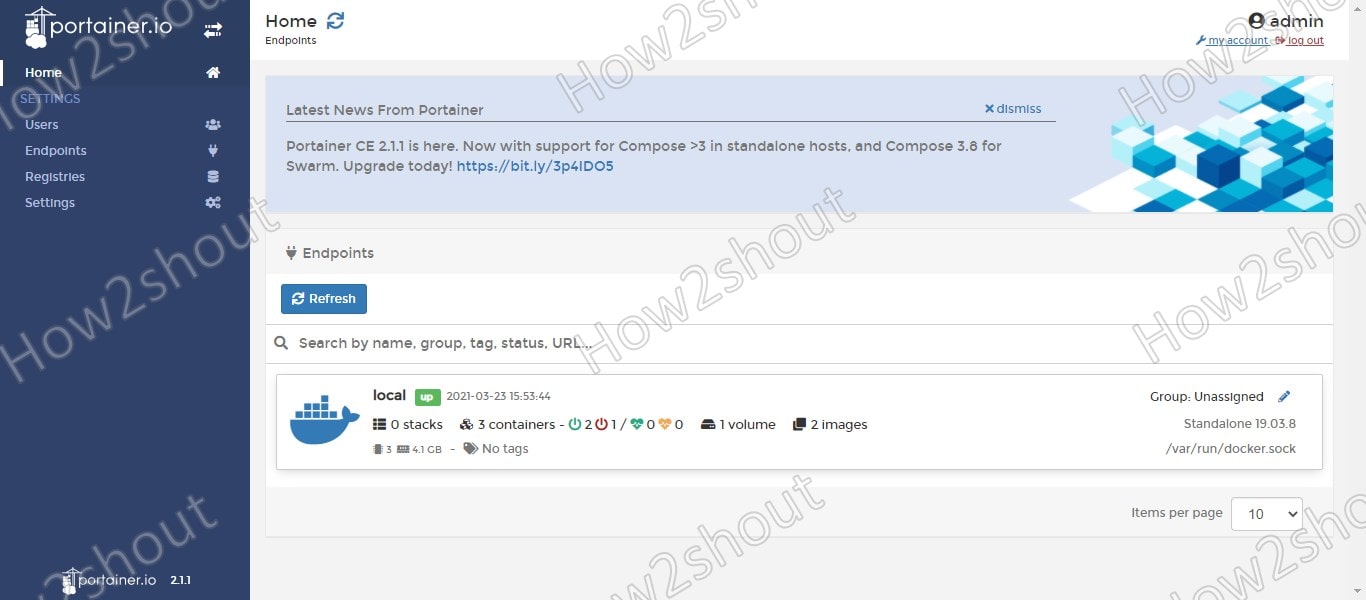
Web Interface
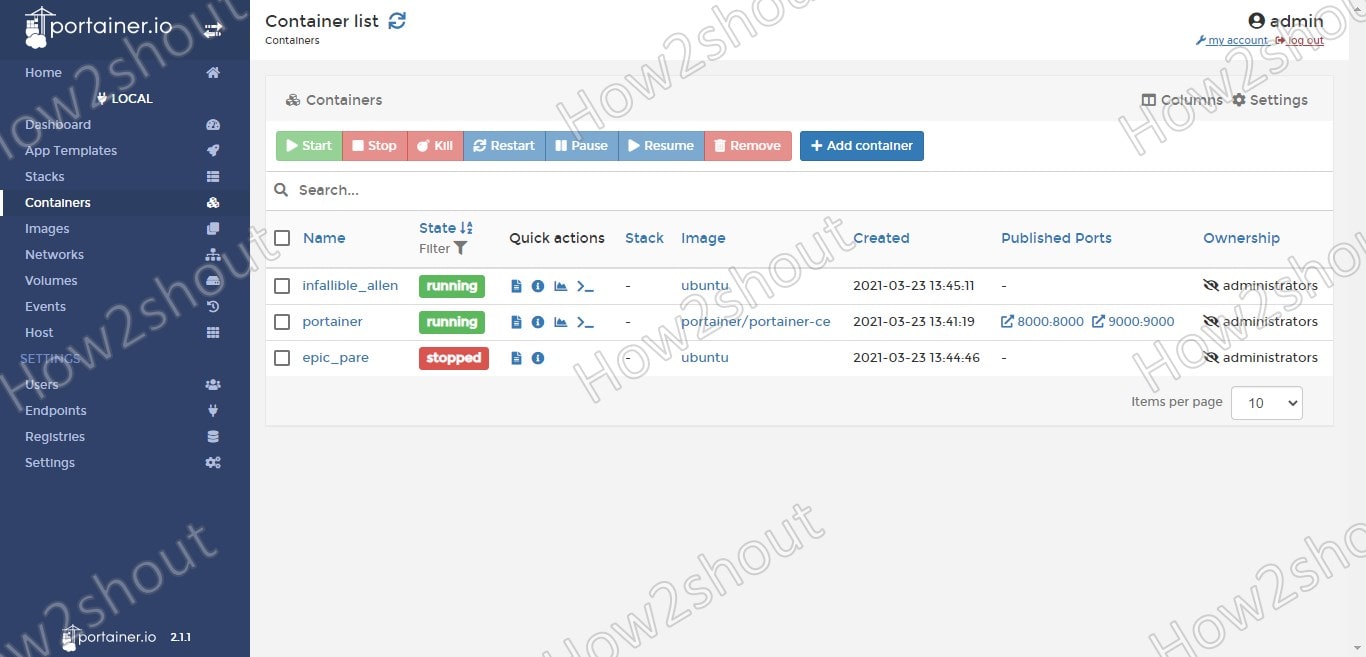
Finally, the GUI interface is here, now we can see all the connected Endpoints on the Portainer CE.
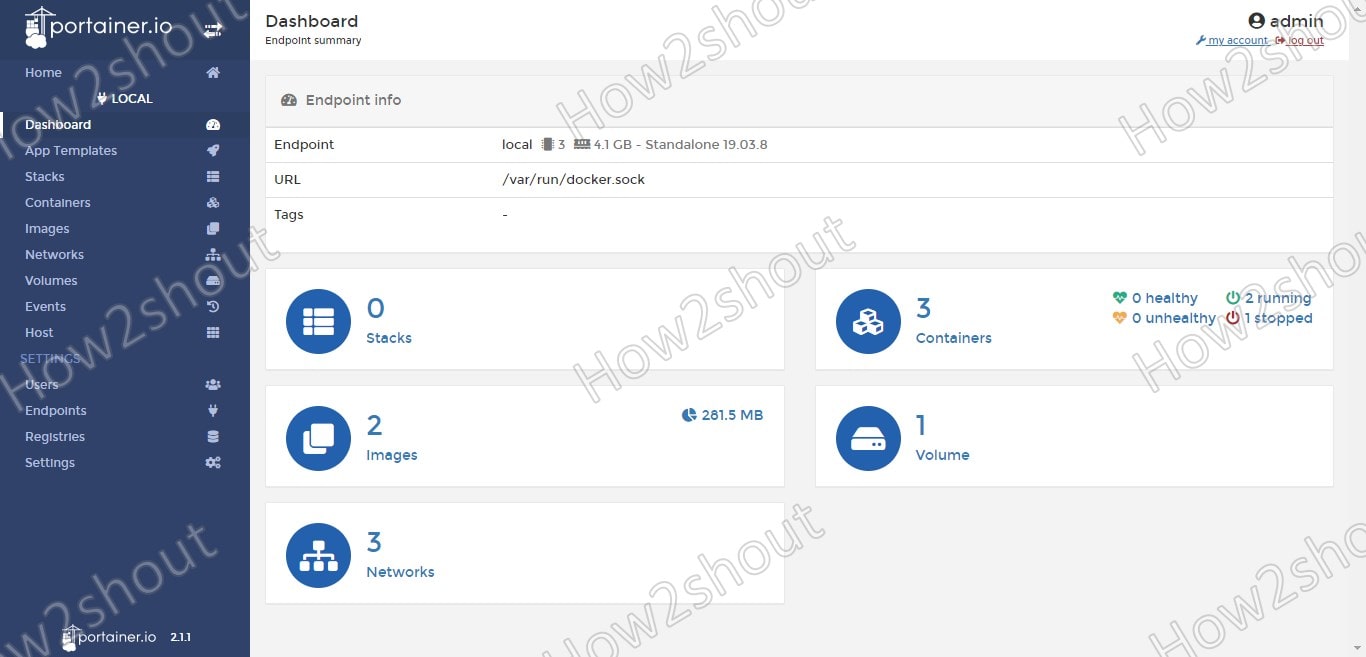
The basic view also enables the status of the individual containers to be changed, i.e. to stop, start or delete the containers and to create new containers. Furthermore, we can manage Images, Volumes, Storage, Networks, and more…
Other Articles:
