Install and use the Budgie Desktop environment on Ubuntu 22.04 LTS jammy Jellyfish or Ubuntu 20.04 LTS Focal using the command terminal.
The Budgie desktop environment has been in development since 2014 (originally and primarily for the rolling release distribution Solus, (formerly Evolve OS Linux). However, it is published under GPL license, hence, any Linux distro users can install it on their own systems such as Arch, Debian, Gentoo, and OpenSuse. Although, officially there is a Ubuntu flavor called Ubuntu Budgie that comes with a pre-installed Budgie desktop, however, if you already have the one with some other GUI, then here are the commands to switch it with Solus’s GUI.
Steps to install Budgie GUI on Ubuntu 22.04 Desktop or Server
The steps are given here can also be used on other Debian or Ubuntu-based Linux distros such as MX Linux, POP OS, Linux Mint, Elementary OS, and more… Know more about this GUI project on its GitHub Page.
1. Requirements
Compared to Ubuntu with GNOME and Kubuntu, the hardware requirements are more moderate but higher than Xubuntu. The actual hardware requirements depend on the individual needs of the user. The minimum requirements described here are therefore based exclusively on the software configuration that Ubuntu Budgie comes with by default. The most common use cases office work and surfing the Internet are considered.
• Processor: Intel or AMD 1.5 GHz without specific details, but dual/multi-core makes sense.
• GPU: with basic 3D hardware acceleration.
• Memory: 2 GiB minimum, more than 3 GiB recommended for 64 bit.
• Disk space: 60 GiB
2. Run Apt Update
The first thing we should go for is the running of the system update. This will install any latest version of packages available for our system, plus refresh the repository cache.
sudo apt update && sudo apt upgrade -y
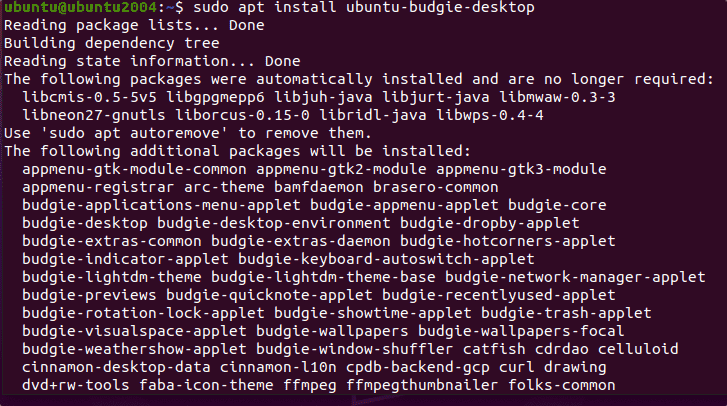
3. Command to install Budgie on Ubuntu 22.04 | 20.04
Unlike some other Linux distros, we don’t need to add any third party repository to get the packages to install Budgie, it is already available to fetch through the base repository of Ubuntu.
sudo apt install ubuntu-budgie-desktop
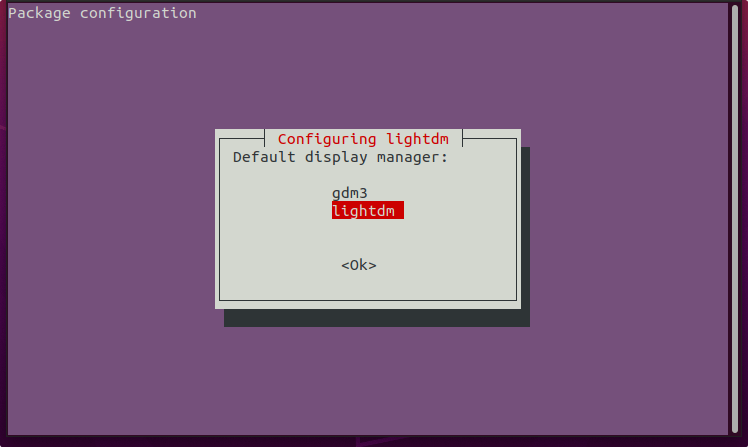
4. Choose default display manager for Budgie
While installing the budgie desktop, the system will ask you to select the default display manager. Select the LightDm which is default display manager for Budgie desktop in Solus.
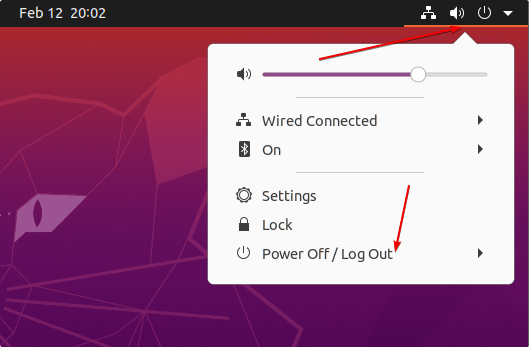
5. Log Out your current session
Once the installation is completed, click on the Power button and select Log out.
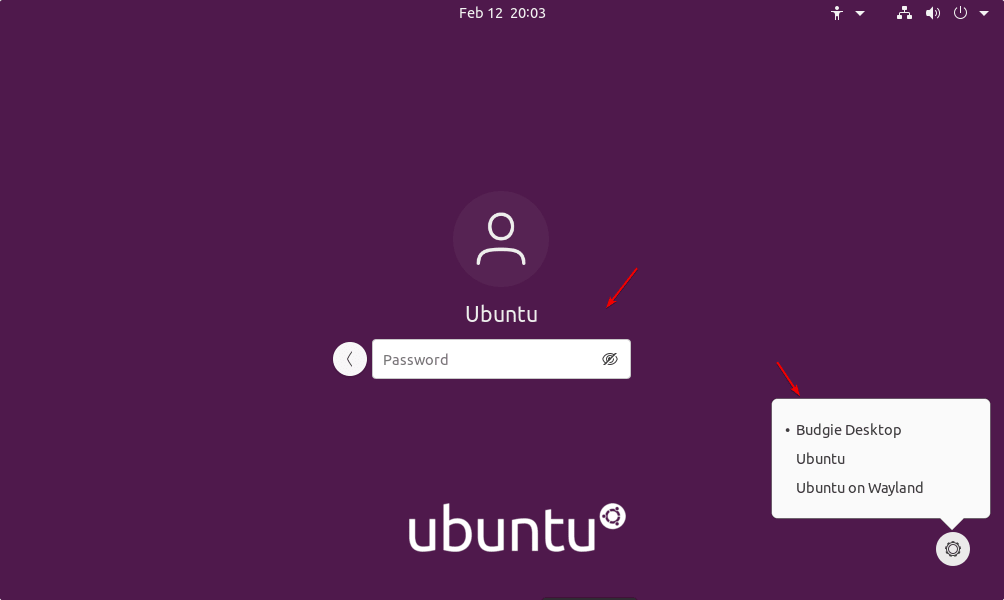
6. Switch to Budgie Desktop at Login in Ubuntu
Select on the User that you want to use to login the system. After that click on the Gear icon given on the right bottom side, a pop-up will appear – select Budgie desktop. Now, enter the user password to login. We don’t need to perfrom this again and again , just one time whenever you want to change your desktop UI.
7. Budgie Desktop Interface
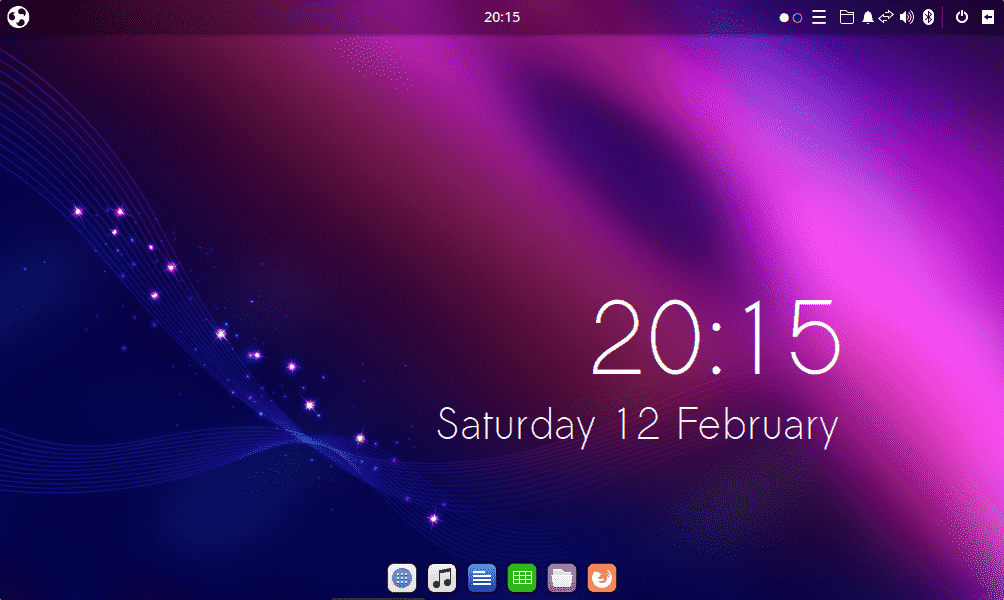
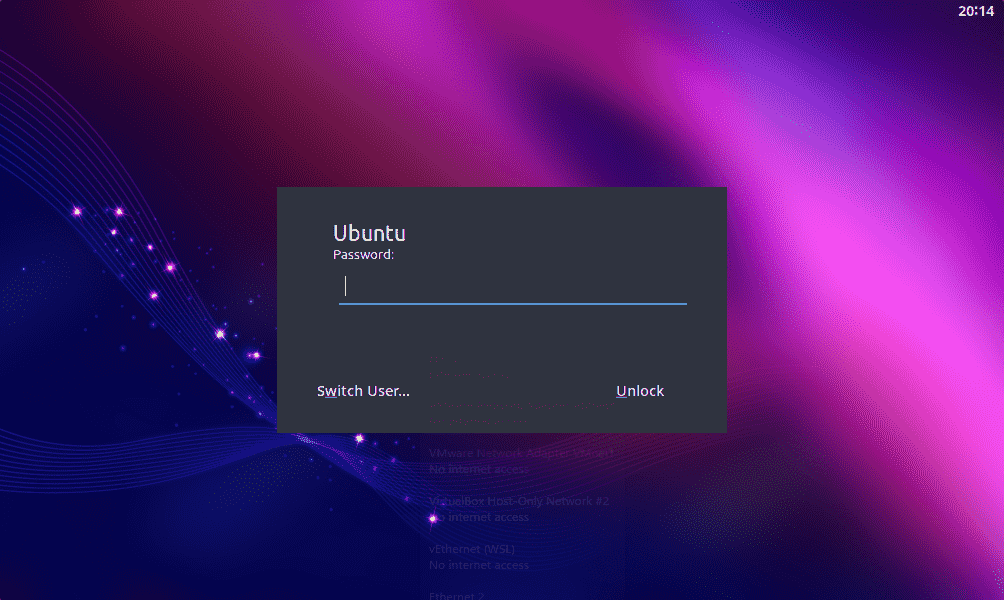
Finally, you will have this desktop environment installed on your Ubuntu 22.04 or 20.04 with new lock screen. By Default you will have a bottom menu dock like macOS and other sleek elements.
8. Uninstall or Remove(optional)
In future, those who don’t want the Budgie on their Linux system anymore, they can remove it using APT package manager. But before that first switch back to default Ubuntu Gnome interface. For that log out, click on the gear icon and select Ubuntu.
After that login and run the given command in Terminal.
sudo apt autoremove --purge ubuntu-budgie-desktop
Other Articles:
• 8 Best Linux Graphical Environment (GUI) to install
• How to install Budgie Desktop on Debian 10 Linux distro
• 10 Best Linux distro based on Ubuntu for laptops


