Homebrew is one of the popular package managers for Mac OS X but can be installed on Linux as well to download and install various packages. Homebrew Cask extends Homebrew with support for quick installation of applications like Google Chrome, VLC, and more.
On Linux, it is known as Linuxbrew. On Ubuntu Linux, we already have an APT package manager with a wide range of applications and other packages to install, then what is the need for Linuxbrew?
What is the difference between APT and Homebrew or Linuxbrew?
1. Both HomeBrew and APT’s main goal is the same that is the installation of various packages using the command line. However, on one hand, APT is the native and well-integrated manager of Debian-based systems including Ubuntu, HomerBrew is a third-party package manager that the user can install manually.
2. Difference in the command syntax, if a user is already familiar with the brew command line on macOS and new to Ubuntu then he or she can use it to install programs without learning new command hooks. However, if you are a user of Ubuntu or Debian, then for sure you don’t need to install it.
3. Homebrew maintains a separate user-owned directory, thus no need to run it with sudo to install applications.
4. Where apt-get is generally designed to overwrite previous versions; in the brew, it compiles packages and saves them according to its version in subdirectories. This means we can have multiple versions of a package on the same machine at the same time, however, only one of them will get symlinked into your main Homebrew hierarchy.
5. APT cleanup or uninstall older packages automatically with the update, whereas, in Homebrew, a user needs to run the brew cleanup command.
HomeBrew installation on Ubuntu 20.04 Linux
1. Open a command terminal
Run terminal and then first, issue an update command-
sudo apt update
sudo apt-get install build-essential
2. Install Git on Ubuntu 20.04
For setting up LinuxBrew on Ubuntu 20.04 or 18.04, we need to install GIT on our system, here is the command for that…
sudo apt install git -y
3. Run Homebrew installation script
The official website of Brew offers a pre-build script to install download and install Homebrew using the command line on any available Linux such as CentOS, RHEL, OpenSUSE, Linux Mint, Kali, MX Linux, and POP!OS and others.
Here is the command, just run it-
/bin/bash -c "$(curl -fsSL https://raw.githubusercontent.com/Homebrew/install/HEAD/install.sh)"
4. Add Homebrew to your PATH
To run the brew command after installation, we need to add it to our system path…
(echo; echo 'eval "$(/home/linuxbrew/.linuxbrew/bin/brew shellenv)"') >> /home/$USER/.bashrc
eval "$(/home/linuxbrew/.linuxbrew/bin/brew shellenv)"
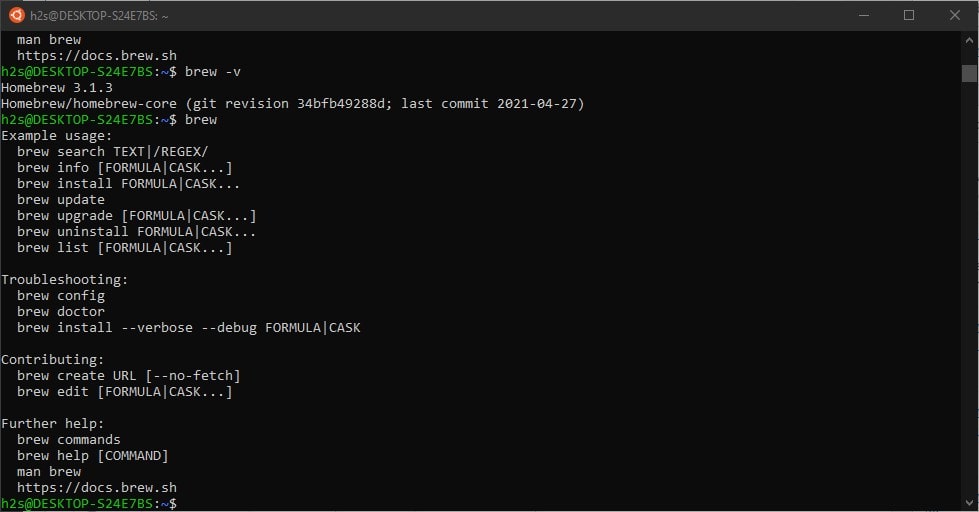
5. Check Brew is working fine
To ensure everything is working correctly to use brew, we can run its command-
brew doctor
It may give the warning to install GCC and to remove that simply install it using brew-
brew install gcc
6. Uninstall it from Linux
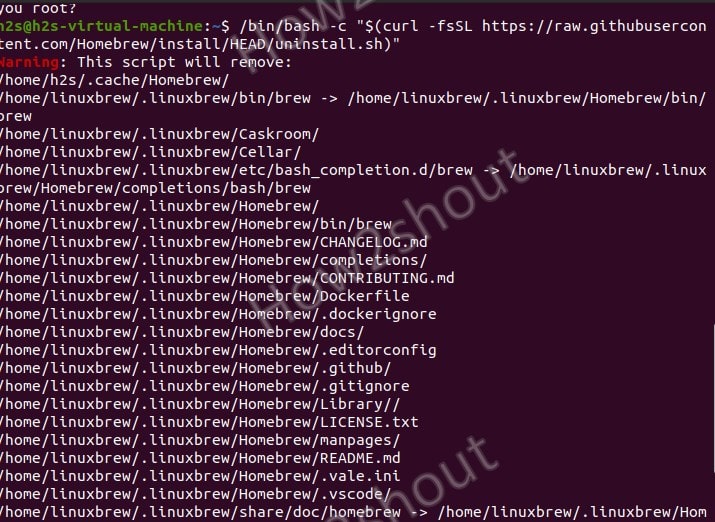
If you want to remove Homebrew, then here is the brew uninstallation script, also available on GitHub.
/bin/bash -c "$(curl -fsSL https://raw.githubusercontent.com/Homebrew/install/HEAD/uninstall.sh)"
Other Articles:


Step 4. Add Homebrew to your PATH
When I run command, It raise error: -bash: /home/h2s/.bashrc: No such file or directory
Replace “h2s” with your own home directory.
curl: (28) Failed to connect to raw.githubusercontent.com port 443: Connection timed out
error shows run code : ” /bin/bash -c “$(curl -fsSL https://raw.githubusercontent.com/Homebrew/install/HEAD/install.sh)” “
https://stackoverflow.com/questions/74794022/curl-28-failed-to-connect-to-raw-githubusercontent-com-port-443-connection-t