If you don’t want to rely on some other service to save your password, secret codes and financial info then install your Password Manager client and server using Bitwarden. It is an open-source project. Here we learn the command to install Bitwarden Server on Ubuntu 20.04 Focal or 22.04 Jammy.
Bitwarden Server is the project that serves as a backend to its front-end client applications used to manage Passwords. The Server project contains the APIs, database, and other core infrastructure items required for to it worked properly.
It has been written in C# using .NET Core with ASP.NET Core whereas the database is in T-SQL/SQL Server. It is cross-platform supported, hence can run on Windows, macOS, and Linux distributions.
Well, whether it is social media, e-mail, or online shopping, we have to log in to all of them to start enjoying their services. However, the increment in such platforms has increased the problem of remembering multiple usernames and passwords. To solve that, people tend to use common passwords, which makes their valuable data vulnerable and pushes them to become prey to hackers.
Although there are many popular premium password manager applications, however those who don’t want to spend money on such services should embrace open source. Bitwarden is an open-source solution with which you can manage your accounts and protect them with passwords of varying complexity. The program also offers a two-stage authentication process for this purpose. We took a closer look at Bitwarden in this article, and how to set up it using docker on Ubuntu 20.04 LTS or 22.04 LTS Linux.
Requirements:
- Server with at least 2 GB RAM and 10GB of free space, here we are using Ubuntu
- Docker Engine
- A non-root user with sudo rights
- Internet connection
Steps to install Bitwarden Server on Ubuntu 20.04 | 22.04 Linux
Set DNS Entry
Although we can connect and access the Bitwarden server using its IP address. However, those who want to use SSL with a Fully qualified domain name must configure it.
So, first, know the public IP address of your Ubuntu server and then Set A record for it in your DNS manager. For example, if your DNS is handled by Cloudflare then go there and set an A record for the domain/subdomain you want to use for this password manager. To give you an idea here we have set demo.how2shout.com and forwarded this to our Ubuntu server running on the cloud. If there is a firewall or router in between, it must of course be configured so that ports 80 and 443 are forwarded to the server.
Update the APT cache and install some tools
If you have just installed a fresh server then it is recommended to run the update command and also install the given tools.
sudo apt update
sudo apt-get install apt-transport-https ca-certificates curl gnupg-agent software-properties-common
Add Docker GPG Key on Ubuntu 20.04 or 22.04
Bitwarded uses multiple containers to install Database, Webserver, and other required tools. Hence, to use the container we must have Docker or any other supported container service pre-installed on our server before setting up Bitwarden. Here we are going for Docker, therefore, add its GPG key first, and use it to sign its packages.
curl -fsSL https://download.docker.com/linux/ubuntu/gpg | sudo apt-key add -Installation of Docker engine and Compose
Next, add the official repository of Docker on your system to get its latest version for installation.
sudo add-apt-repository "deb [arch=amd64] https://download.docker.com/linux/ubuntu $(lsb_release -cs) stable"Run system update
sudo apt updateNow, install the engine and other components of Docker on your Linux system based on Debian such as Ubuntu 20.04 or 22.04 LTS.
sudo apt install docker-ce docker-ce-cli containerd.io docker-composeCreate a user for Bitwarden
For good security practice, let’s create a separate and dedicated user for Biwarden server installation on Ubuntu 20.04 or 22.04 without any sudo access.
Create a dedicated directory for its user:
sudo mkdir /opt/bitwardenAdd the user:
sudo adduser bitwardenPermit created directory access to the added user:
sudo chmod -R 700 /opt/bitwardensudo chown -R bitwarden:bitwarden /opt/bitwardenFinally, add the user created for Bitwarden to the Docker group so that it can run the docker command without having sudo or root user access.
sudo usermod -aG docker bitwardenSwitch to Bitwarden User on Ubuntu 20.04 | 22.04
Now, from here we will perform all the steps to create Bitwarden Server using its user only. Hence, first, switch to that.
su bitwarden–Enter the user password, when the system asked you for it.

Download the Bitwarden Installation script
Users who don’t have any idea how the docker works, do not need to worry, because the script provided by the developers of this open-source password manager makes everything install and run automatically.
curl -Lso bitwarden.sh https://go.btwrdn.co/bw-sh && chmod 700 bitwarden.shInstall Bitwarden on Ubuntu 20.04 or 22.04 via Docker
Once you have the script, run it to follow the options for the configuration of the Password Manager server part.
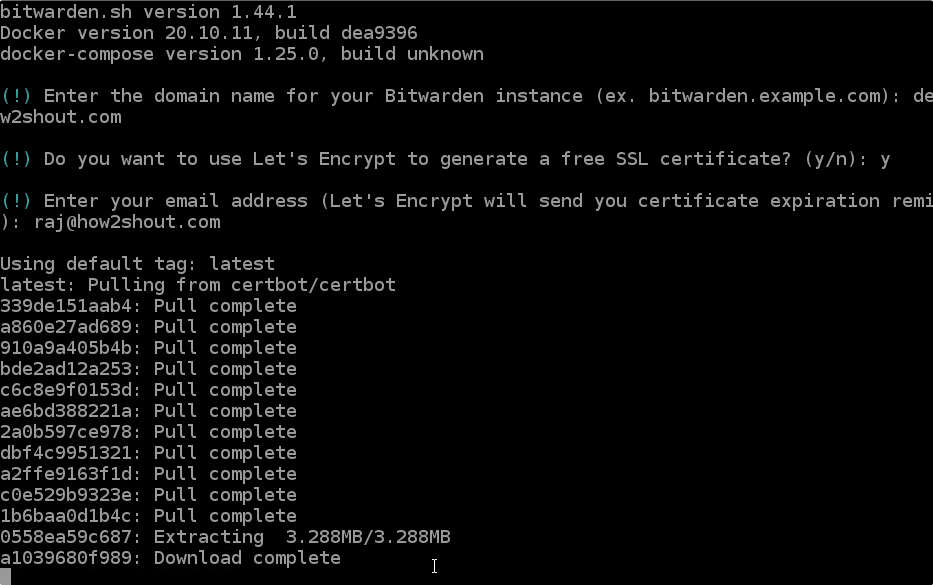
./bitwarden.sh install• Enter the fully qualified Domain name that you want to use to access Bitwarden Server. Here we are adding demo.how2shout.com.
• When it asks to issue a free SSL certificate, type Y and then provide some email address that you want to use for the issuing of Let’s Encrypt’s free SSL certificate.
After that, the script will start downloading and creating the containers it required.
Add Bitwarden Installation ID and Key
We need one more thing which is an installation ID and a key. Visit bitwarden.com/host and simply add any email ID you have there in the box to get the ID and key.
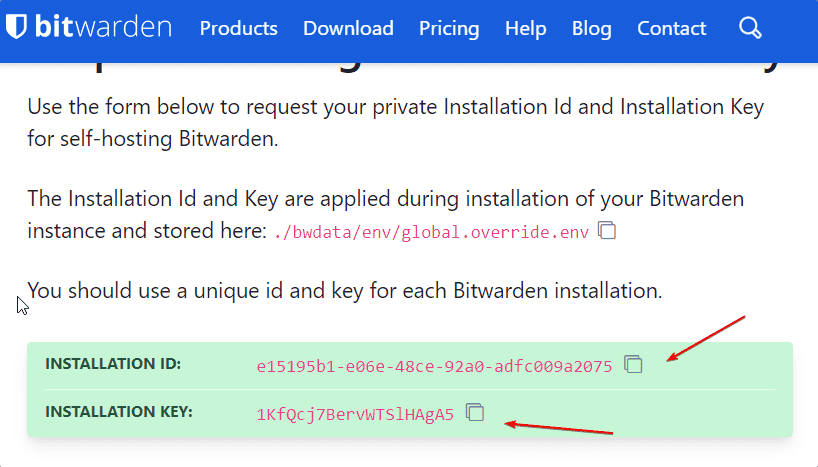
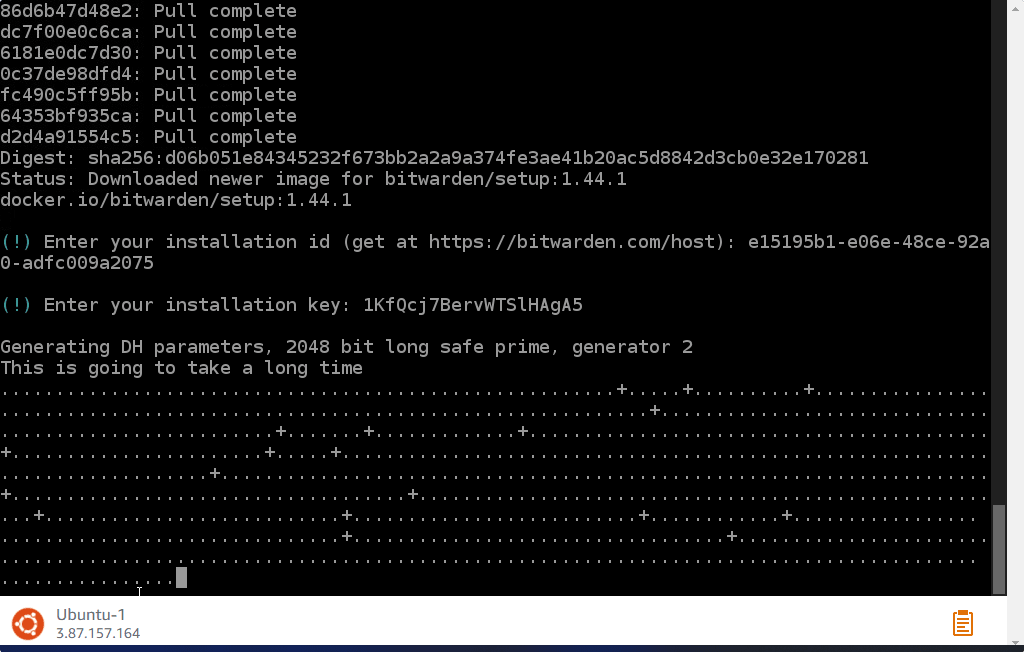
Copy the generated ID and key, and add them when the script setup will ask you for the same to enter while installing this Password manager server.
Set SMTP Mail Server
Well, after registering any user from its front end, Bitwarden will send a mail for confirming the registration. And if you are using the Password Manager server for organizations where employees/users need to create accounts; then edit the below-given files and set values for STMP mail. Also, without an STMP server, the Admin login won’t be possible. The Portal uses a secure means of passwordless authentication. When an admin user attempts to log in, a secure link is sent to their email address only if that email address is specified in adminSettings__admins=.
nano ~/bwdata/env/global.override.envThe following are those values:
...
globalSettings__mail__smtp__host=REPLACE
globalSettings__mail__smtp__port=REPLACE
globalSettings__mail__smtp__ssl=REPLACE
globalSettings__mail__smtp__username=REPLACE
globalSettings__mail__smtp__password=REPLACE
...
adminSettings__admins= add-email-address-you-want-to-give-admin-access
...
However, even if you don’t set these values you still be able to use Bitwarden but email notifications will not be there.
Start the Server
Once all the above-given steps are done, run the server to finally activate all the containers and ports.
./bitwarden.sh start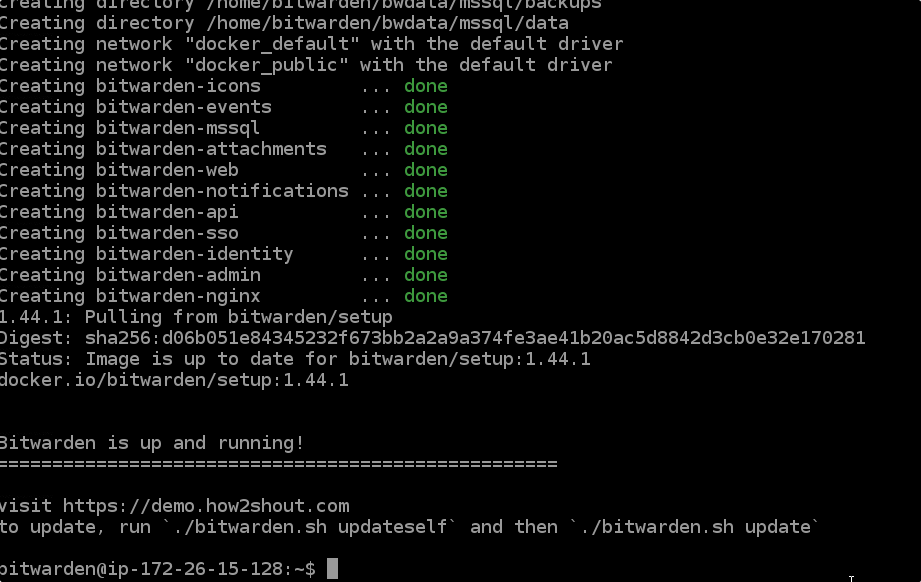
Access web interface
Open any web browser that can access the server IP address or Fully Qualified domain name you have set in Bitwarden.
Example:
https://server-ip
or
https://example.com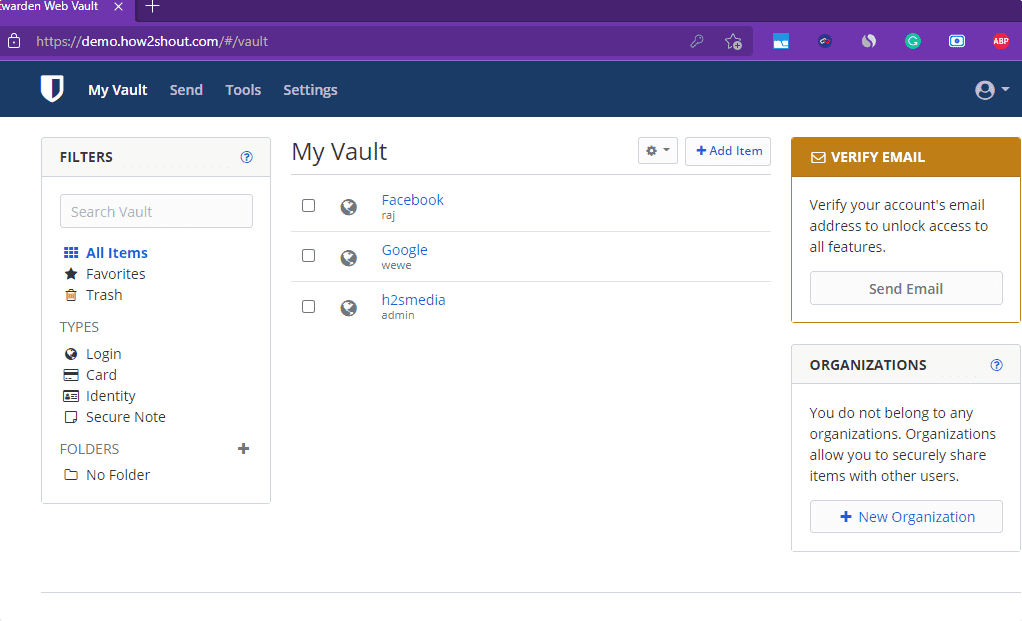
For Admin Access
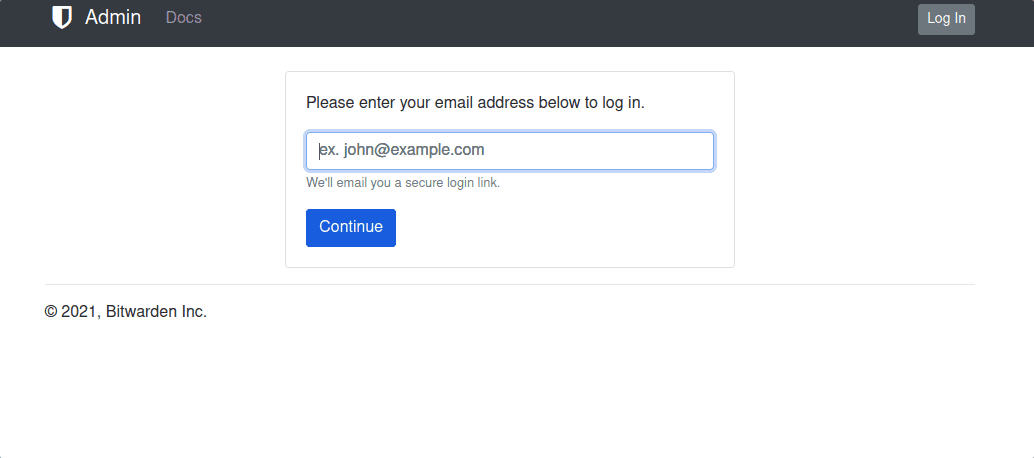
To get the Admin backend access, add the /admin at the end of the domain you are using. example- https://example.com/admin
Enter the email address you have added in the global.override.env file. Then the server will send a link to the entered email address for password-less login.
To use the Client Application
Once the Server has been set up successfully, you can download the Bitwarden client from its official website as per your operating system. After that install the same. You can see: Use Snap to Install Bitwarden Password Manager on Linux OS
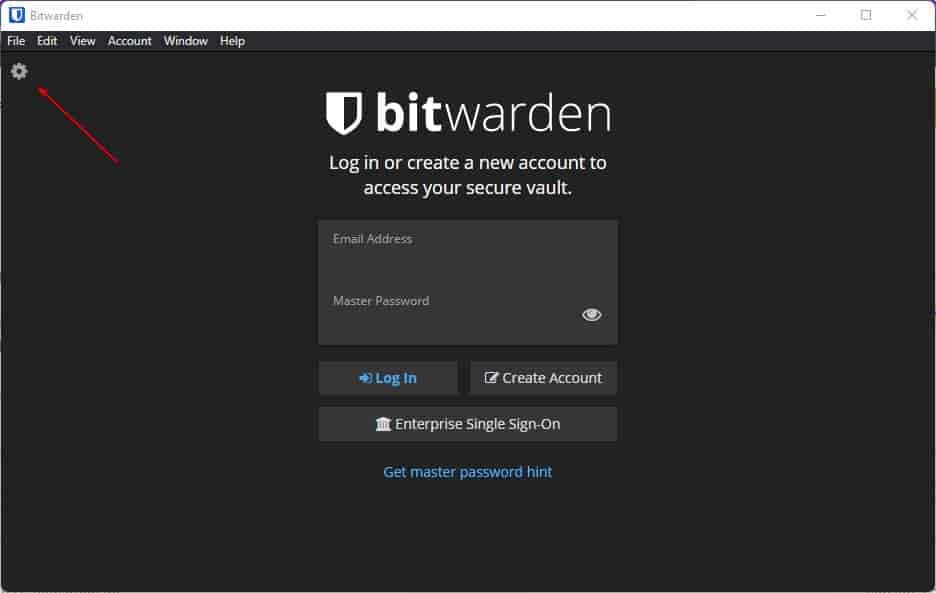
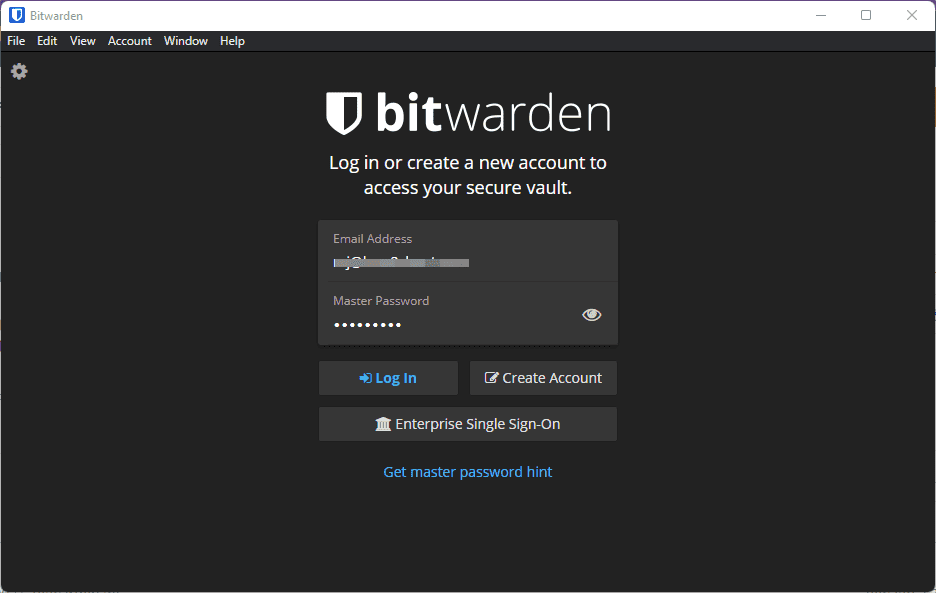
• After installing the client, run it and click on the Gear icon.
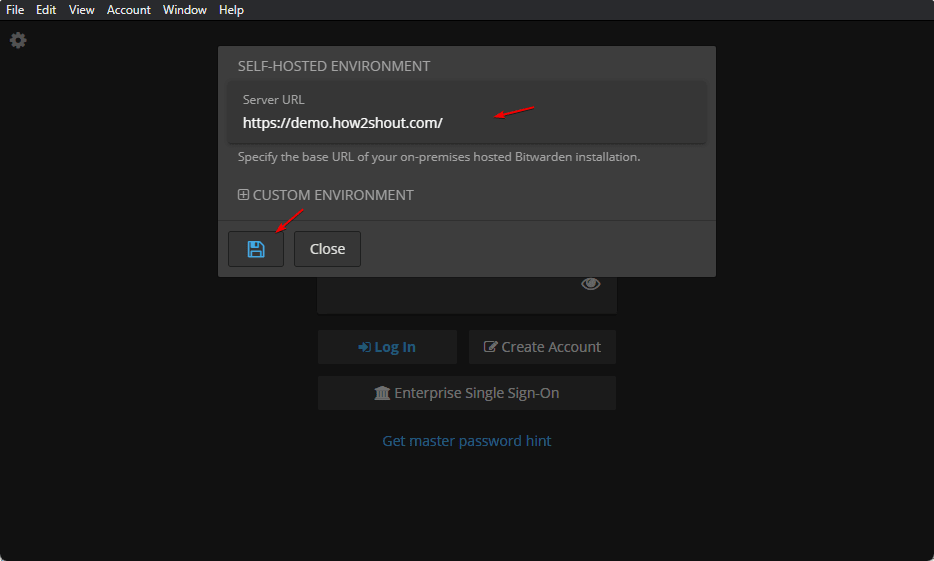
• Add your Bitwarden Server URL where you have installed it. And click on the Save button.
• The server is added, now go to the Account Login window and enter the username and password you have created. • If you don’t have an account then create it right from the client interface.
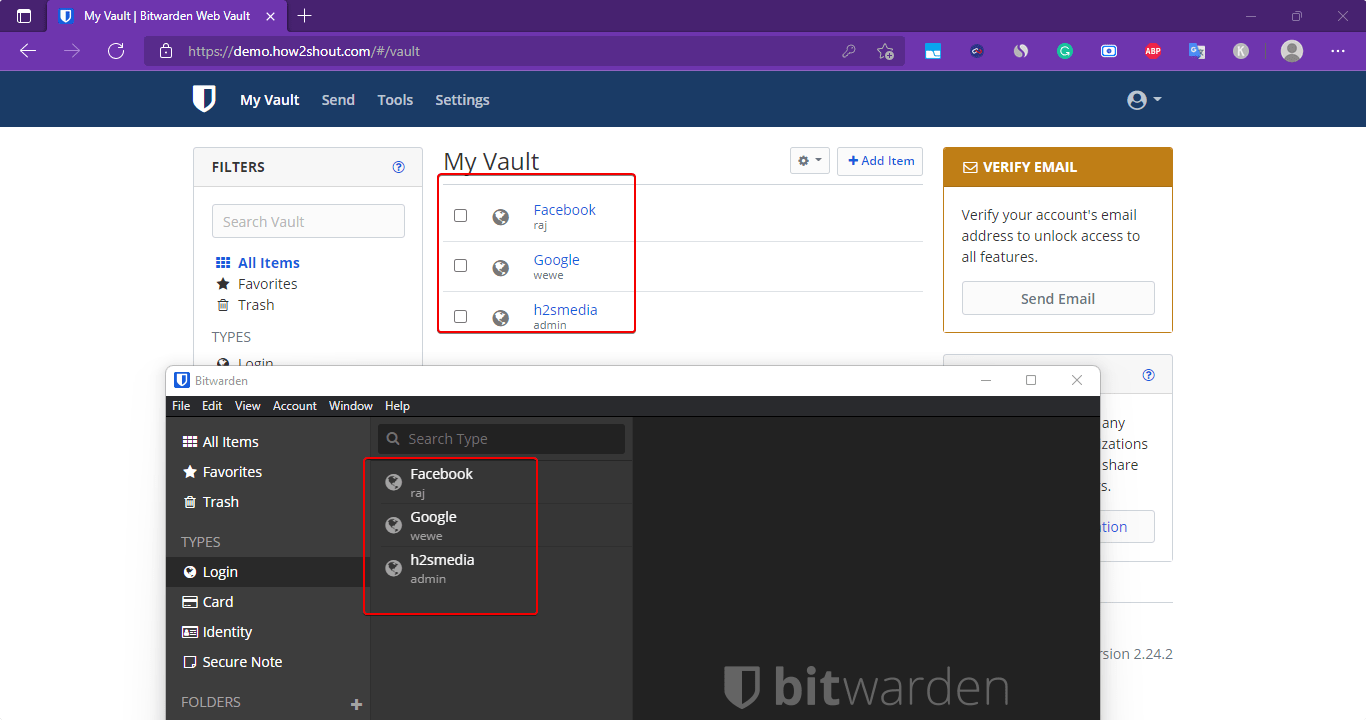
Now, you have all your secret codes and passwords in one place.
Web-based client
Delete or reinstall the Bitwarden server – Ubuntu 22.04 or 20.04
In case, you got some problem and want to reinstall the Server and its containers then first login to its user and then run:
To delete:
./bitwarden.sh stoprm -r ~/bwdataTo reinstall:
./bitwarden.sh installWhereas to delete all the containers build for the server run:
 docker stop $(docker ps -a -q)
 docker rm -f $(docker ps -a -q)
or
docker container pruneNote: The above will remove all containers even those that are not associated with Bitwarden.
If you have containers other than that created by Bitwarden then use:
docker rm -f bitwarden-admin bitwarden-icons bitwarden-web bitwarden-nginx \
bitwarden-notifications bitwarden-sso bitwarden-attachments bitwarden-events \
bitwarden-identity bitwarden-api bitwarden-mssql
Other articles:
• 5 Best free & open-source Password managers for 2021
• How to install and setup Docker Container on AlmaLinux 8
• How to install Spotify on Ubuntu 20.04 LTS
• How to install and setup Docker Container on Rocky Linux 8


Hi Heyan,
on my linux server, with Ubuntu 20.04.4 LTS, the container bitwarden-admin doesn’t work. I see only this error:
fail: Bit.Admin.HostedServices.DatabaseMigrationHostedService[0]
Database unavailable for migration. Trying again (attempt #4)…
System.Data.SqlClient.SqlException (0x80131904): A network-related or instance-specific error occurred while establishing a connection to SQL Server. The server was not found or was not accessible. Verify that the instance name is correct and that SQL Server is configured to allow remote connections. (provider: TCP Provider, error: 40 – Could not open a connection to SQL Server)
Any idea or suggest?